Project Summary
This is an assignment from CS 184, Computer Graphics, at Berkeley! In this project, I implement the point mass and spring construction of a piece of cloth, the simulation models behind how it behaves under gravity and when it collides against objects, as well as different shaders to provide more realism and cool visual effects. Check it out!
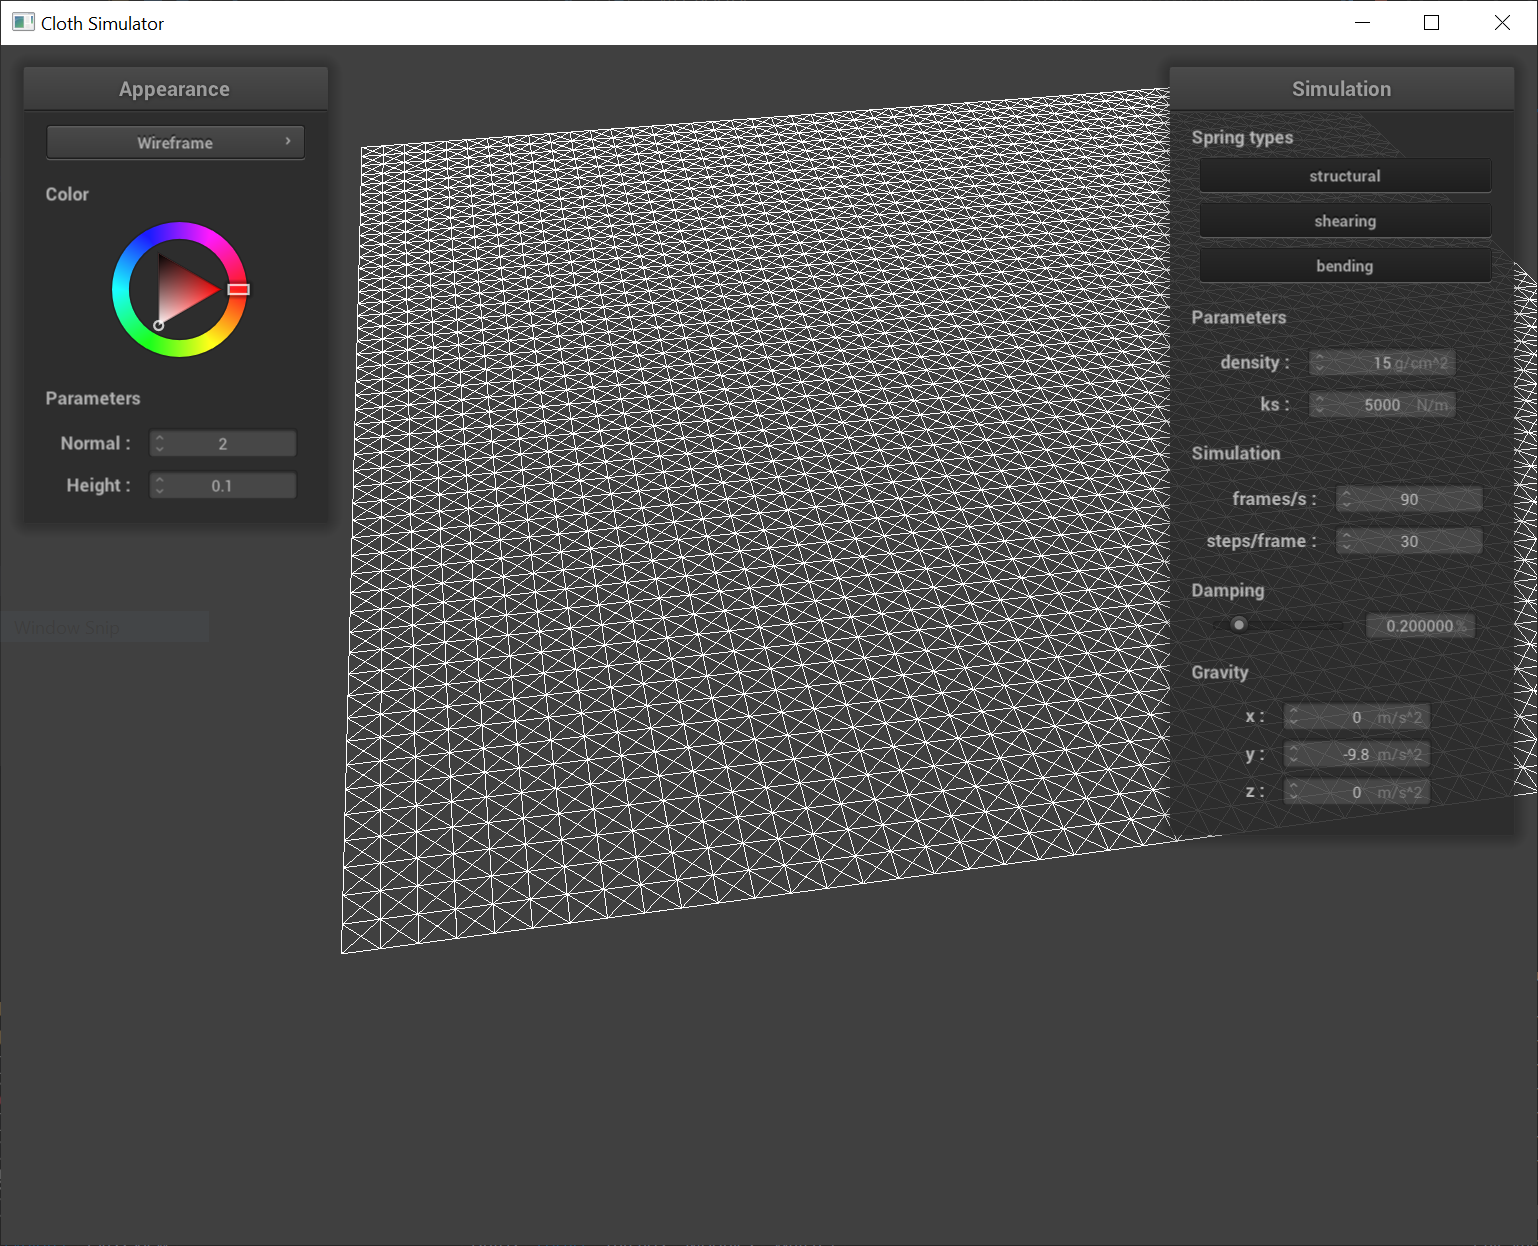
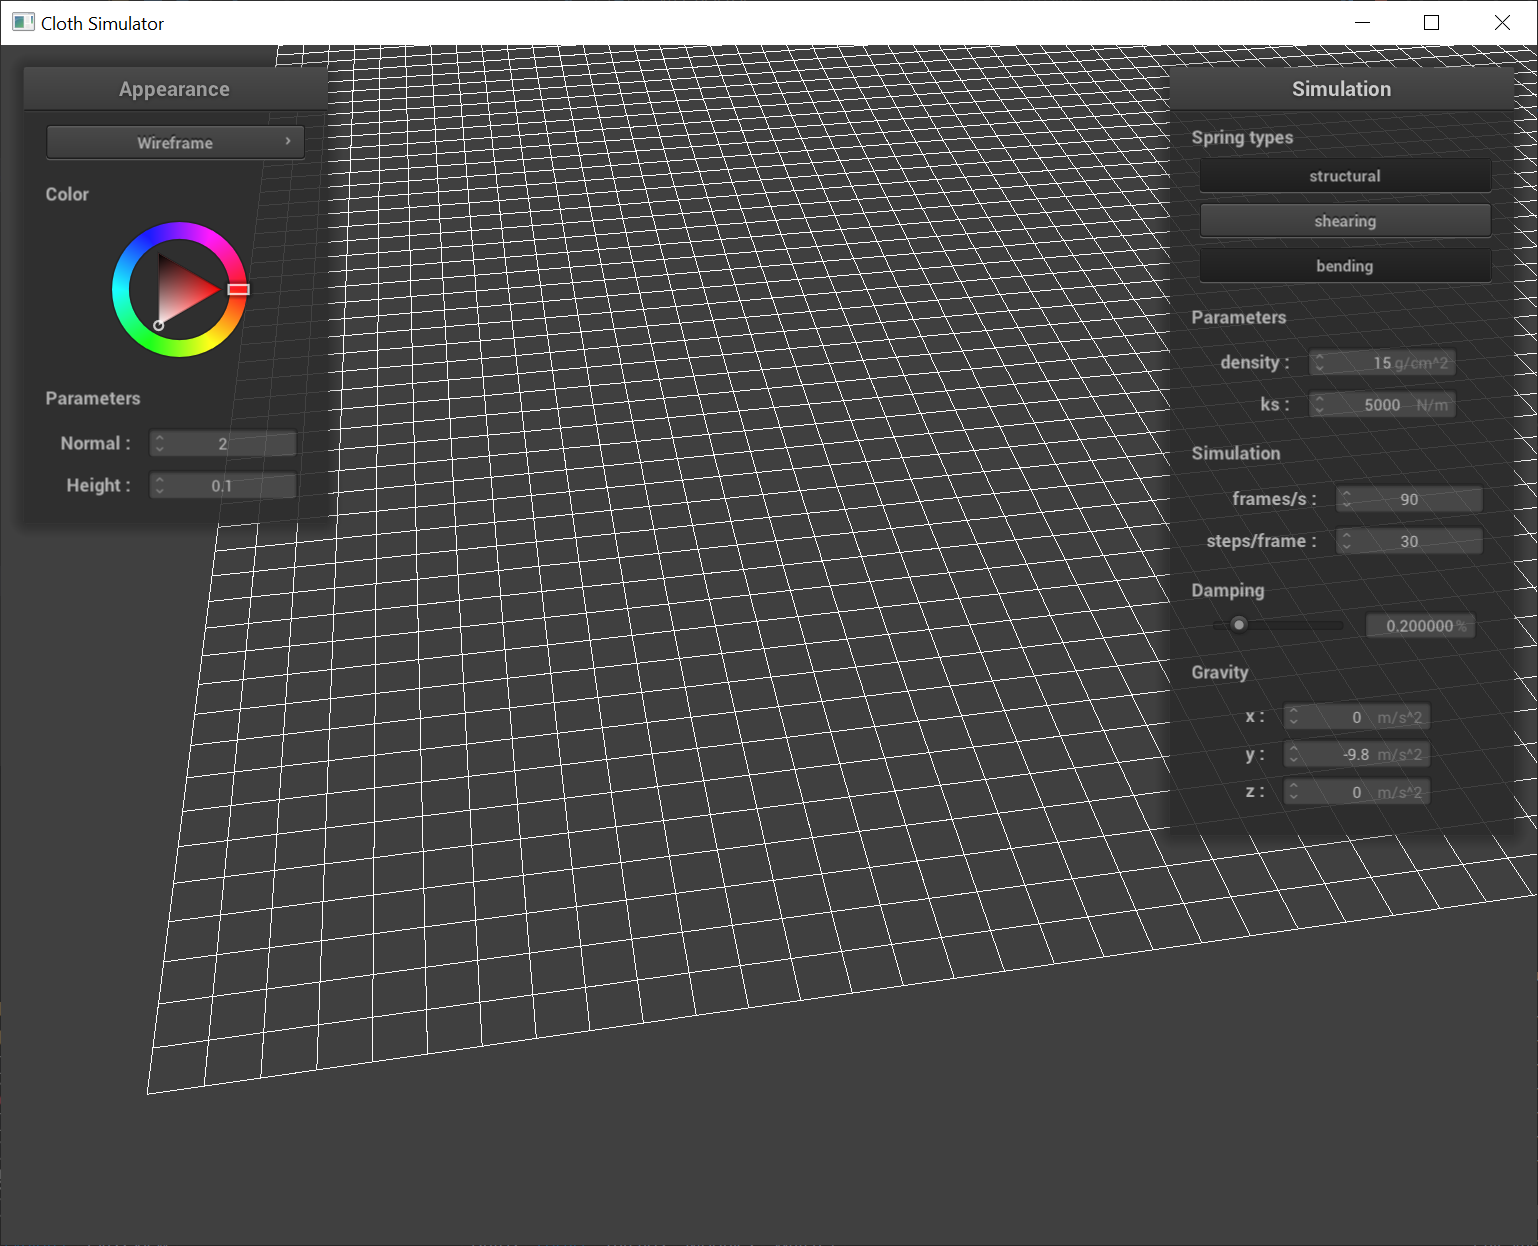
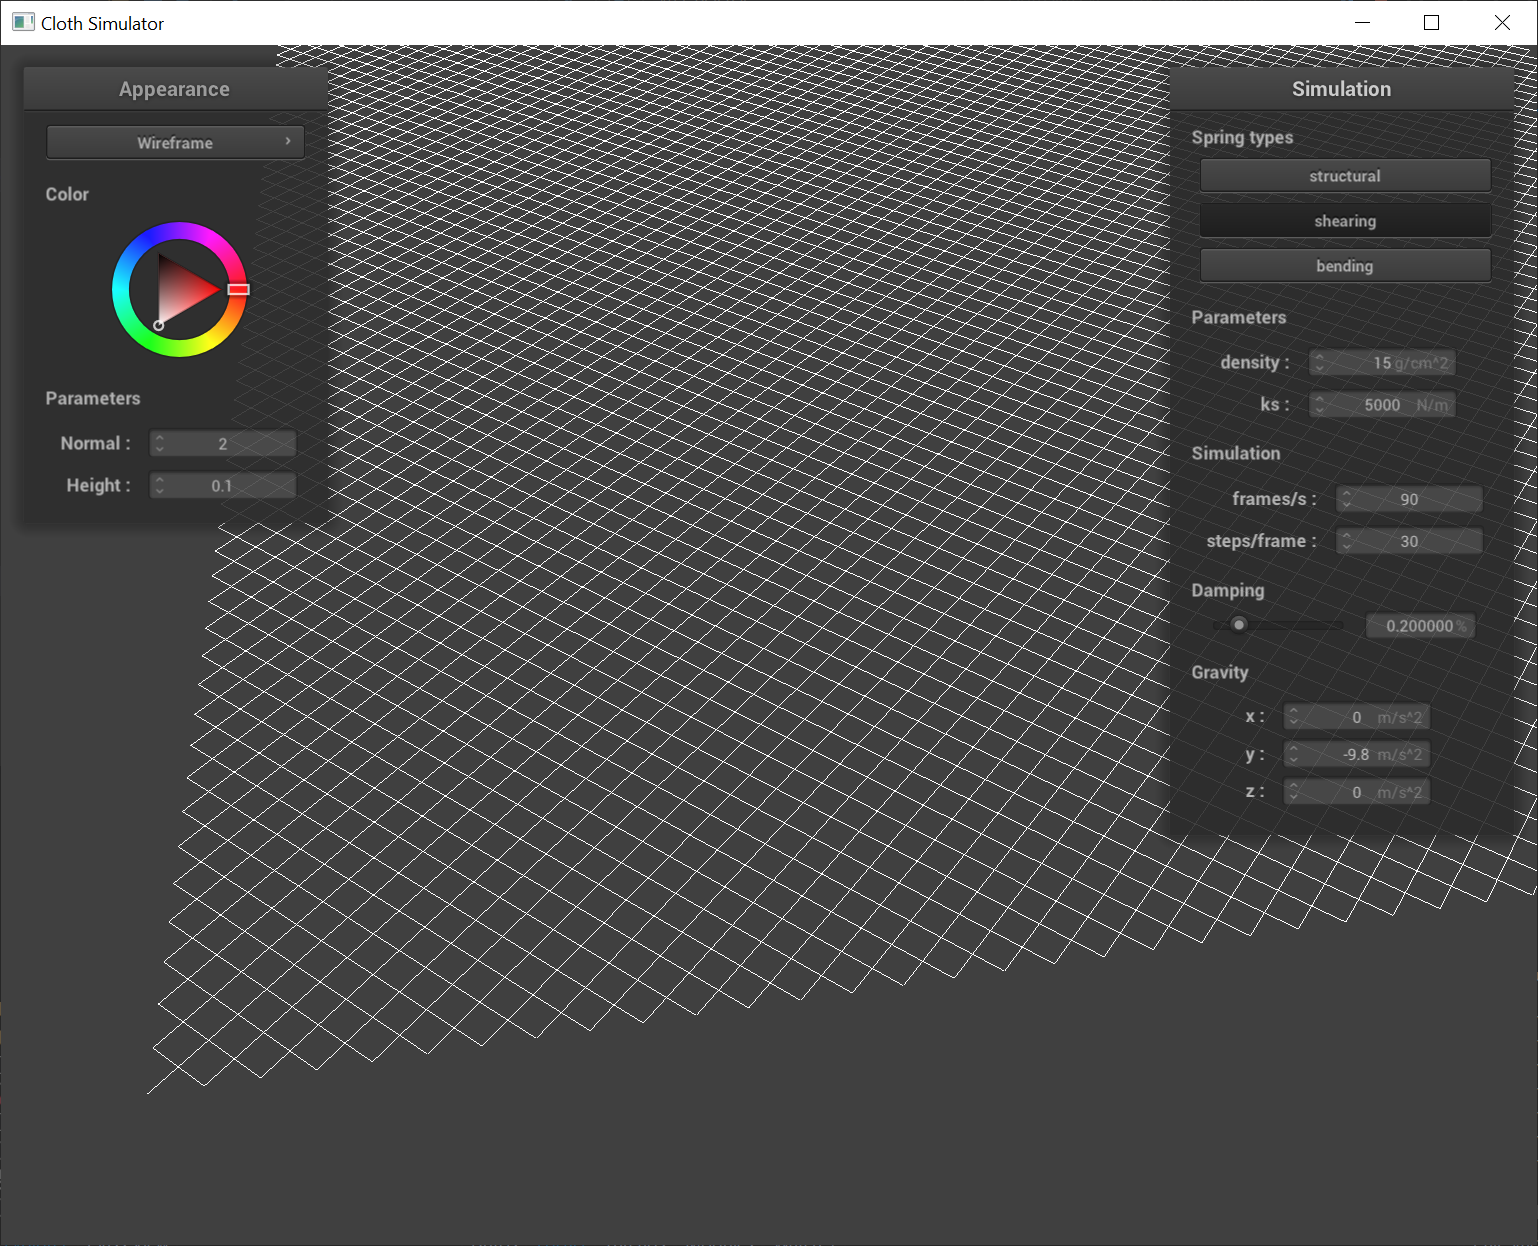
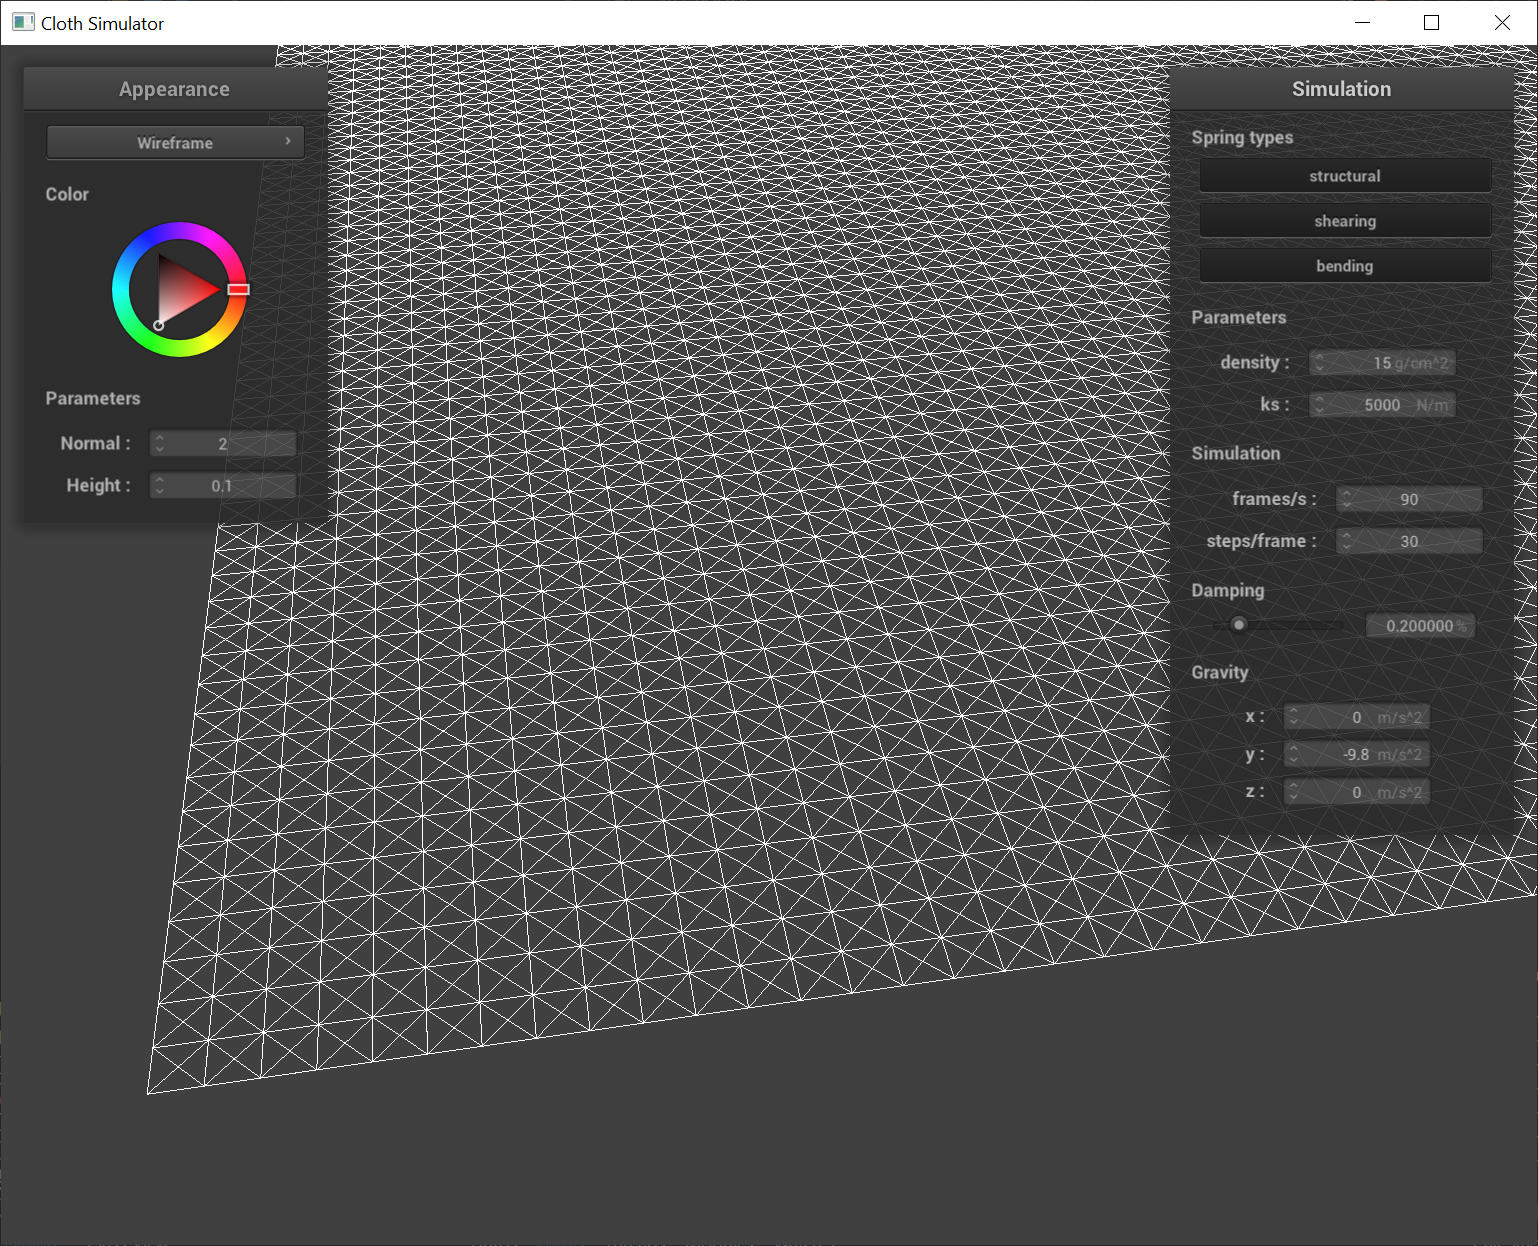
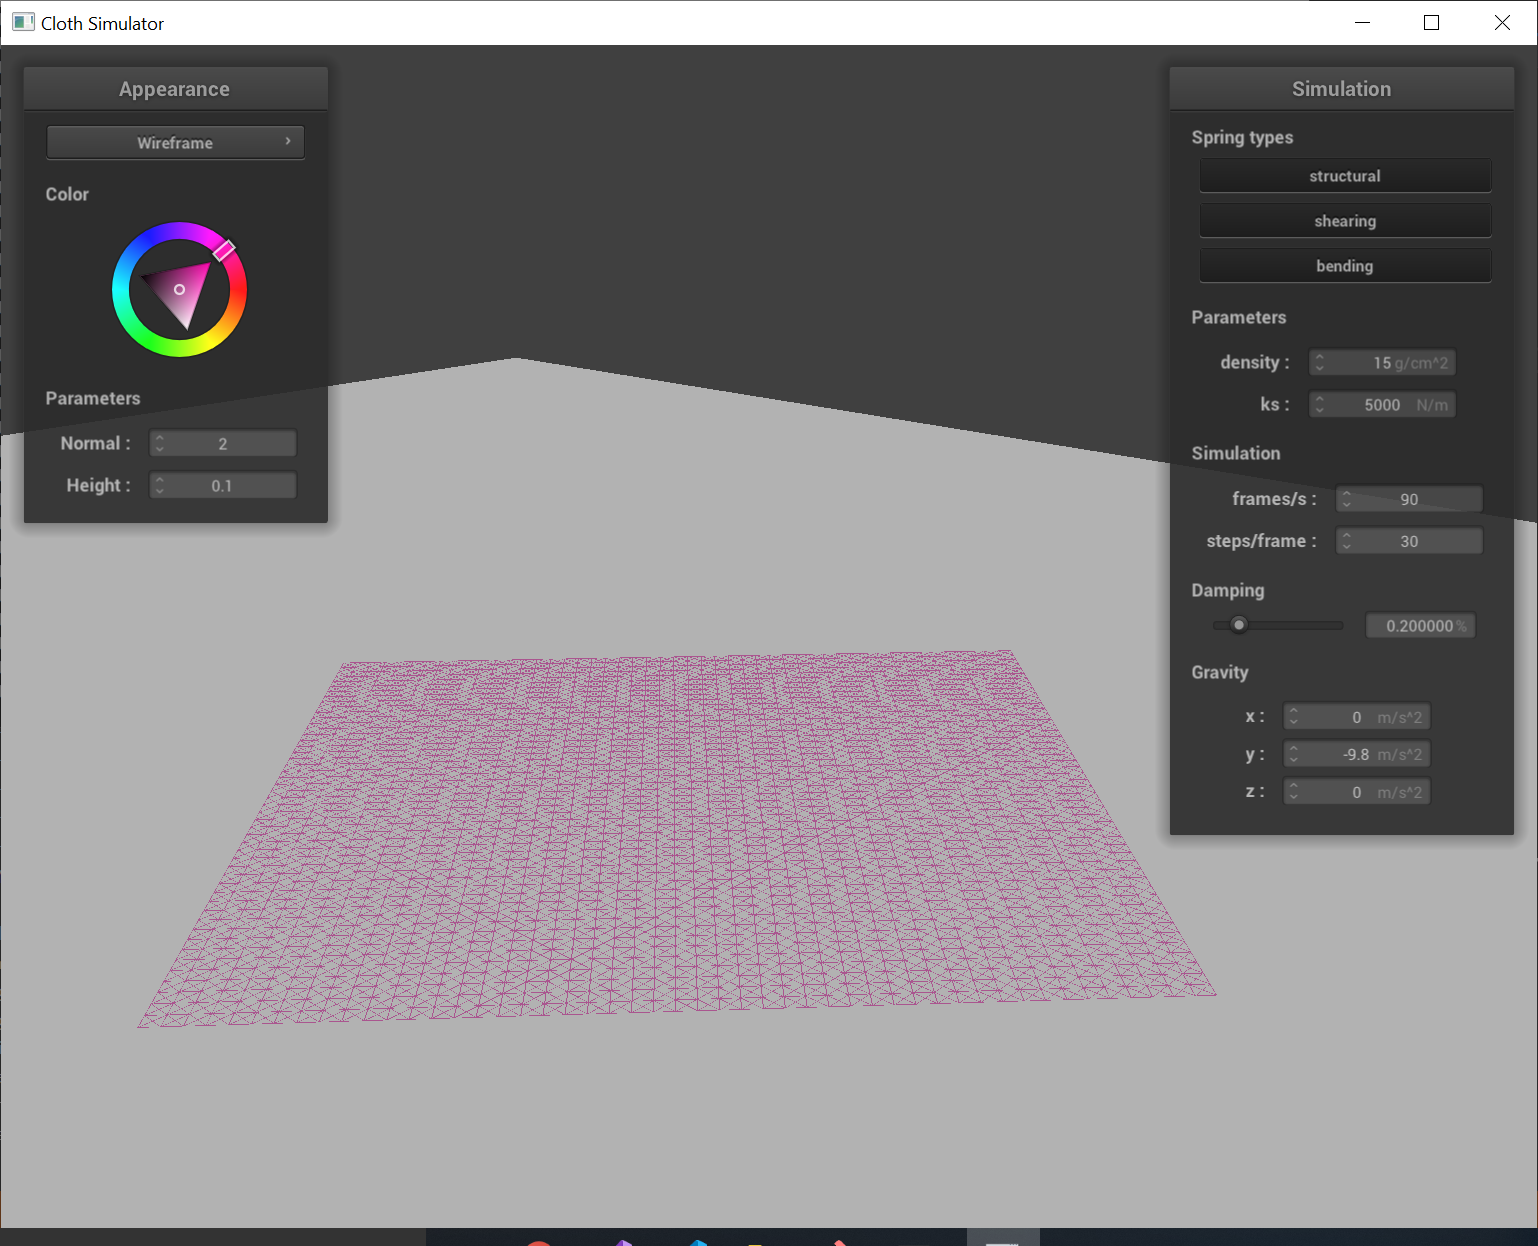
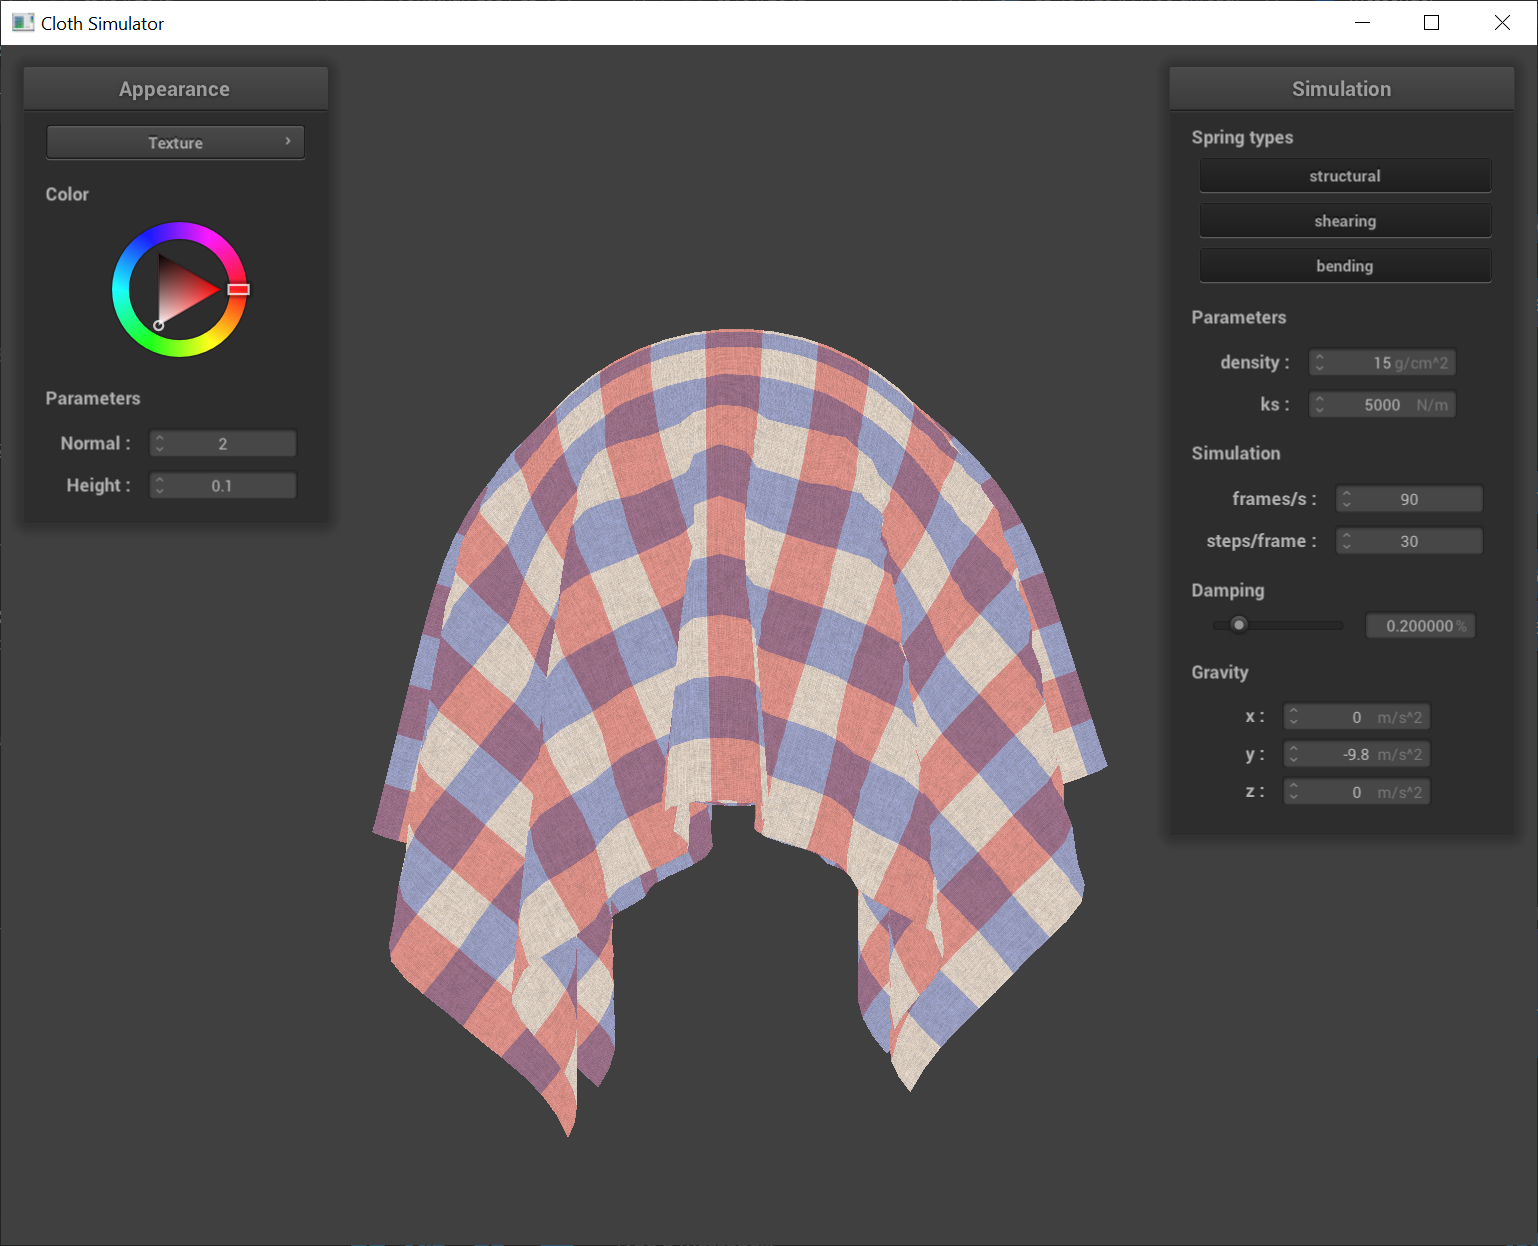
Part 1: Masses and Springs
In this part, we model a piece of cloth as a bunch of point masses connected in space by springs. We utilized 3 different types of springs connecting pairs of point masses: structural, shearing, and bending.
Part 2: Simulation via Numerical Integration
Next, we simulate all the forces (gravity, spring forces) acting on each point mass of the cloth using Verlet Integration. One interesting addition we were instructed to add was restricting a spring to expand past 10% greater than its rest length in one timestep. This was added to prevent the system from becoming unstable.
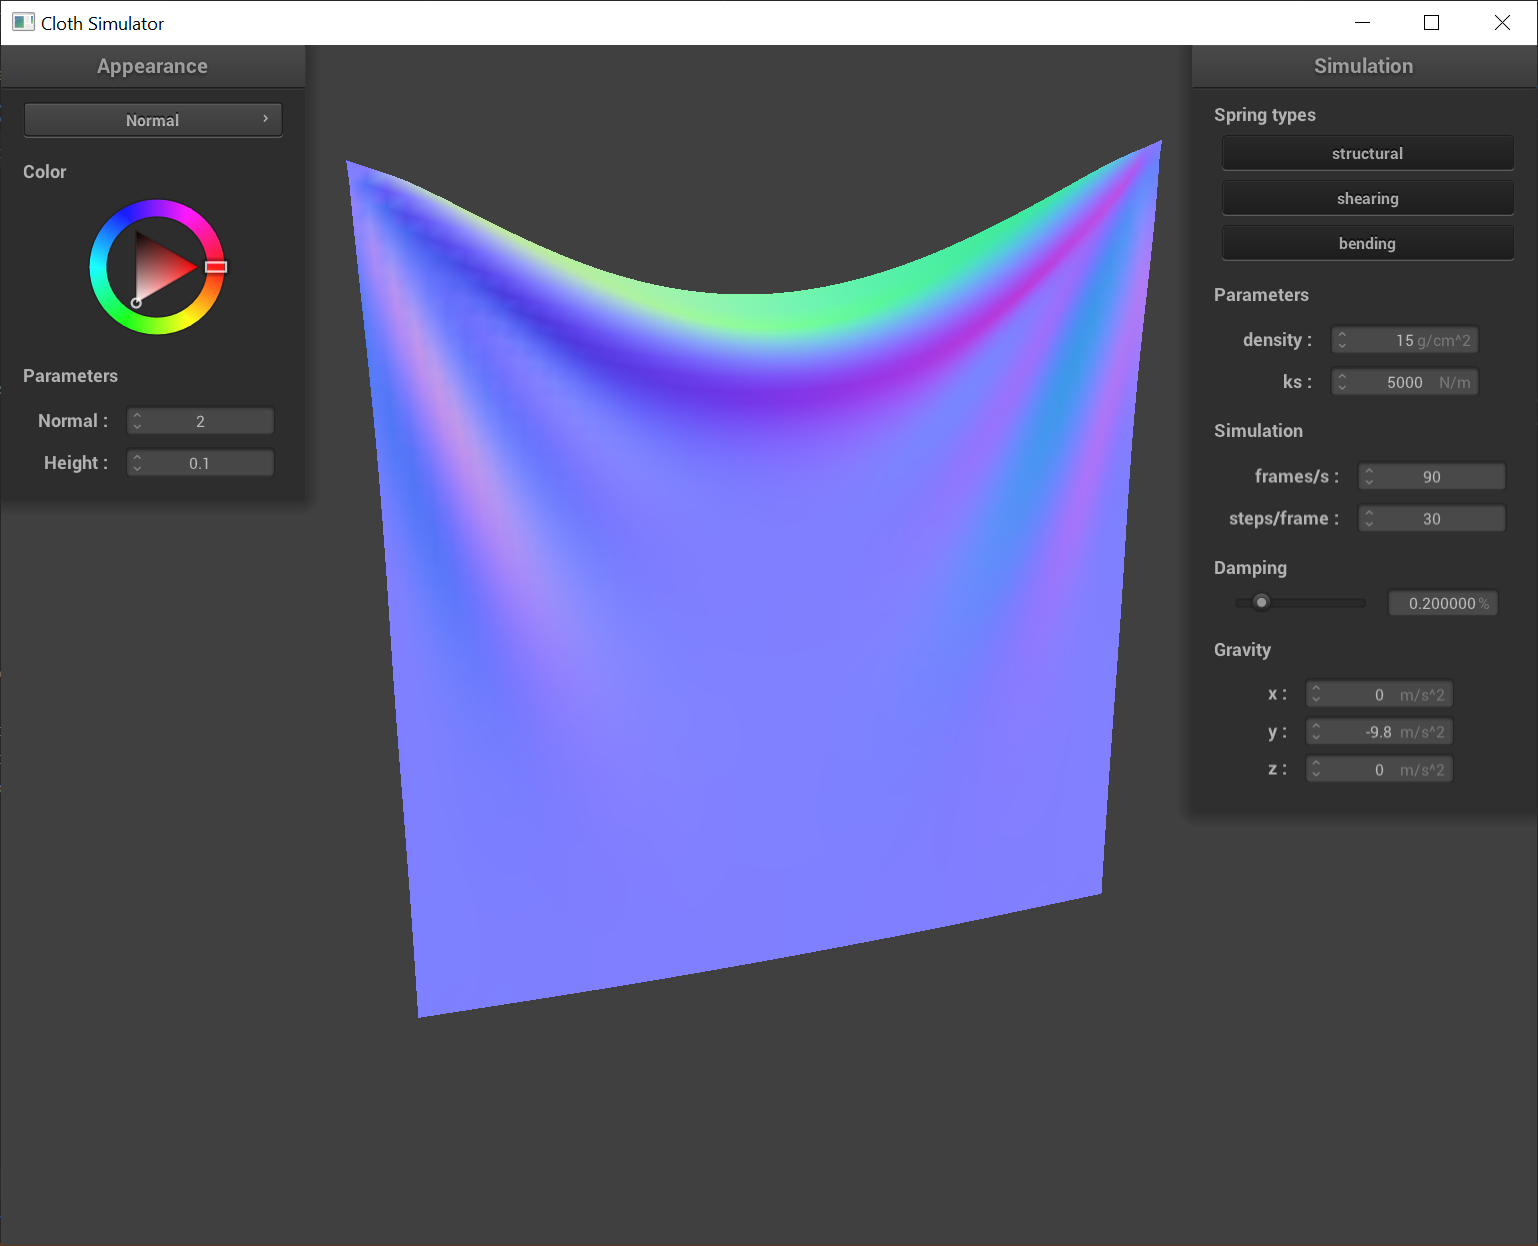
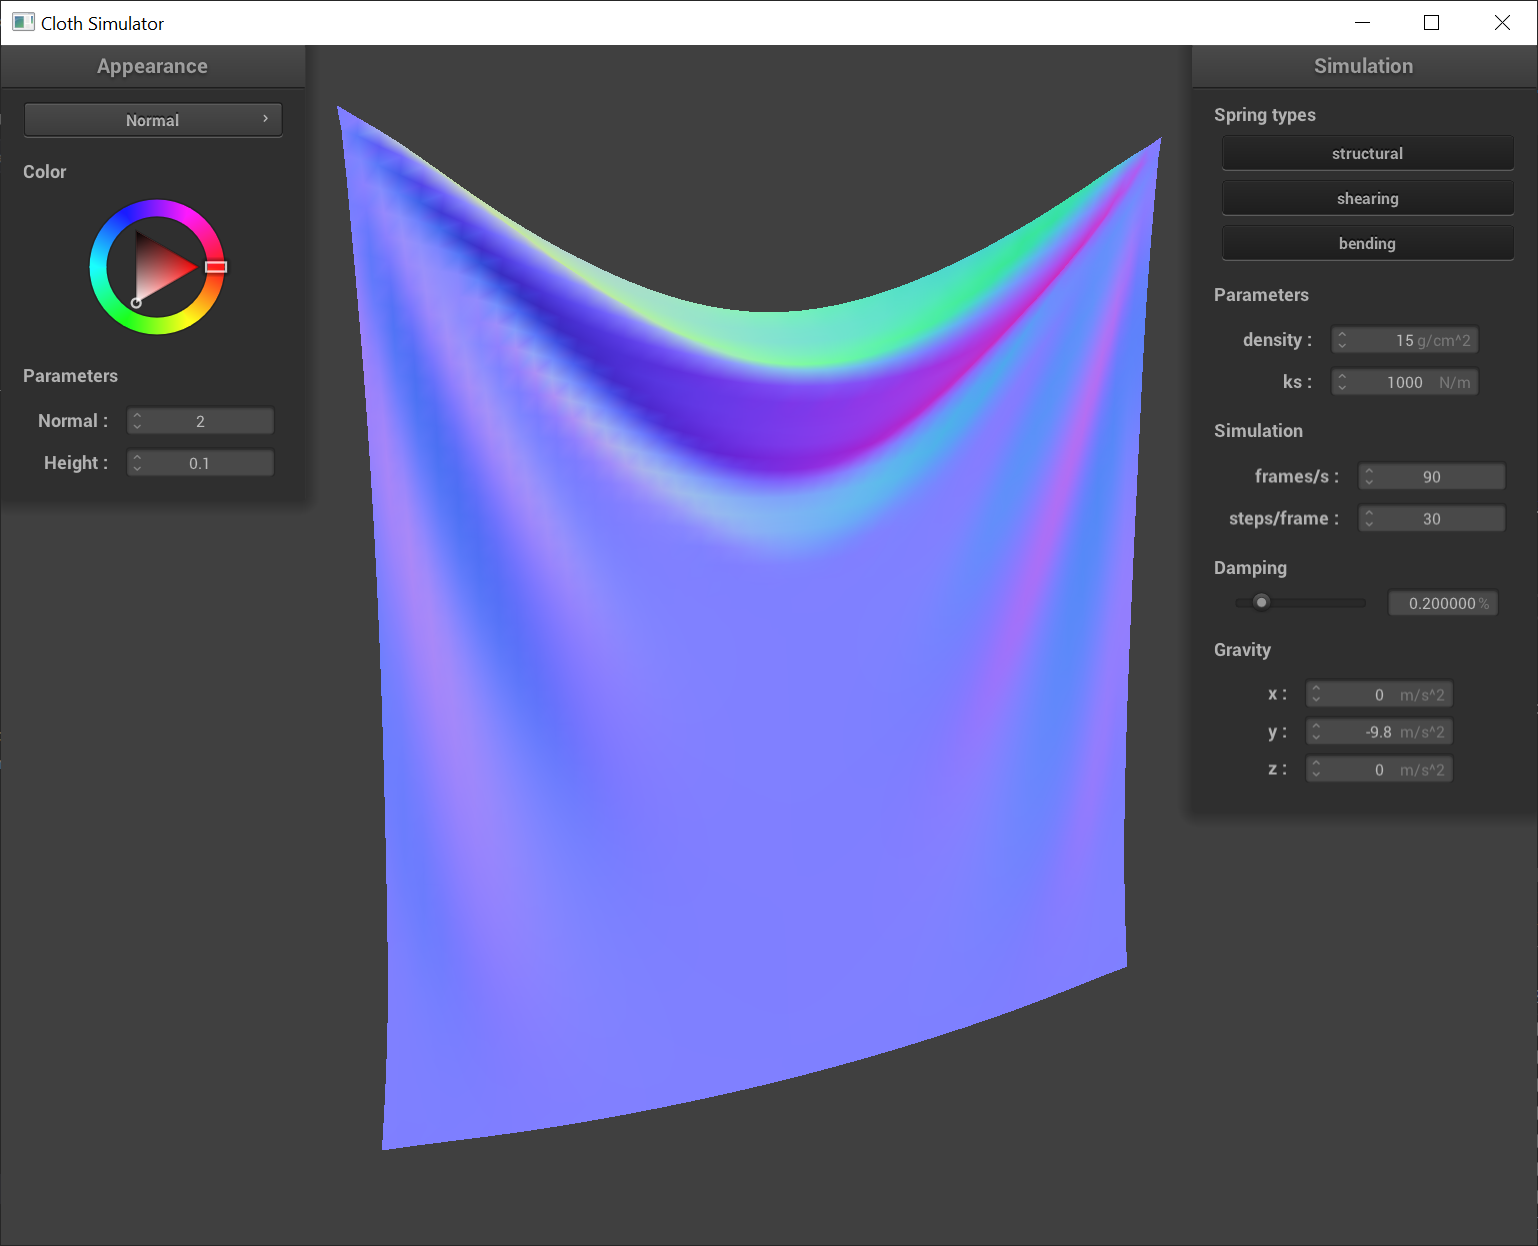
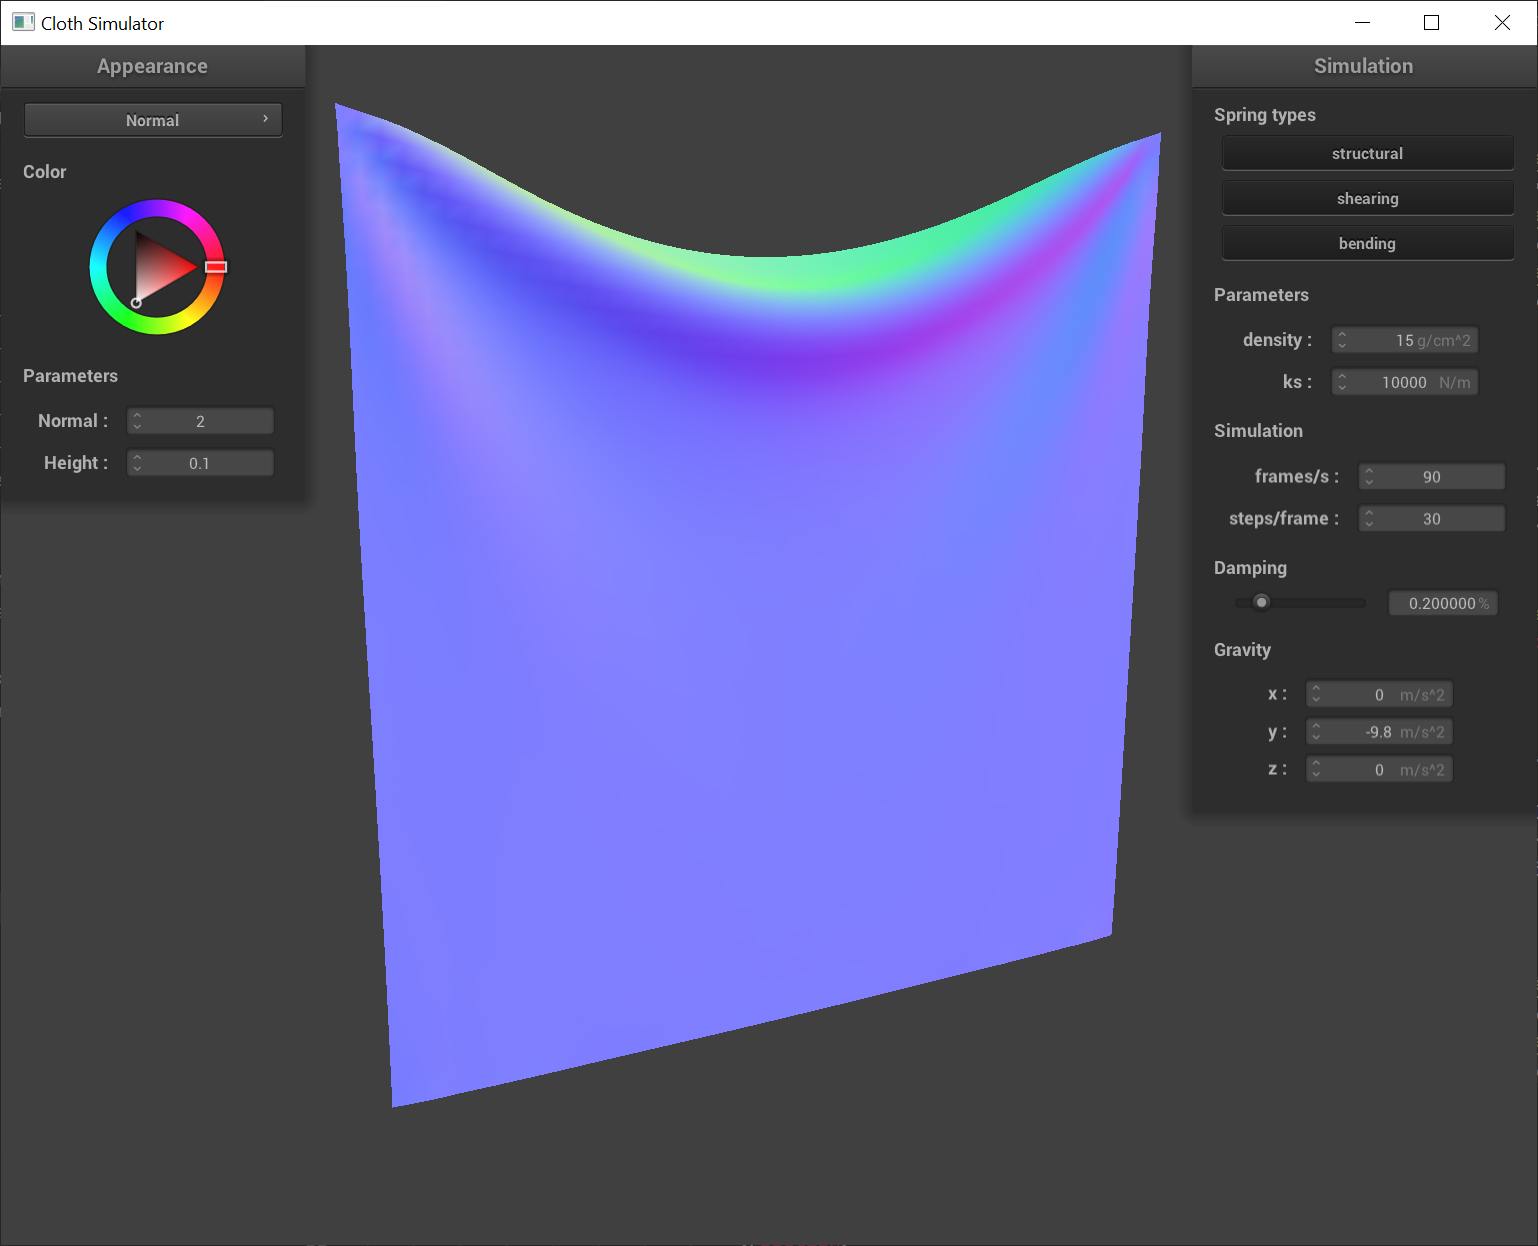
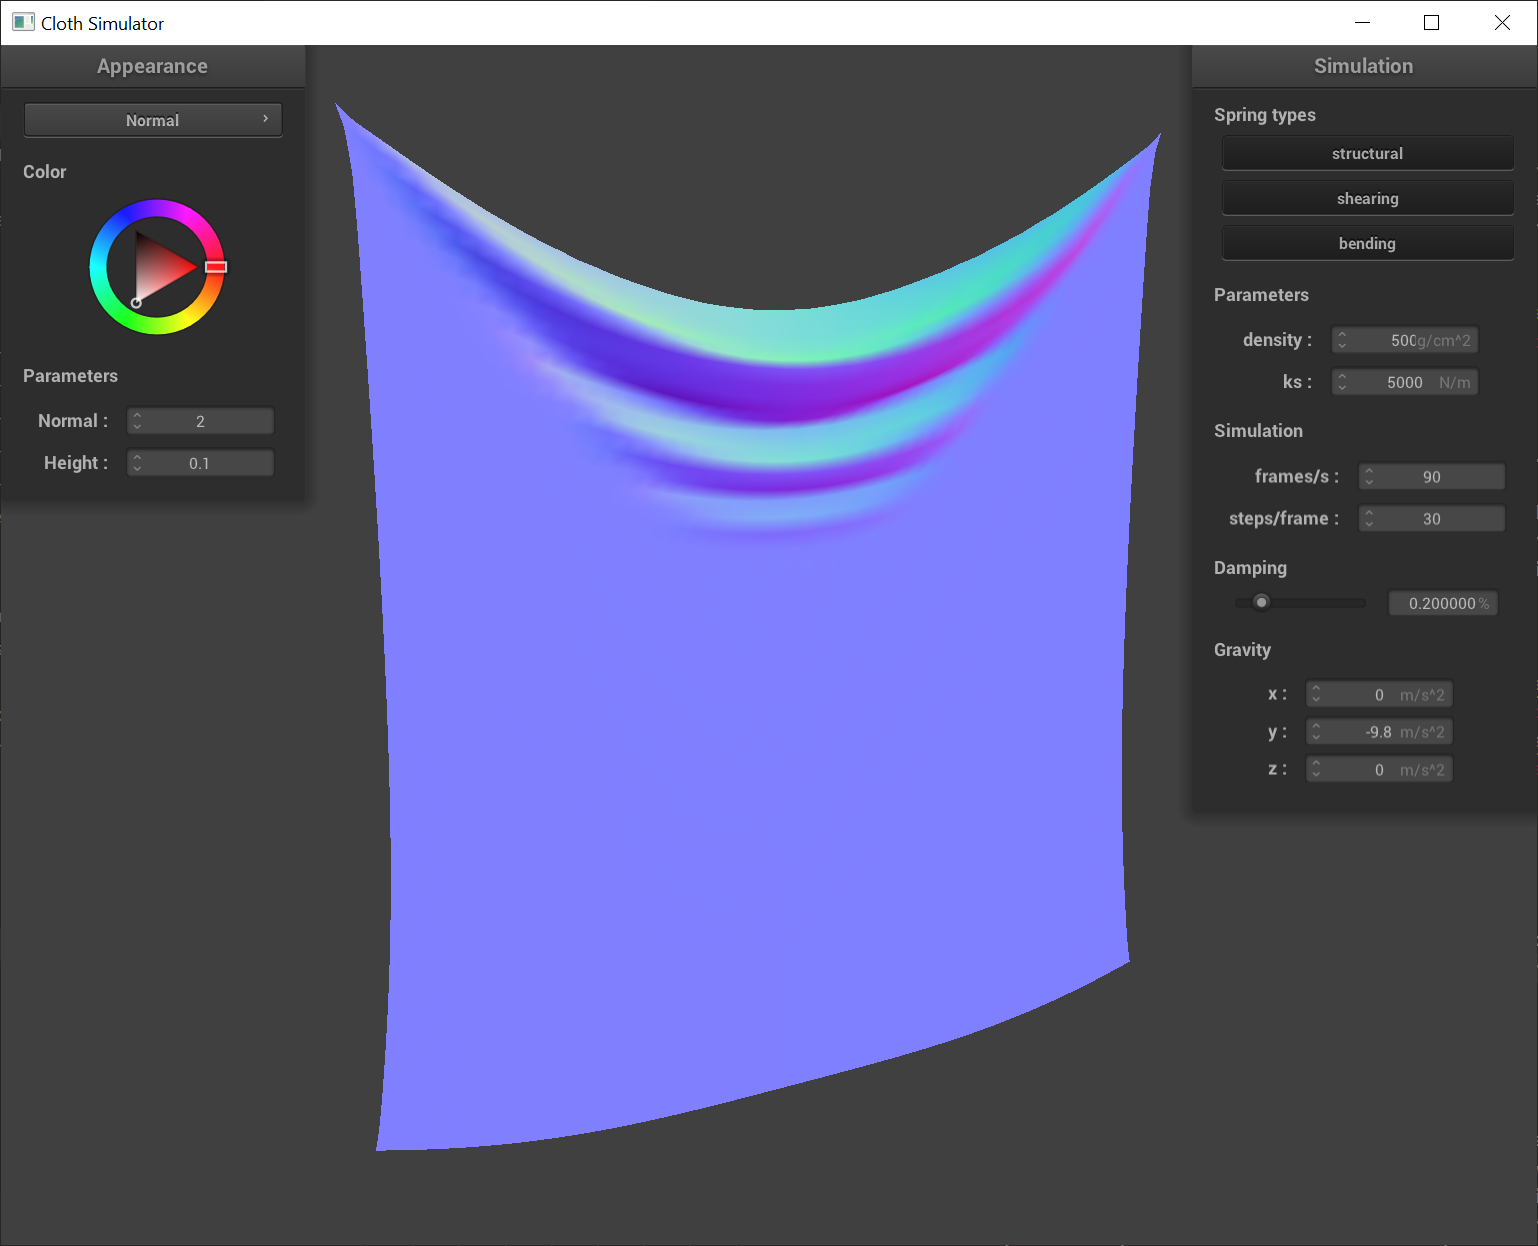
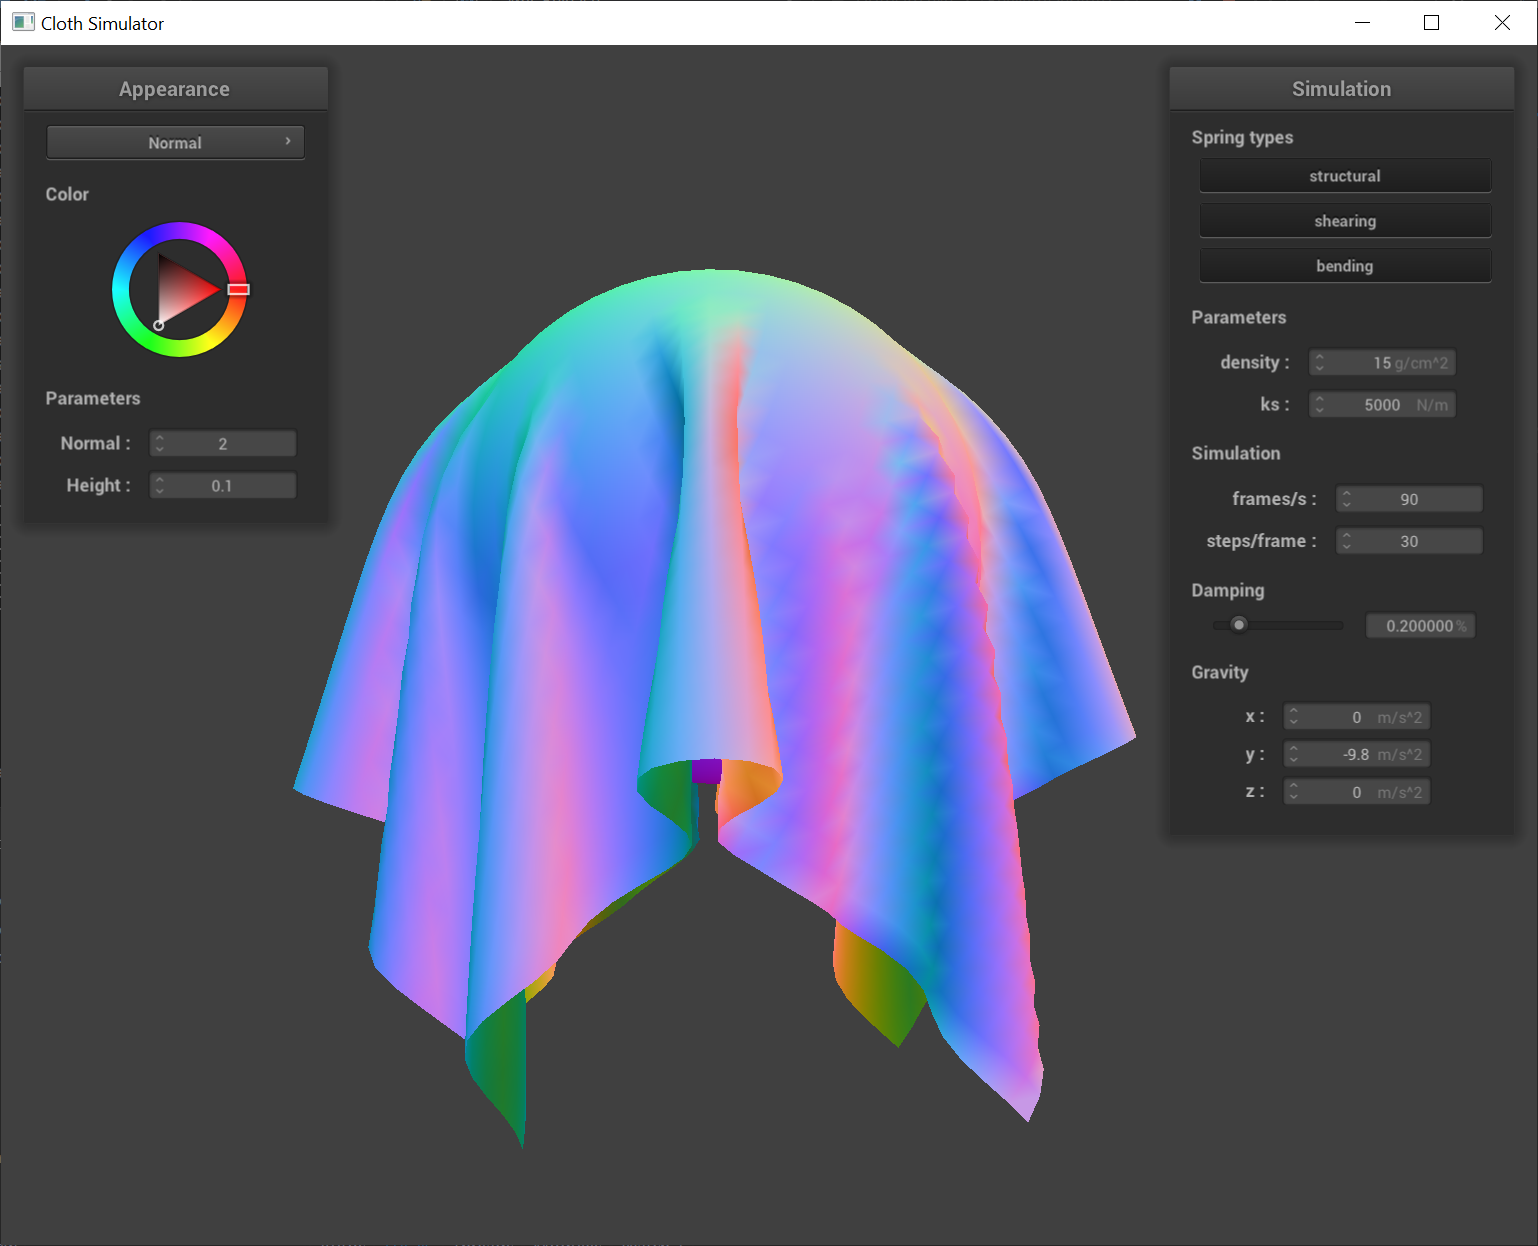
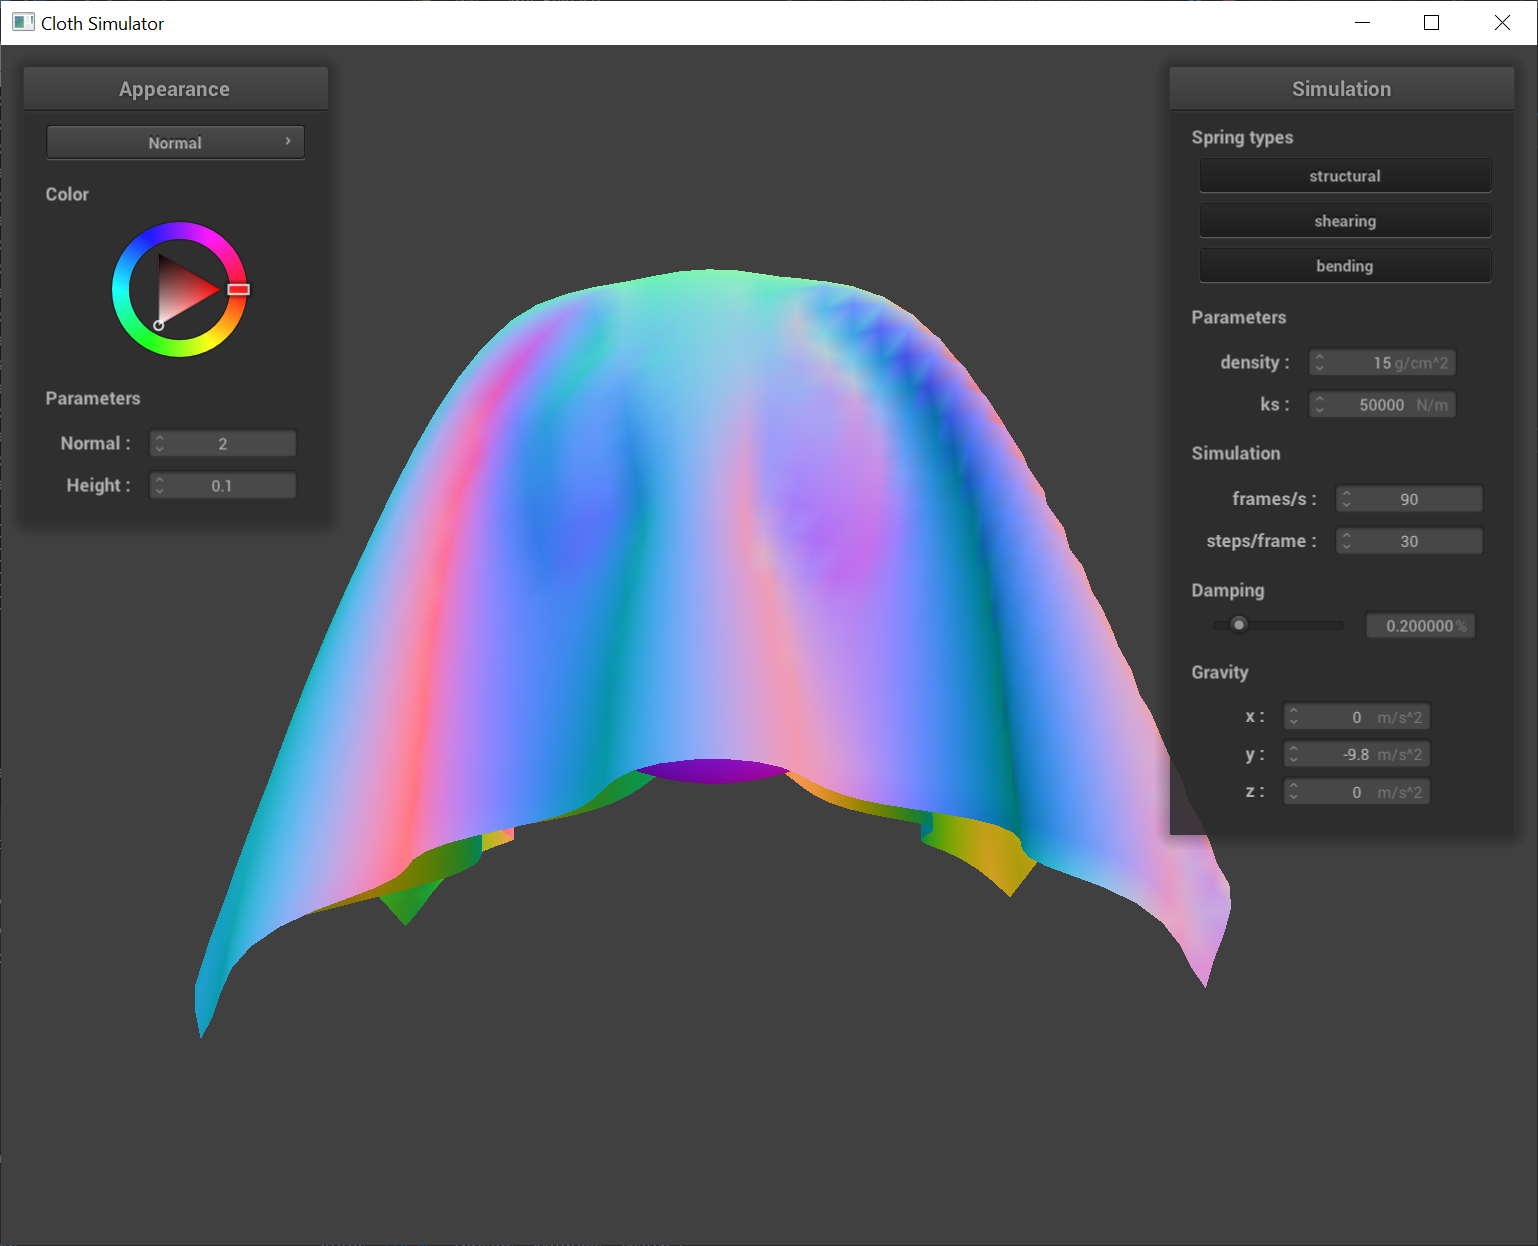
Describe the effects of changing the spring constant ks. How does the cloth behave from start to rest with a very low ks? A high ks?
The spring constant determines how "tight" the springs are. A lower ks will experience more displacement in point masses due to forces (more exaggerated motion) from start and converge slowly to a droopy rest state. In contrast, a higher ks will result in a tighter cloth that is less droopy - less absorbant to forces and quicker to converge to a tight, upright rest state.
Noticeable differences with default parameters?A low ks results in a cloth that is a lot more droopy and shows bends due to the cloth being more flexible. A high ks shows some tension on the sides due to greater spring forces.
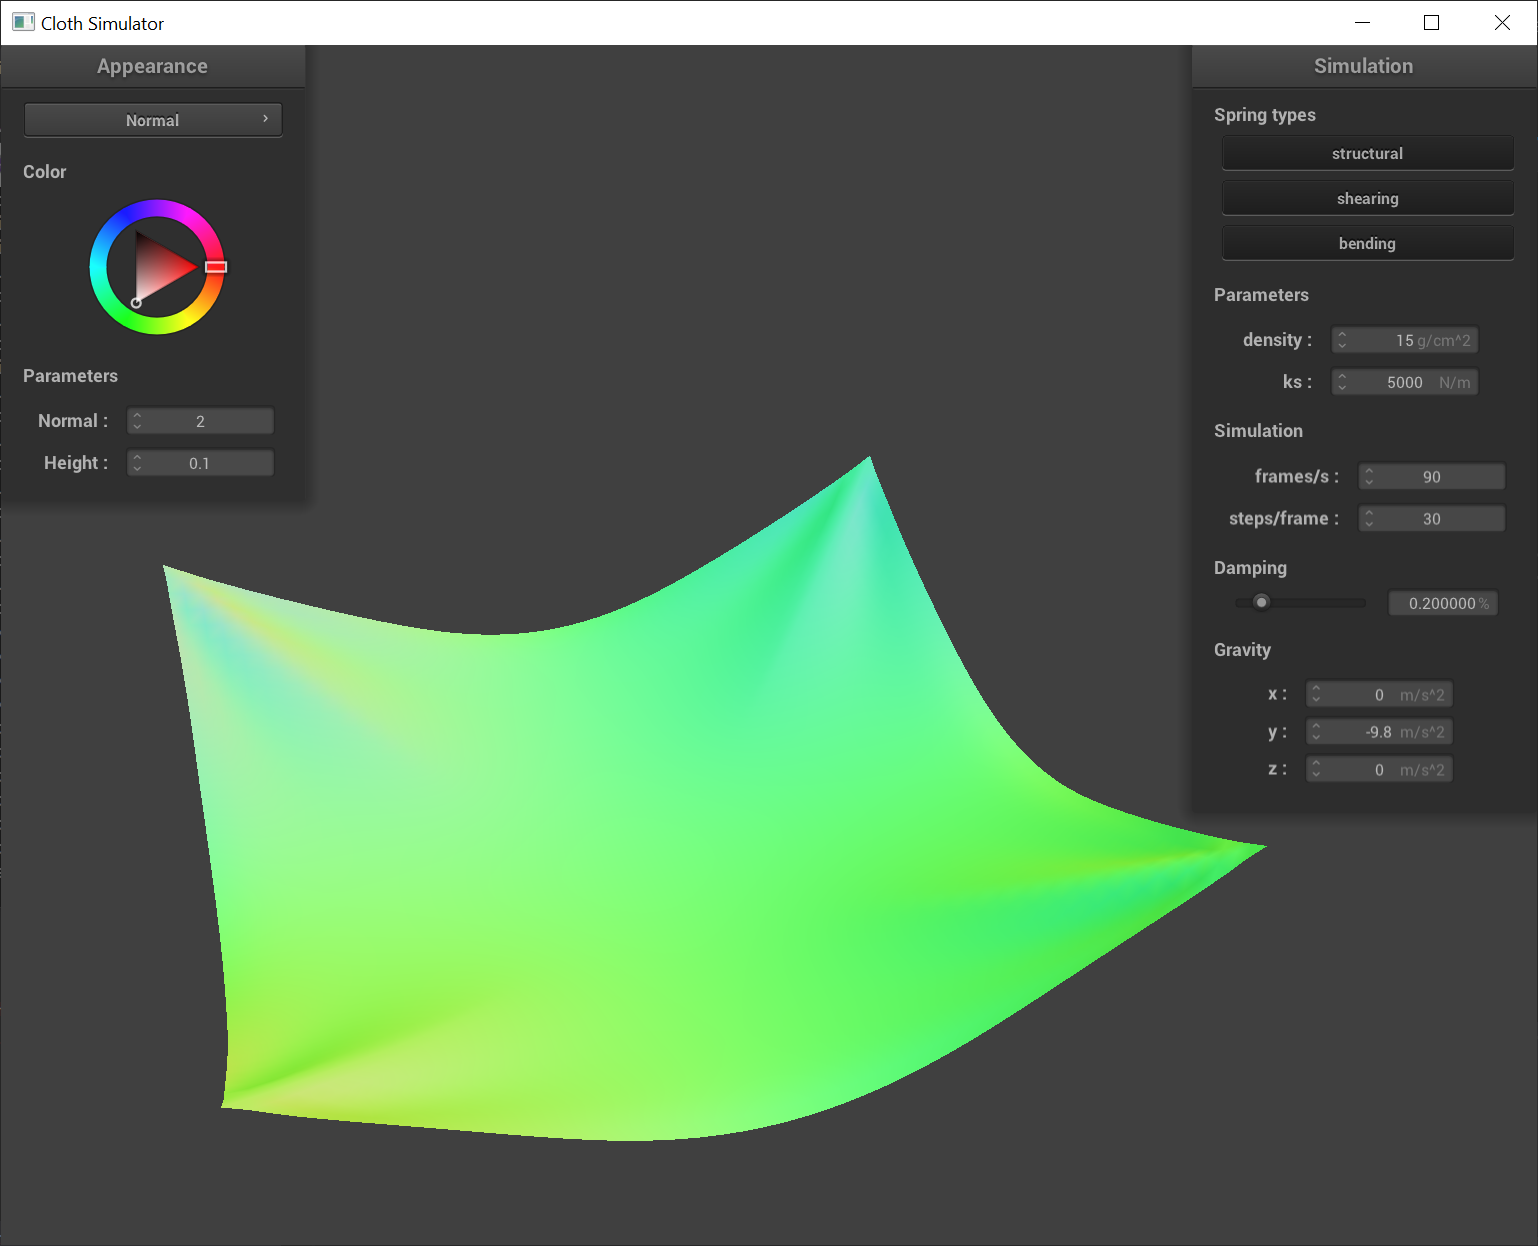
The density determines how "light" the cloth is - how strongly affected the cloth is by gravity. For a low density cloth, the cloth experiences much less fluctuation and bigger forces. In contrast, a high density cloth feels gravity much stronger and develops wrinkles at its rest state, experiencing more stretching and bouncing before settling.
Noticeable differences with default parameters?The high density cloth shows bends in the middle of the cloth because of the weight of the cloth against gravity - there's more droopiness because the unpinned middle is experiencing heavy weight.

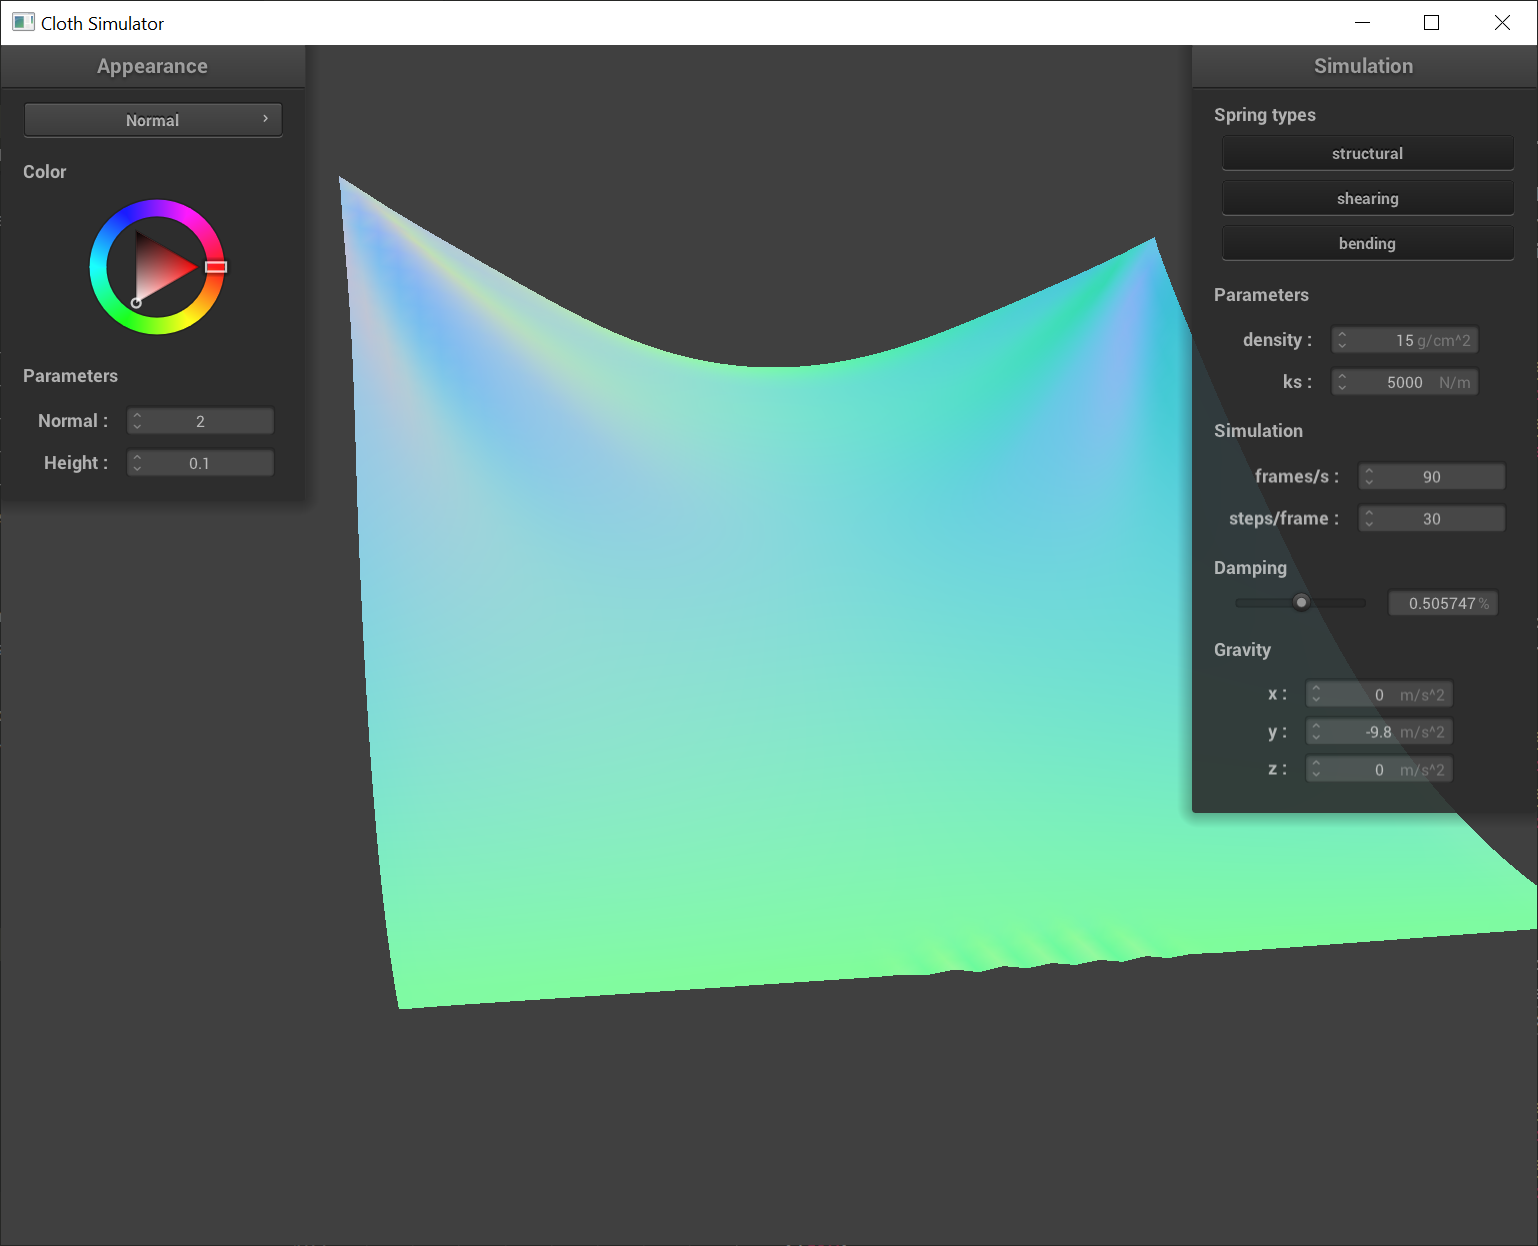
Damping determines how much we move a point mass each time step due to the velocity calculated in the simulation. For a lower damping parameter, we'd move a lot quicker but would also be subject to overshoot, whereas a higher damping would move slower per time step in Verlet integration.
Noticeable differences with default parameters?A low damping parameter causes the cloth to overshoot it's rest position whereas a high damping parameter tends to reach the rest position slower. Both parameters, however, result in the same end cloth.

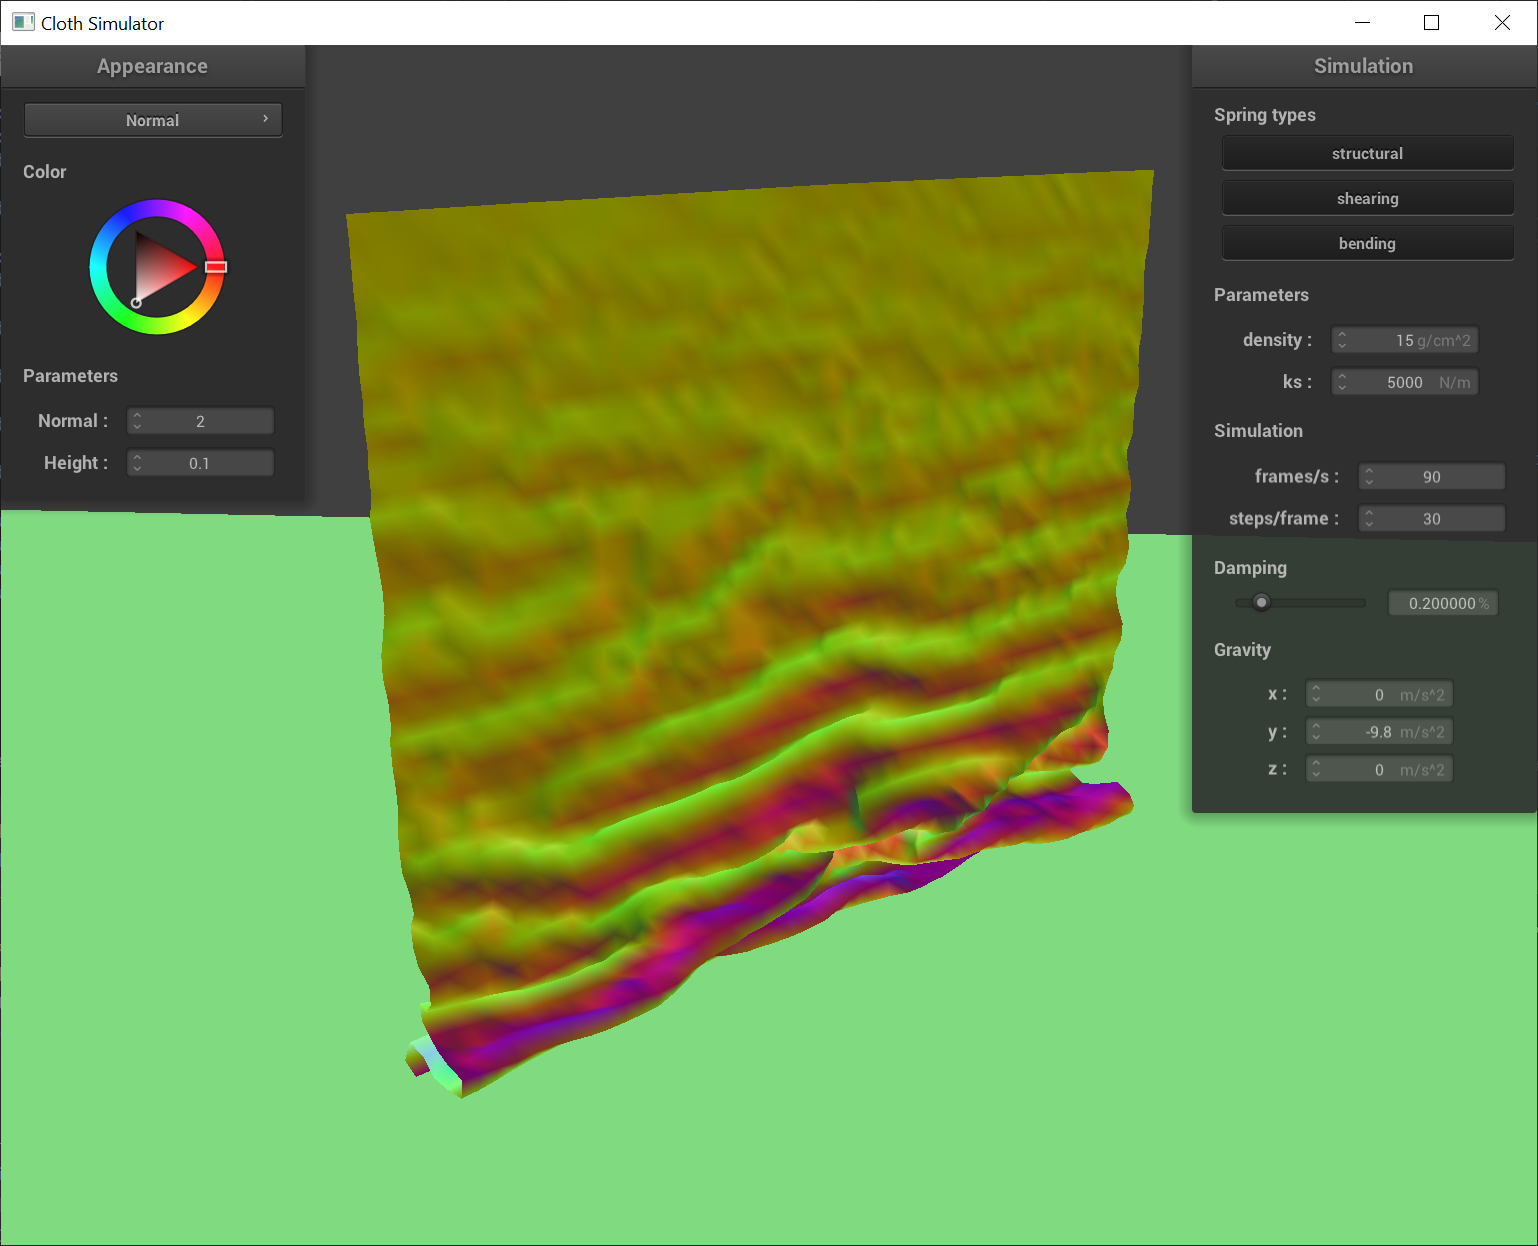
Part 3: Sphere and Plane Collision
Here, we implement functionality to simulate what it'd be like for a cloth to collide and cover a sphere or a plane.
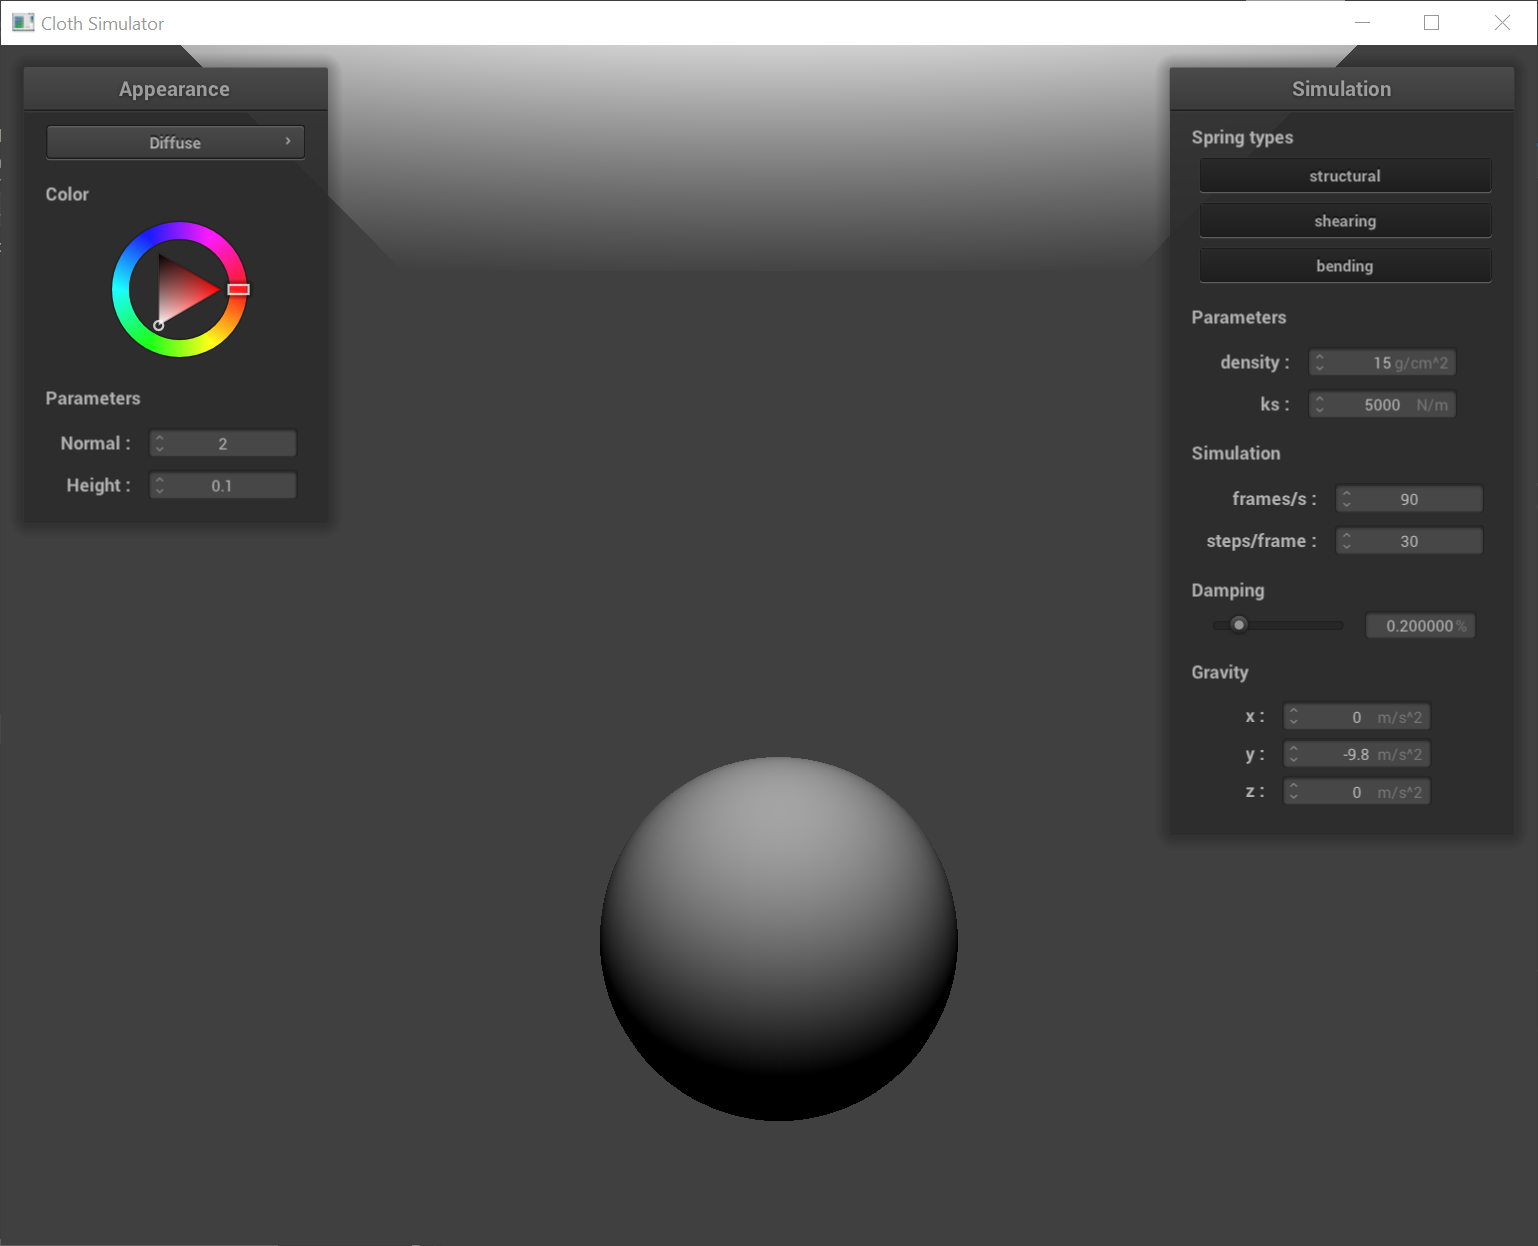
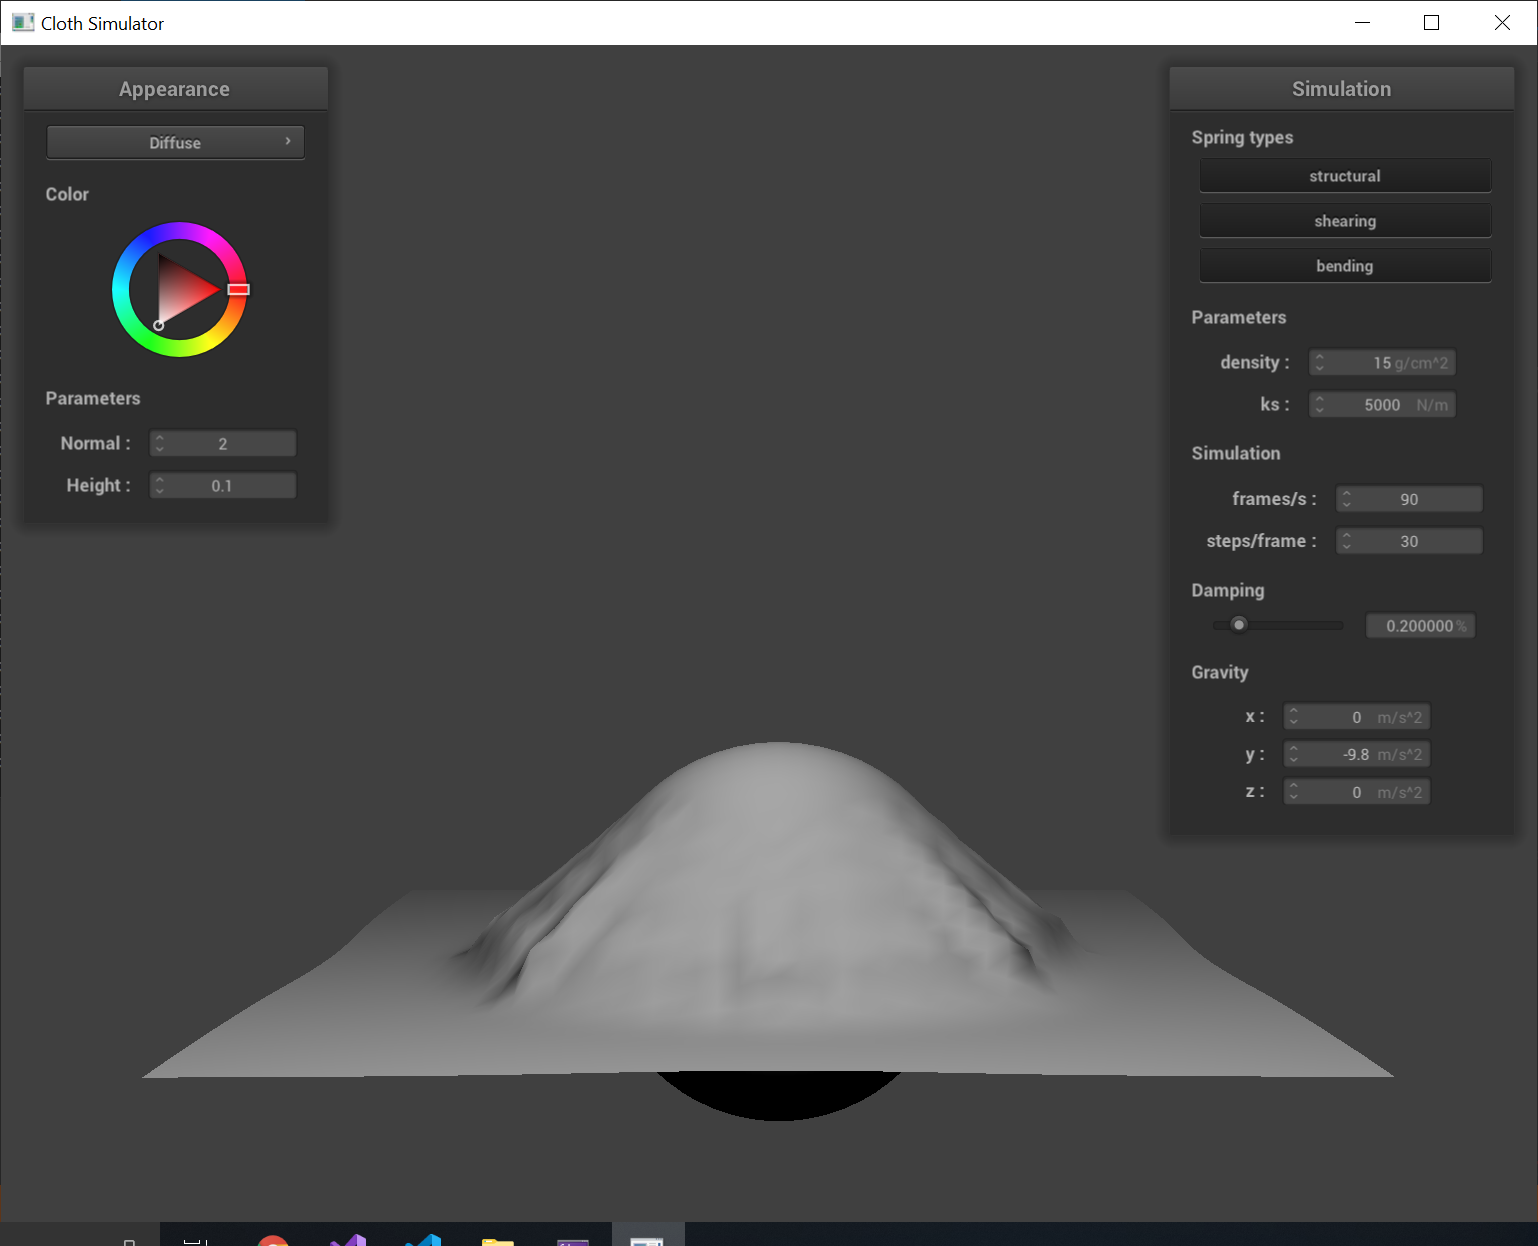
Pictures of a shaded cloth with varying ks values lying on a sphere.As we increase ks, we can see a notable increase in stiffness of the cloth. It doesn't droop over smoothly and there are less wrinkles. These wrinkles, however, stick outward more rather than directly down - showing the stiffness of the cloth and its resistance to gravity.
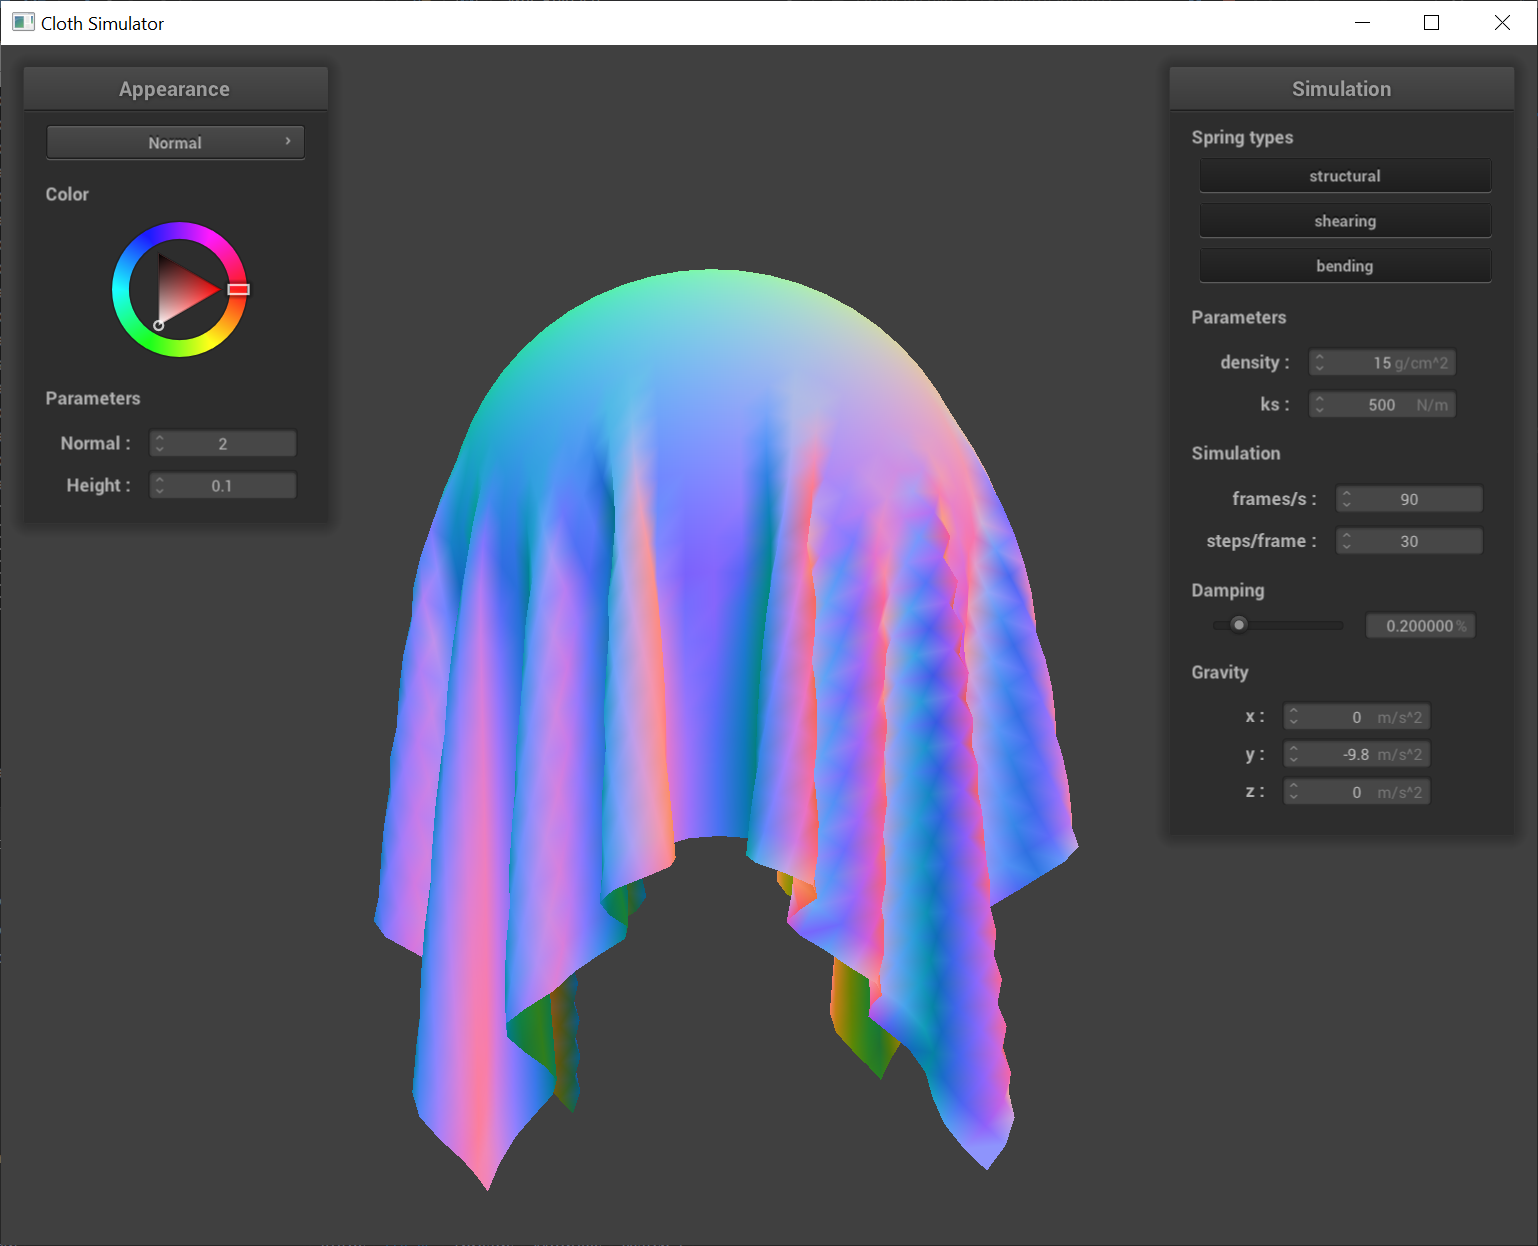
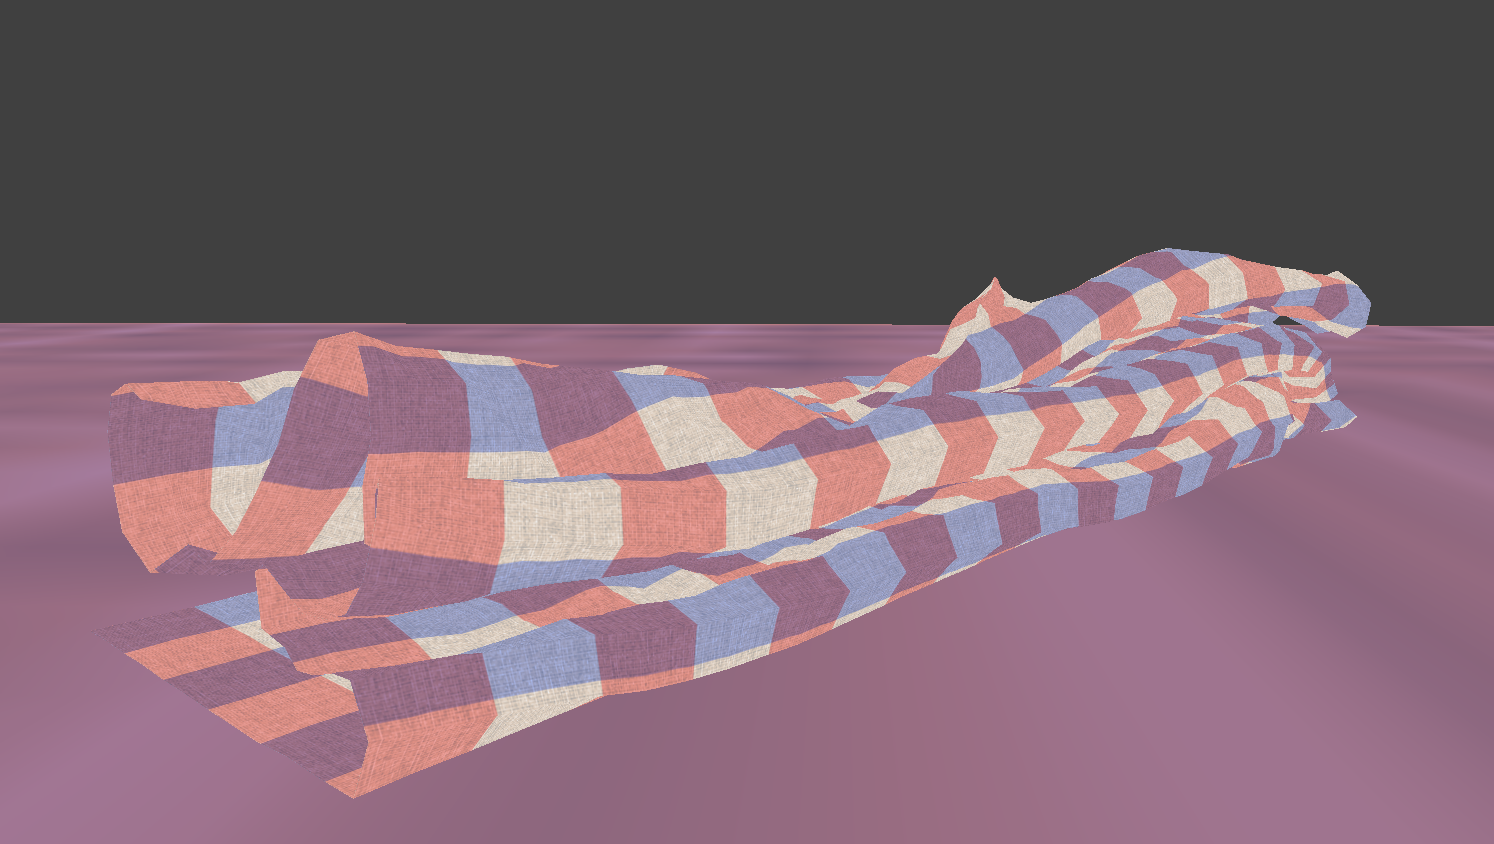
Part 4: Handling Self-collisions
Next, we implement support for the cloth folding against itself when it collapses due to external forces.
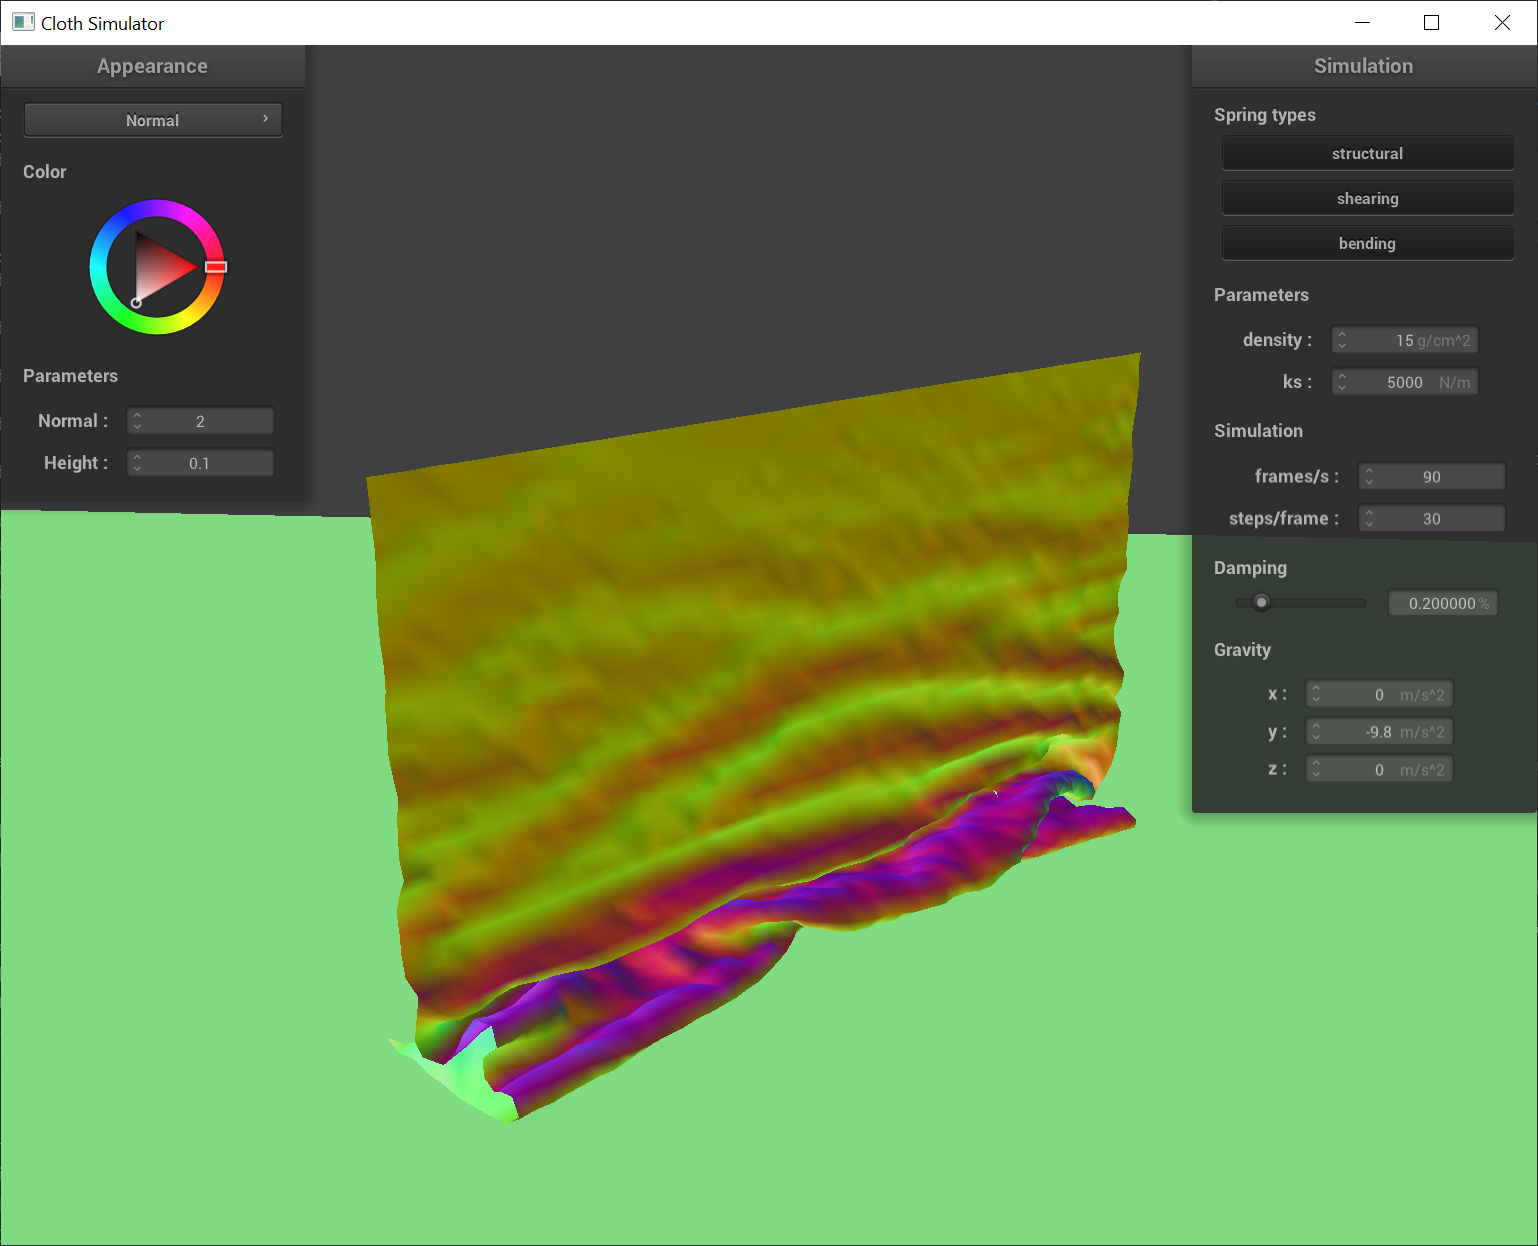
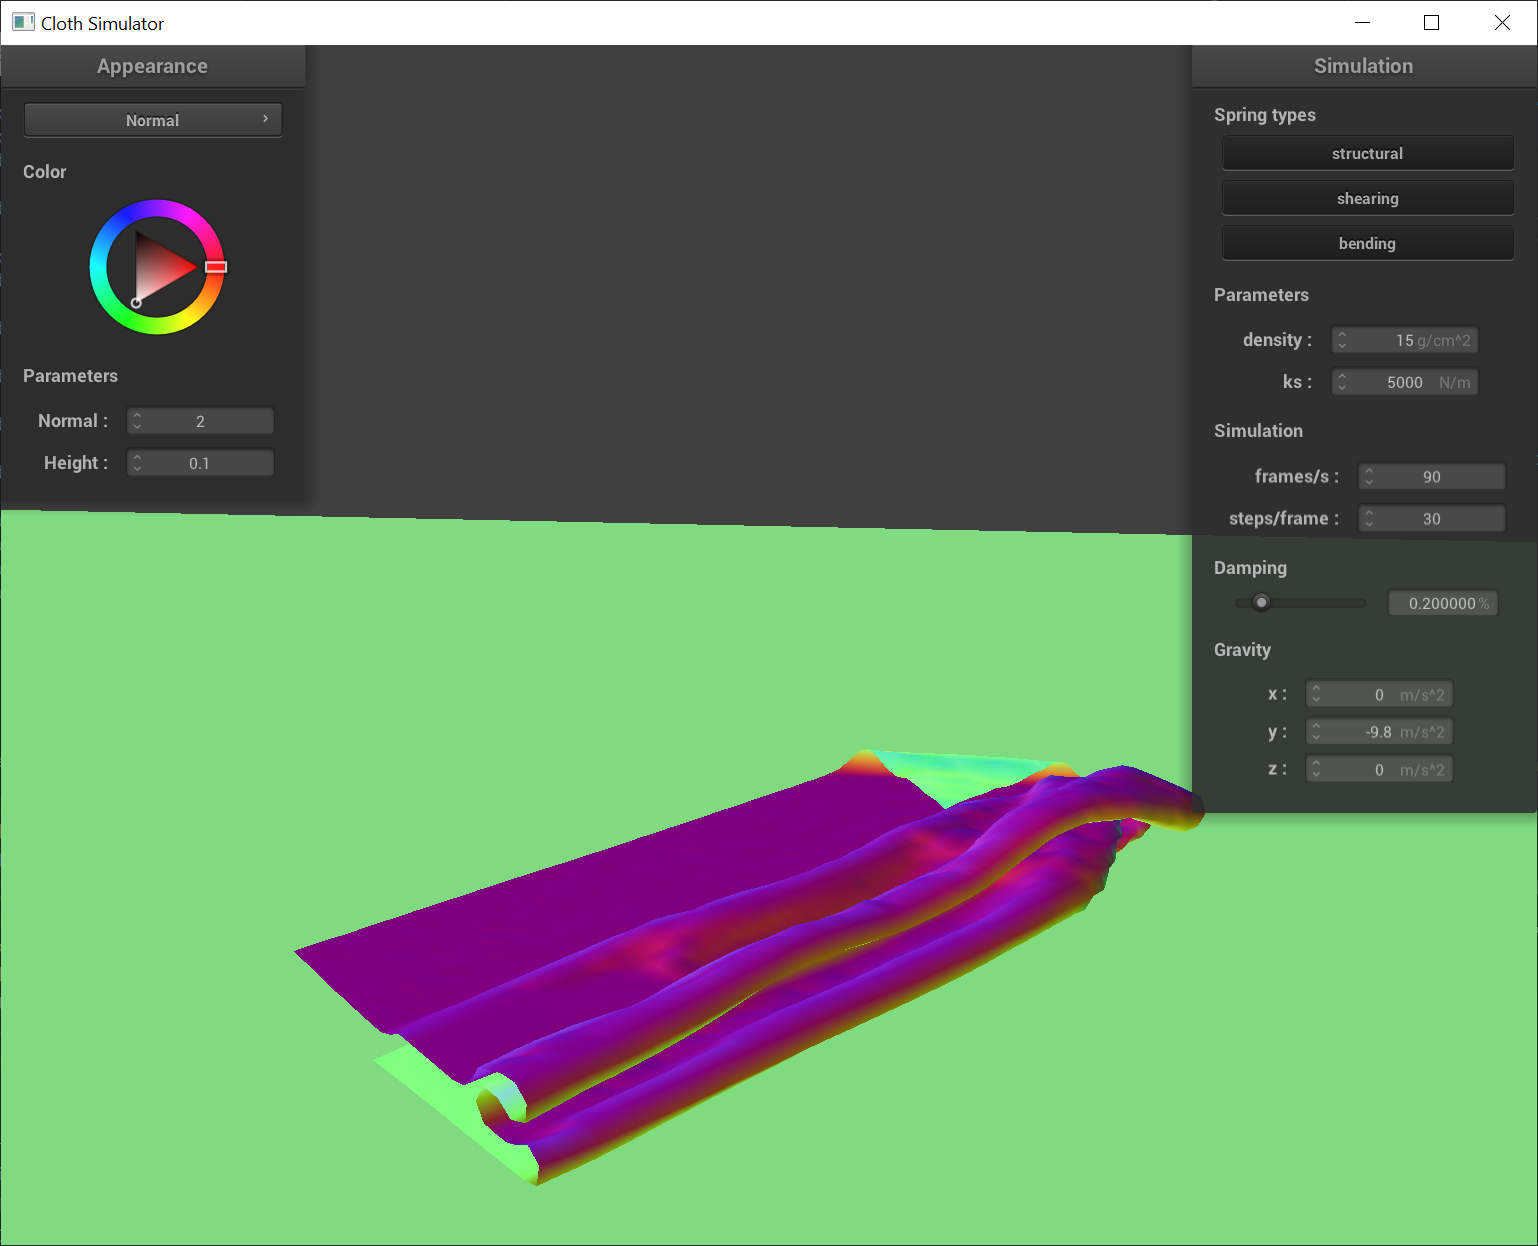
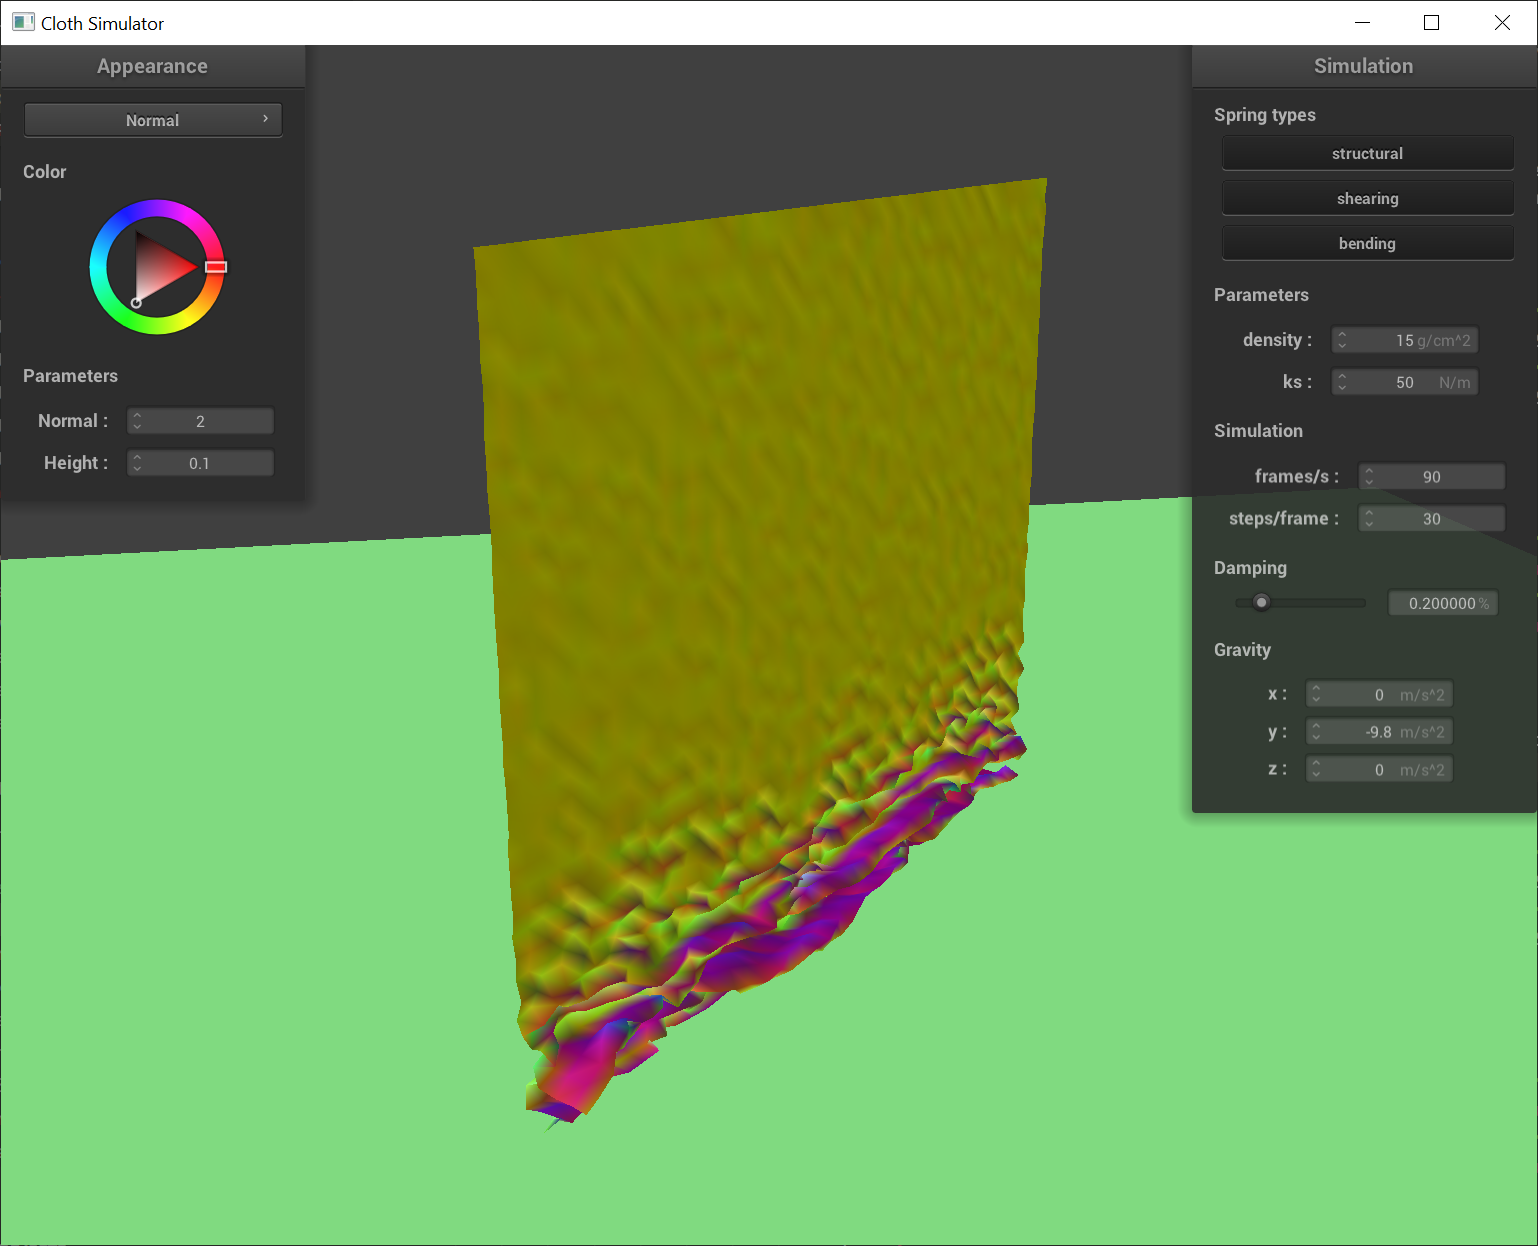
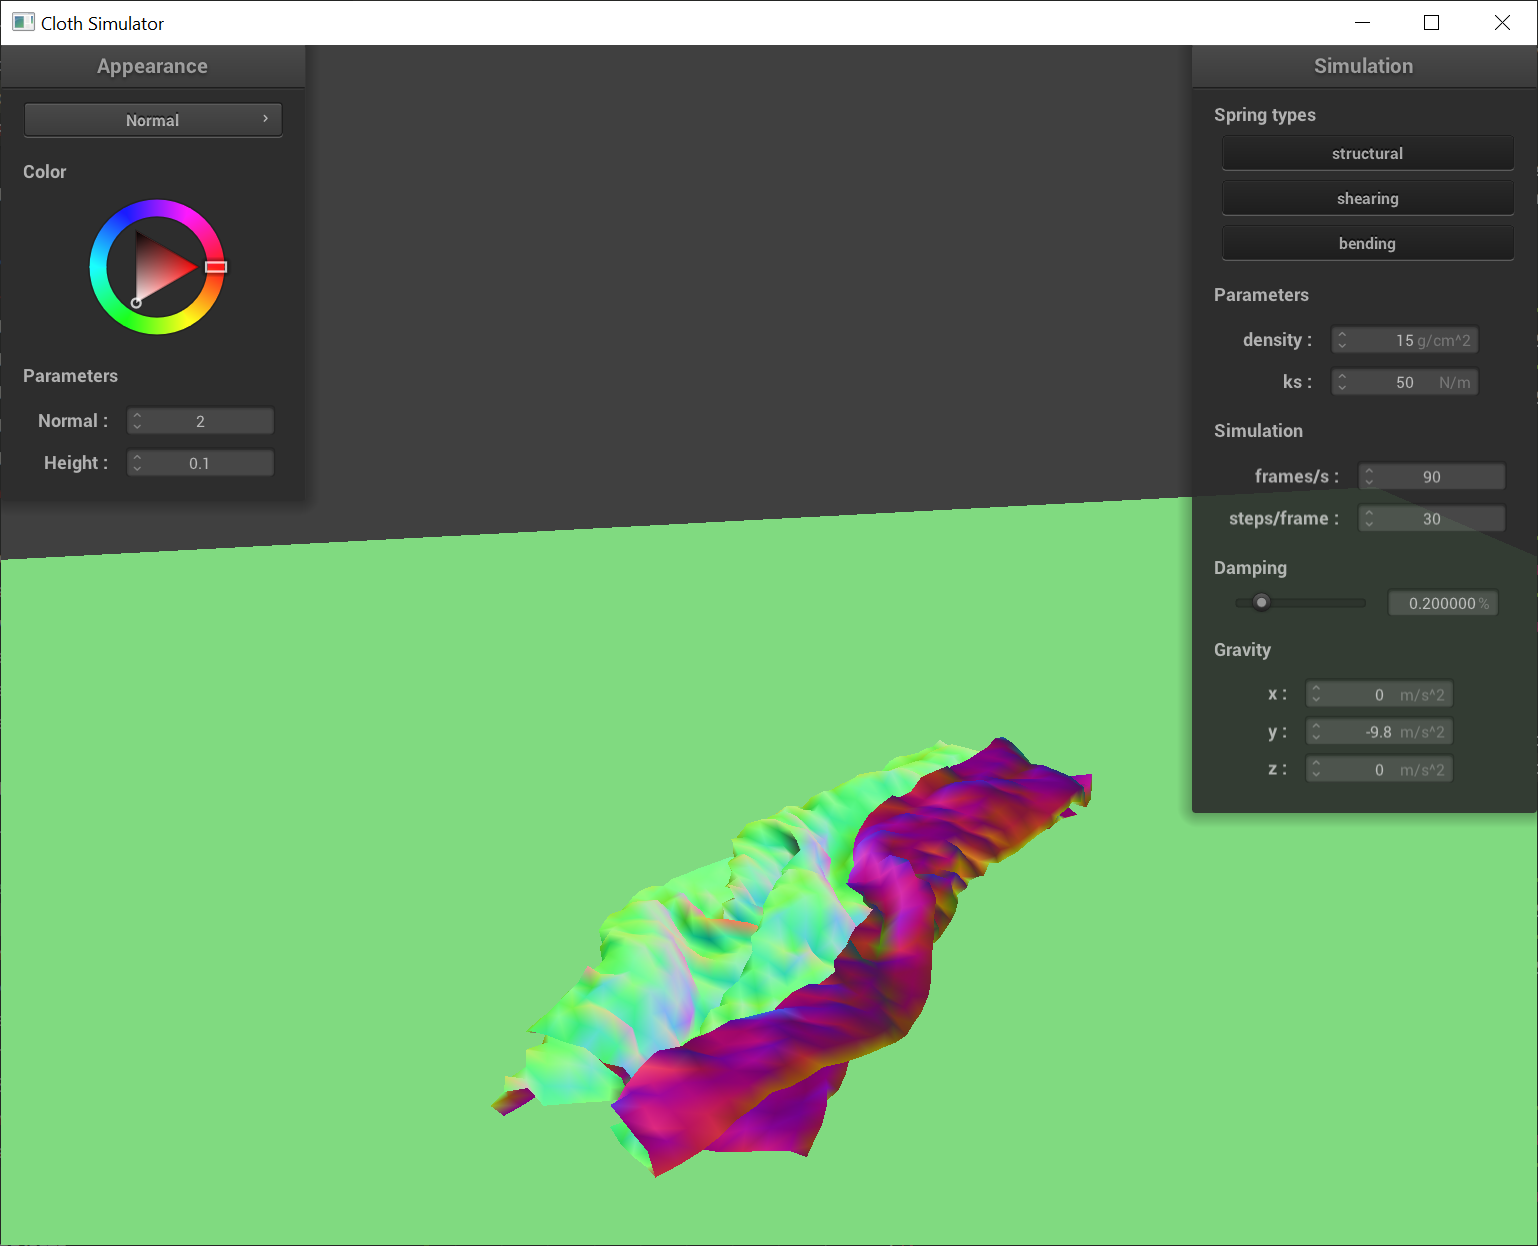
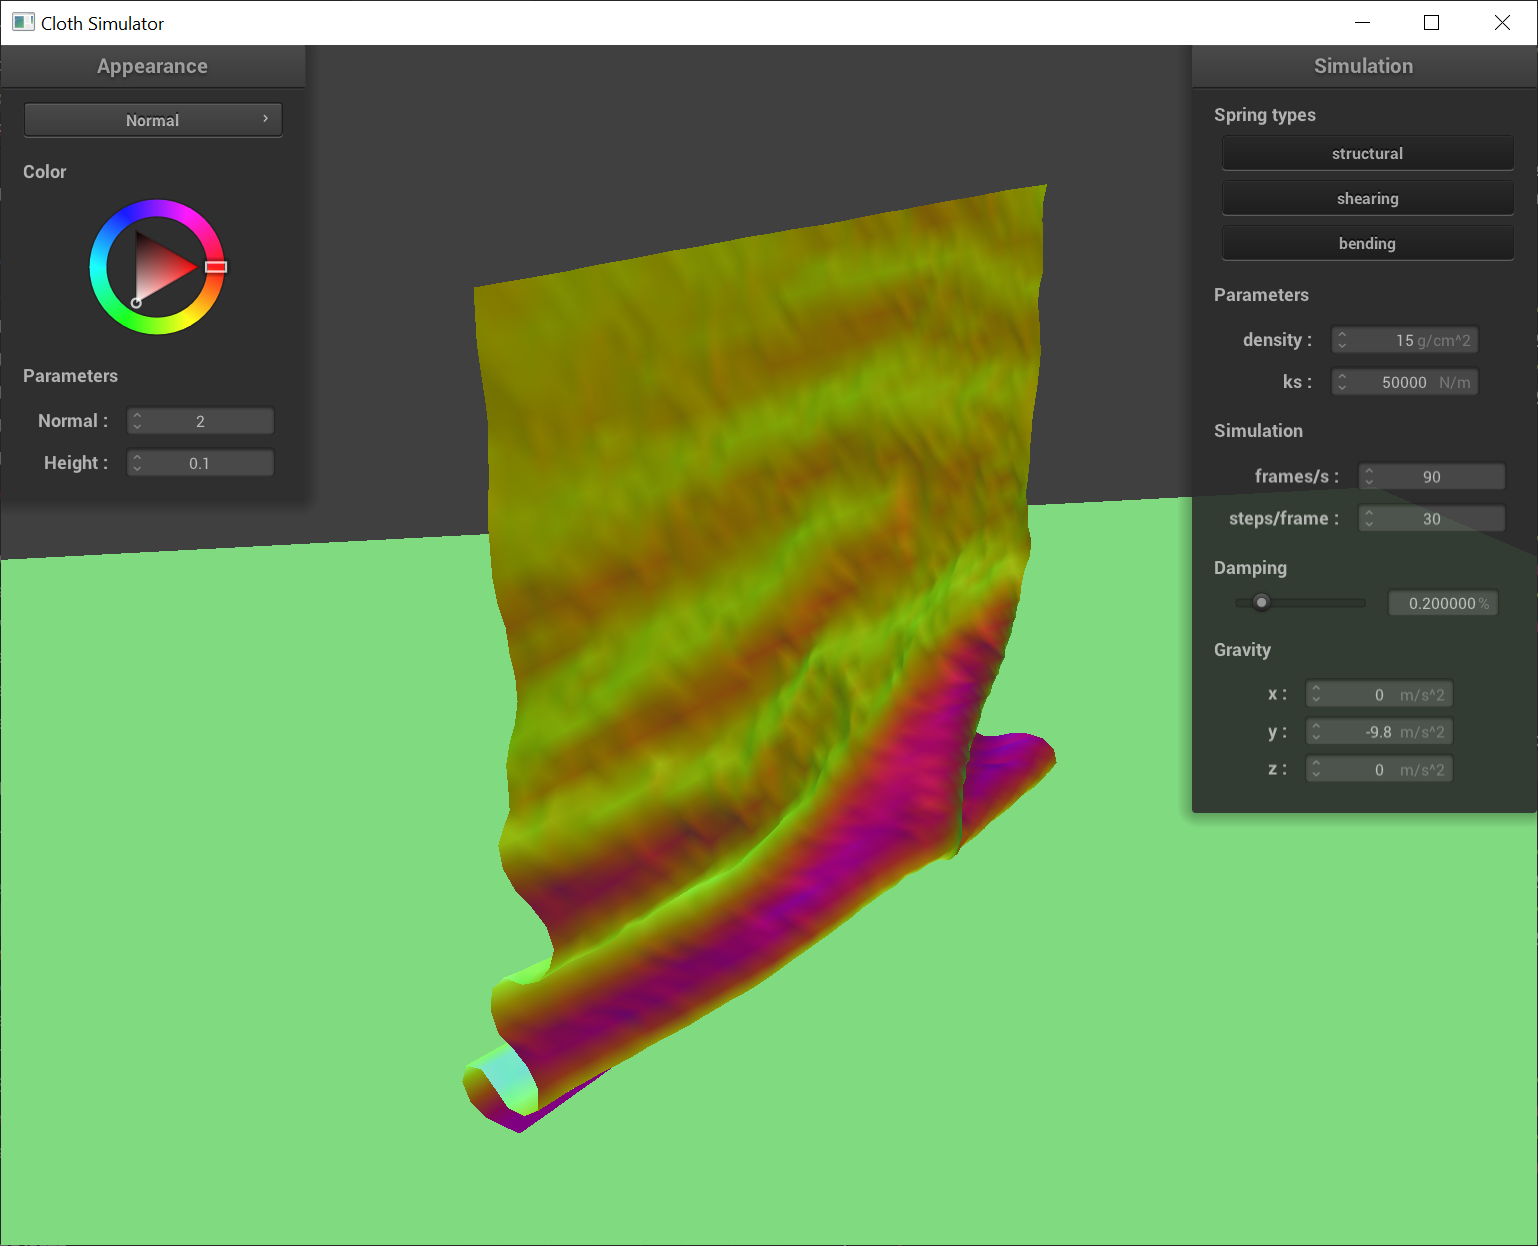
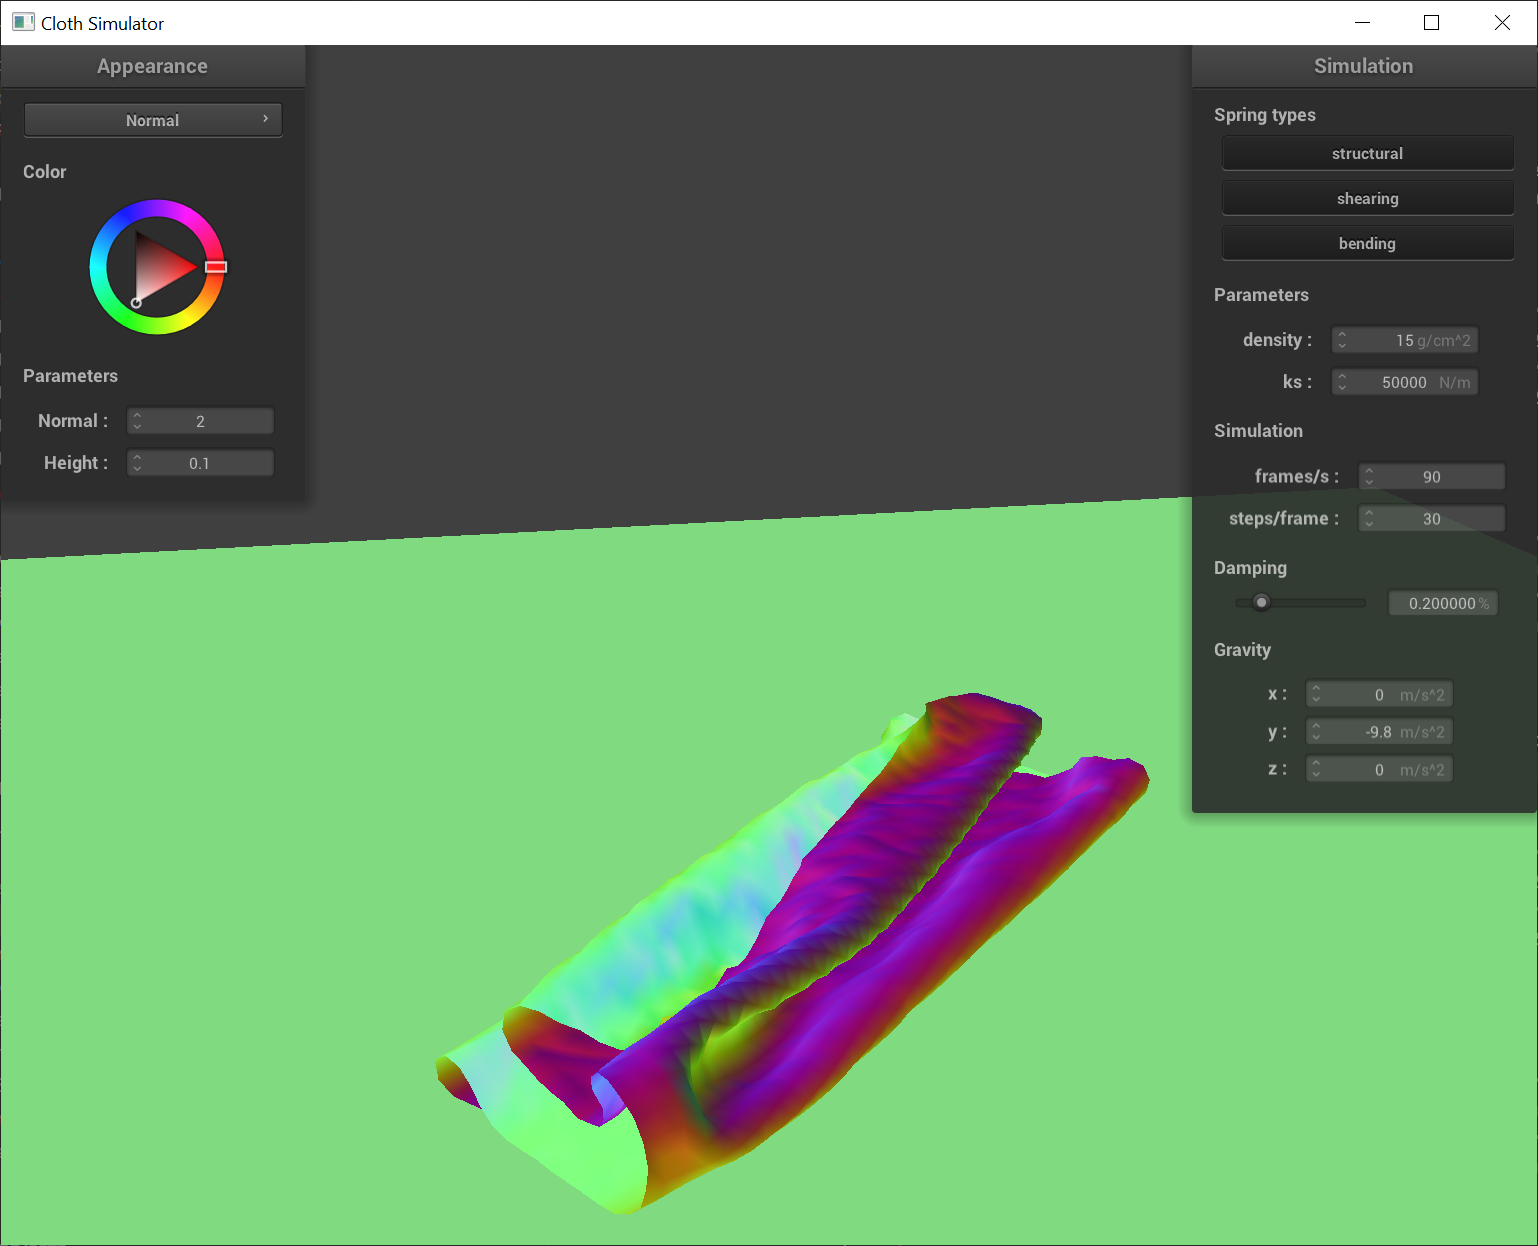
As said above, the denser the cloth, the more weight each point experiences from gravity. We can observe that the denser cloth has way more wrinkles and extreme folds. The lighter cloth also seems to fall slower.
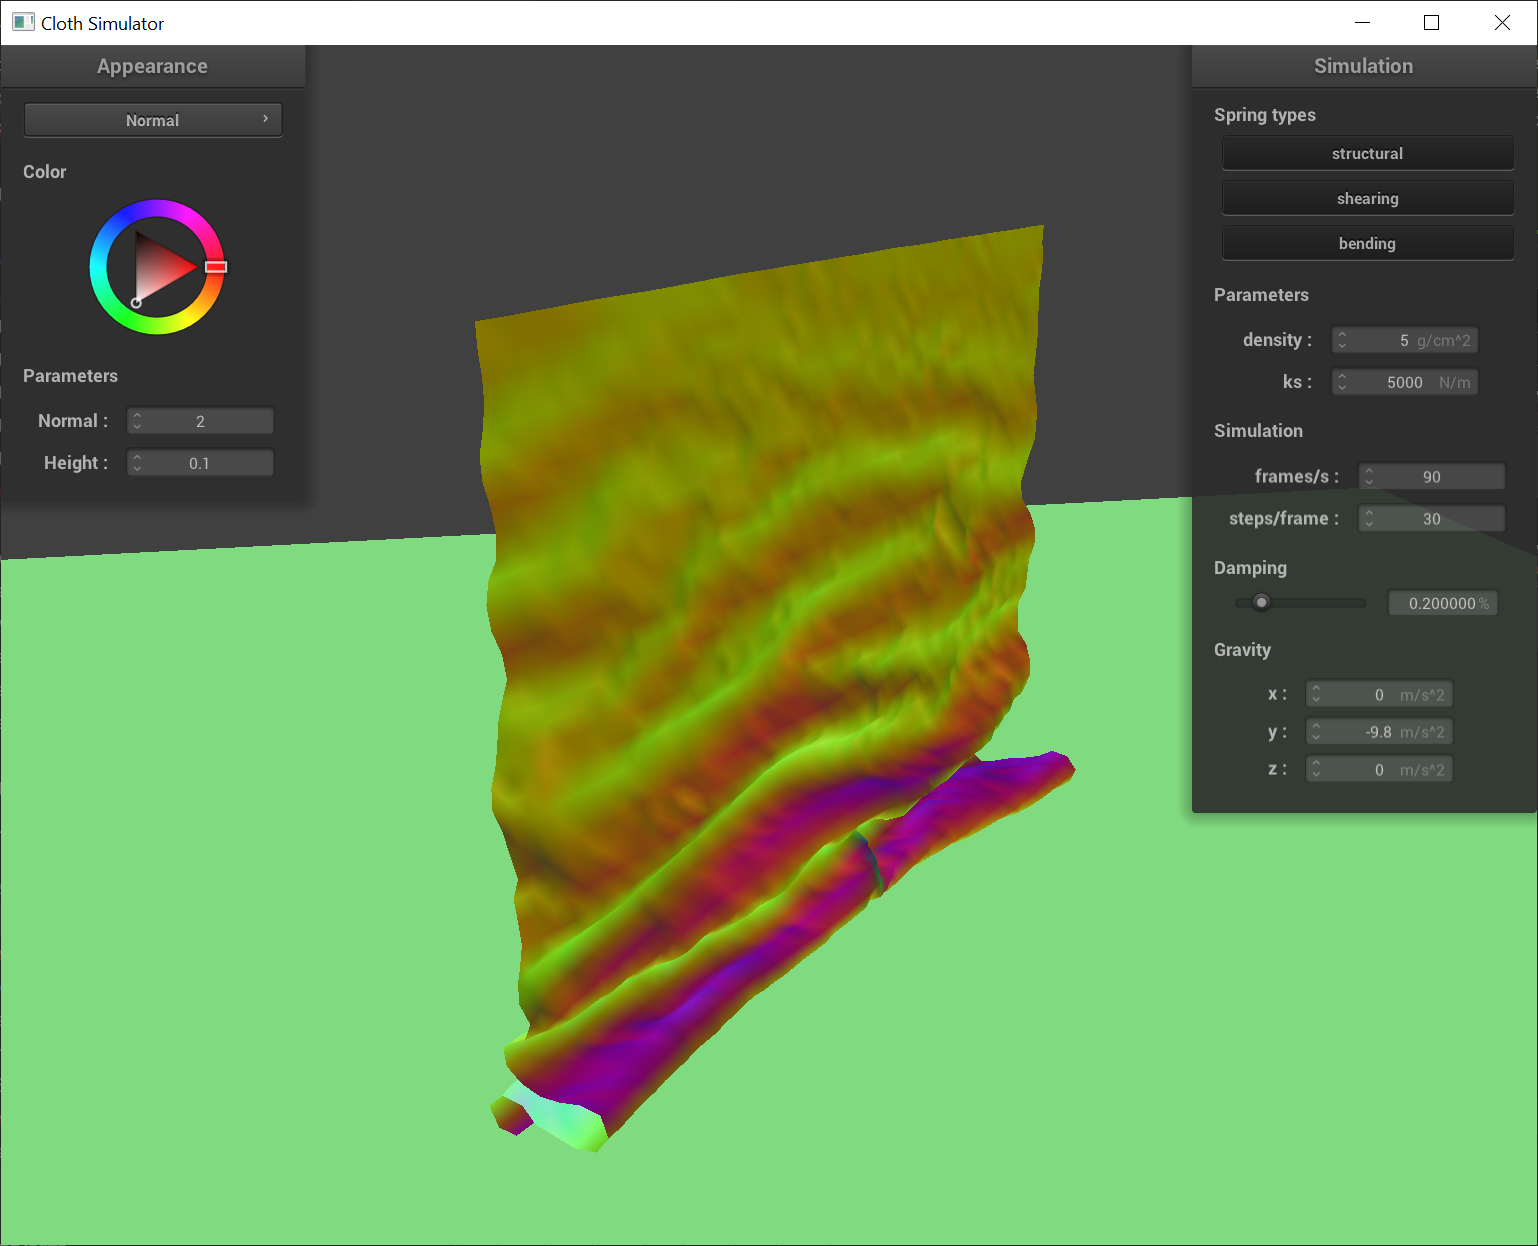
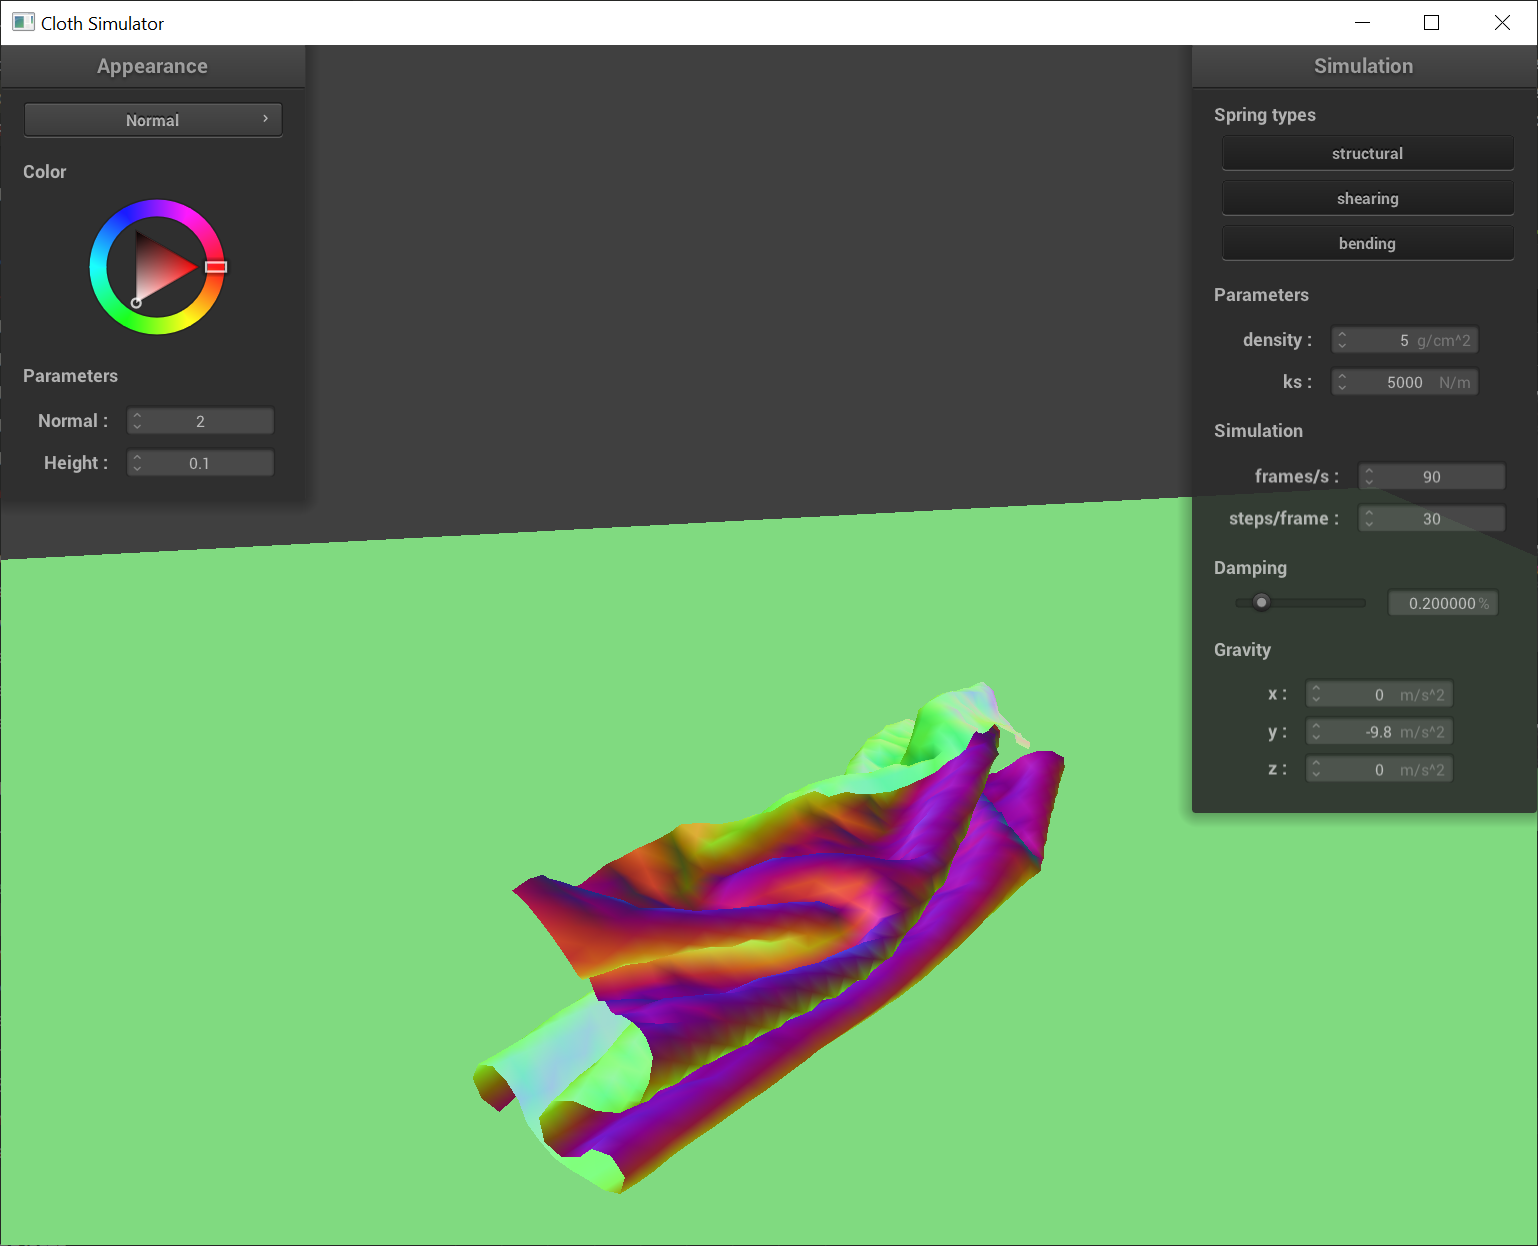
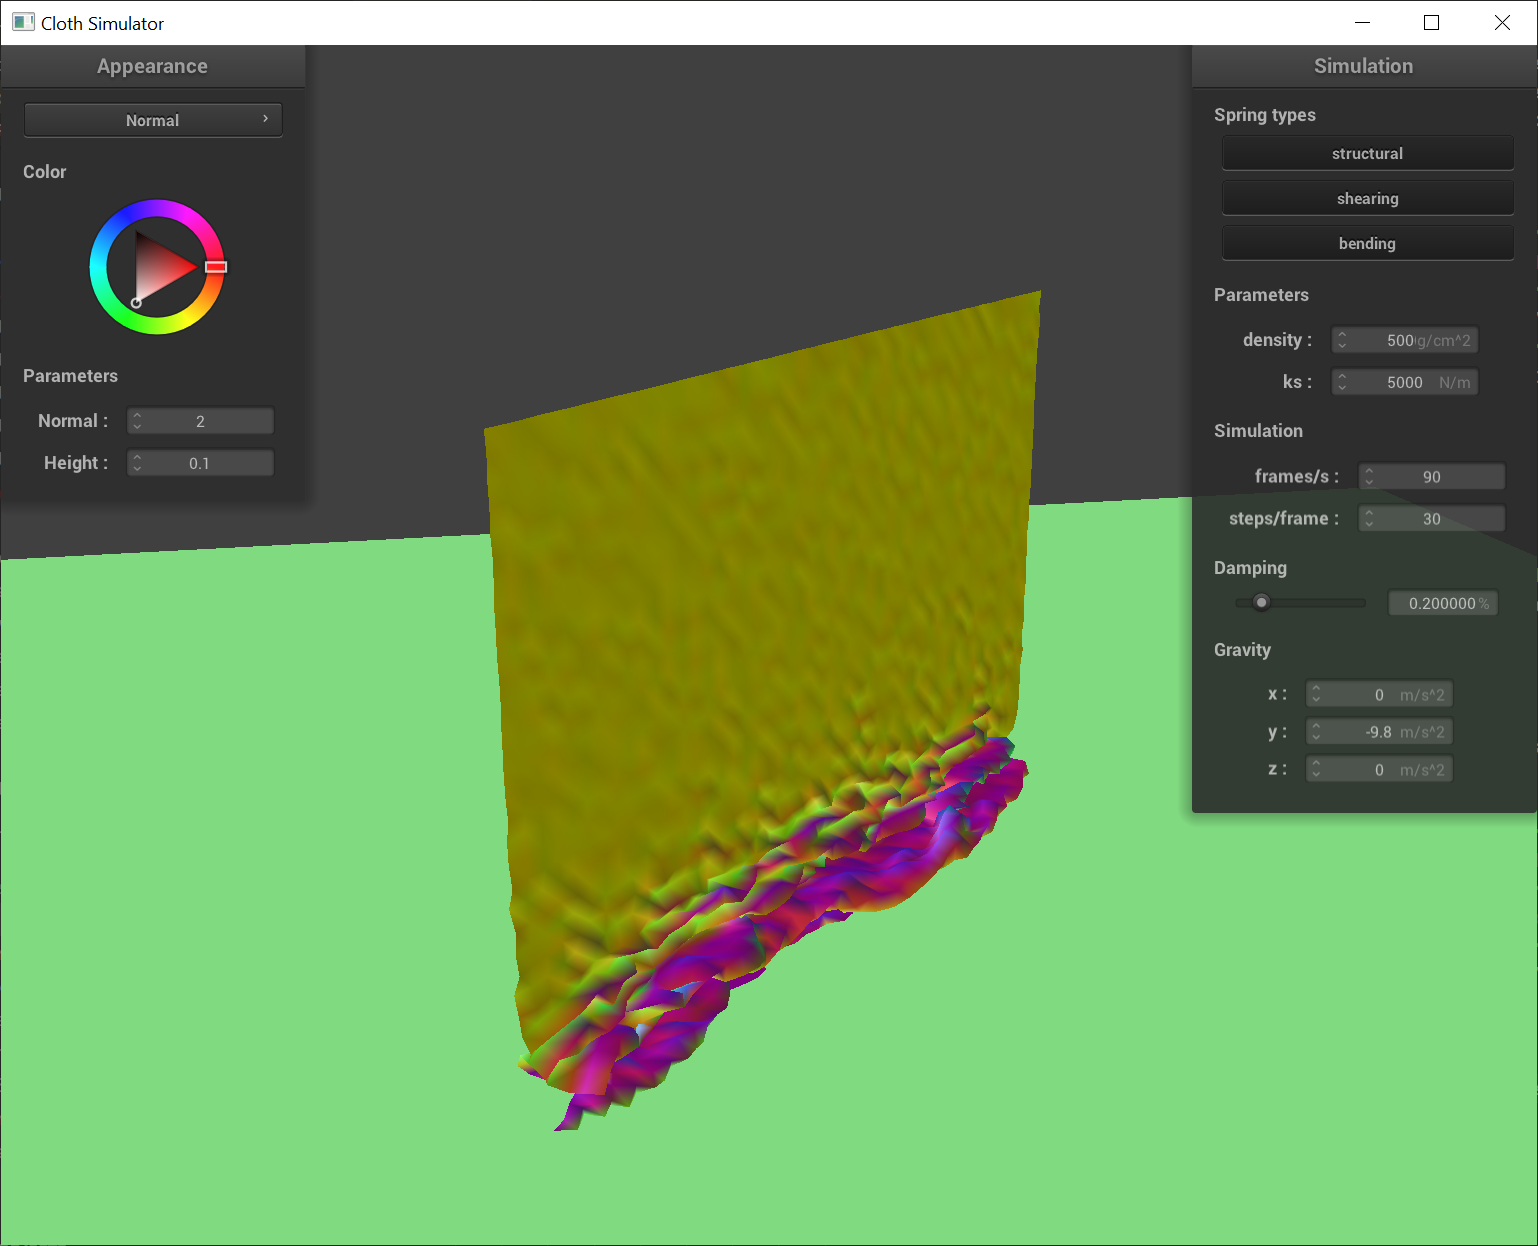
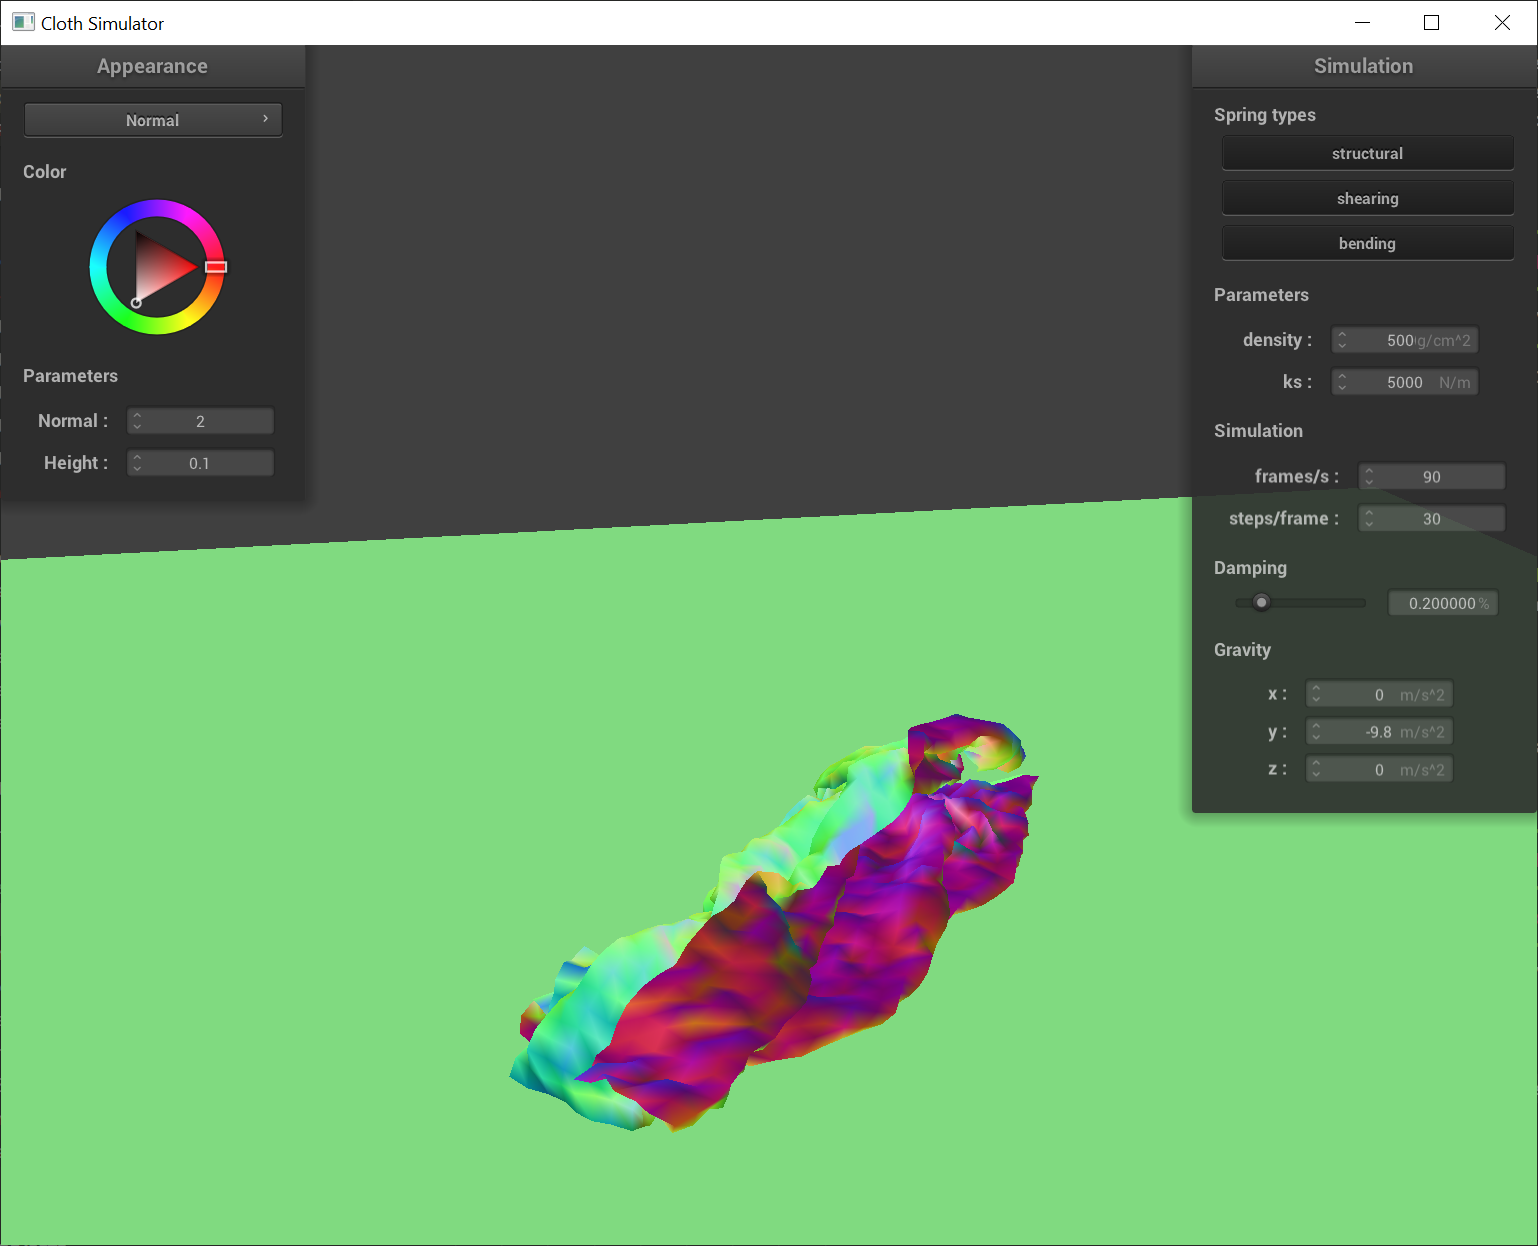
The larger the ks, the stiffer the cloth. The stiffer the cloth, the less folds and wrinkles there'll be - the folds appear larger and smoother.
Part 5: Shaders
In this part, we use GLSL to implement vertex and fragment shaders to color our cloth.
What is a shader program and how do vertex and fragment shaders work?A shader program is an isolated program that runs in parallel with the rendering program that computes the color of each fragment (pixel or subpixels in some cases). Vertex shaders take as input the fragment location, normal, and tangent vectors in model space and output the fragment location, normal, and tangent vectors in screen space. Within the vertex shader, transformations can be done to slightly modify a fragment location in screen space to create some depth and texture effects on the fragment to show up in screen space. Next, fragment shaders take the outputs of a vertex shader and calculate a color for each fragment. Different shaders are defined for different material. Essentially, a fragment shader takes into account light sources in the environment and attributes of the fragment we want to color, as well as a color mapping to determine the output color of the object as it would appear in the view of an observer. This color is then returned to the rendering program and displayed on the user's screen.
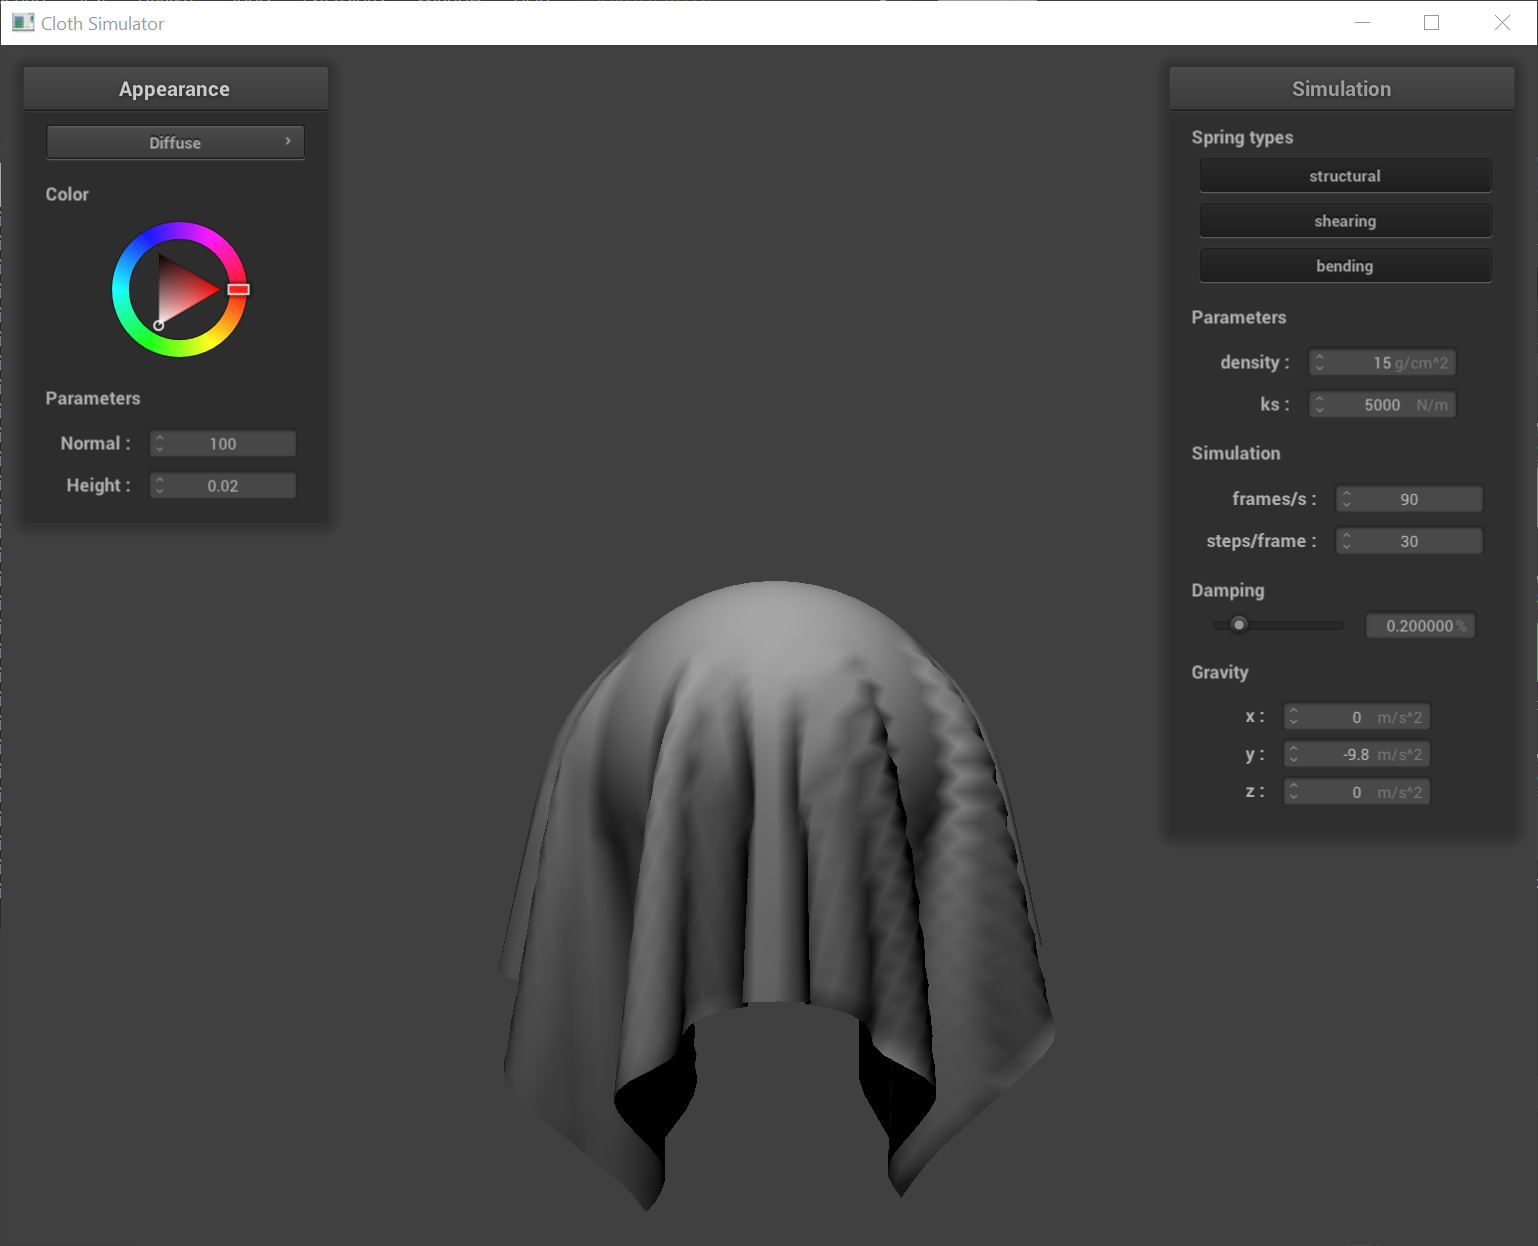
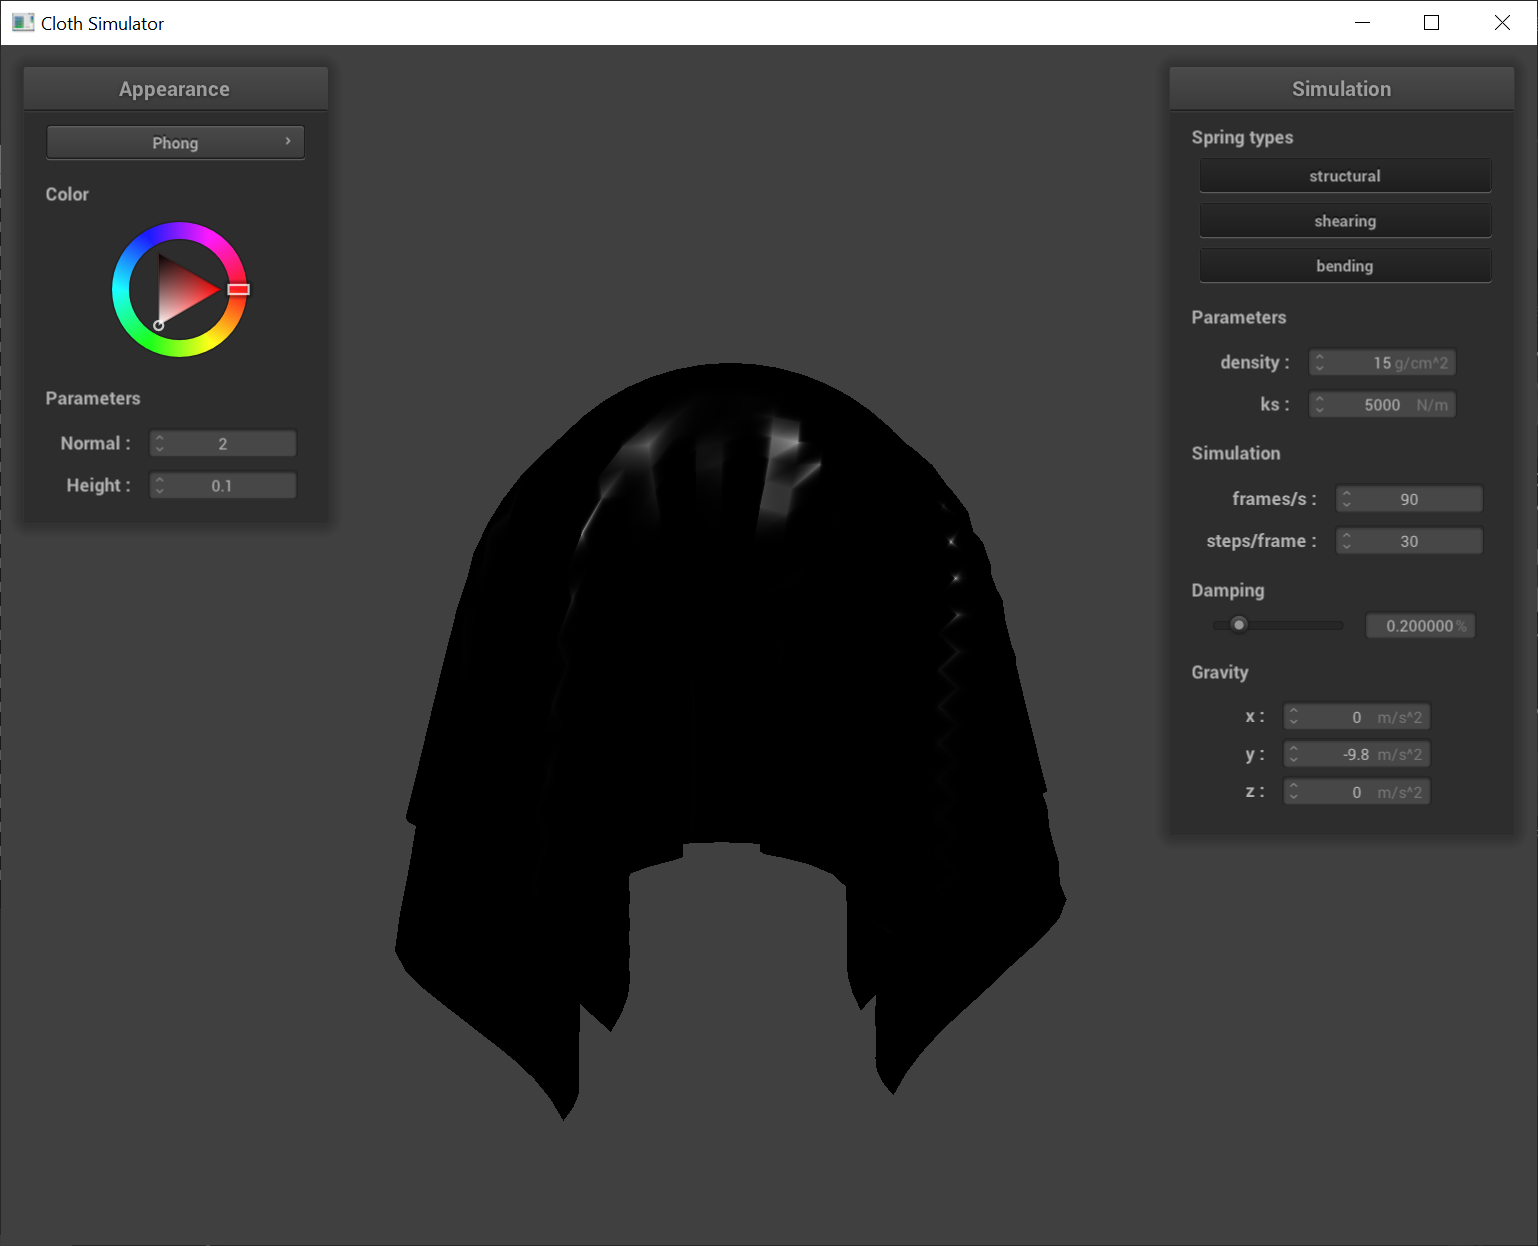
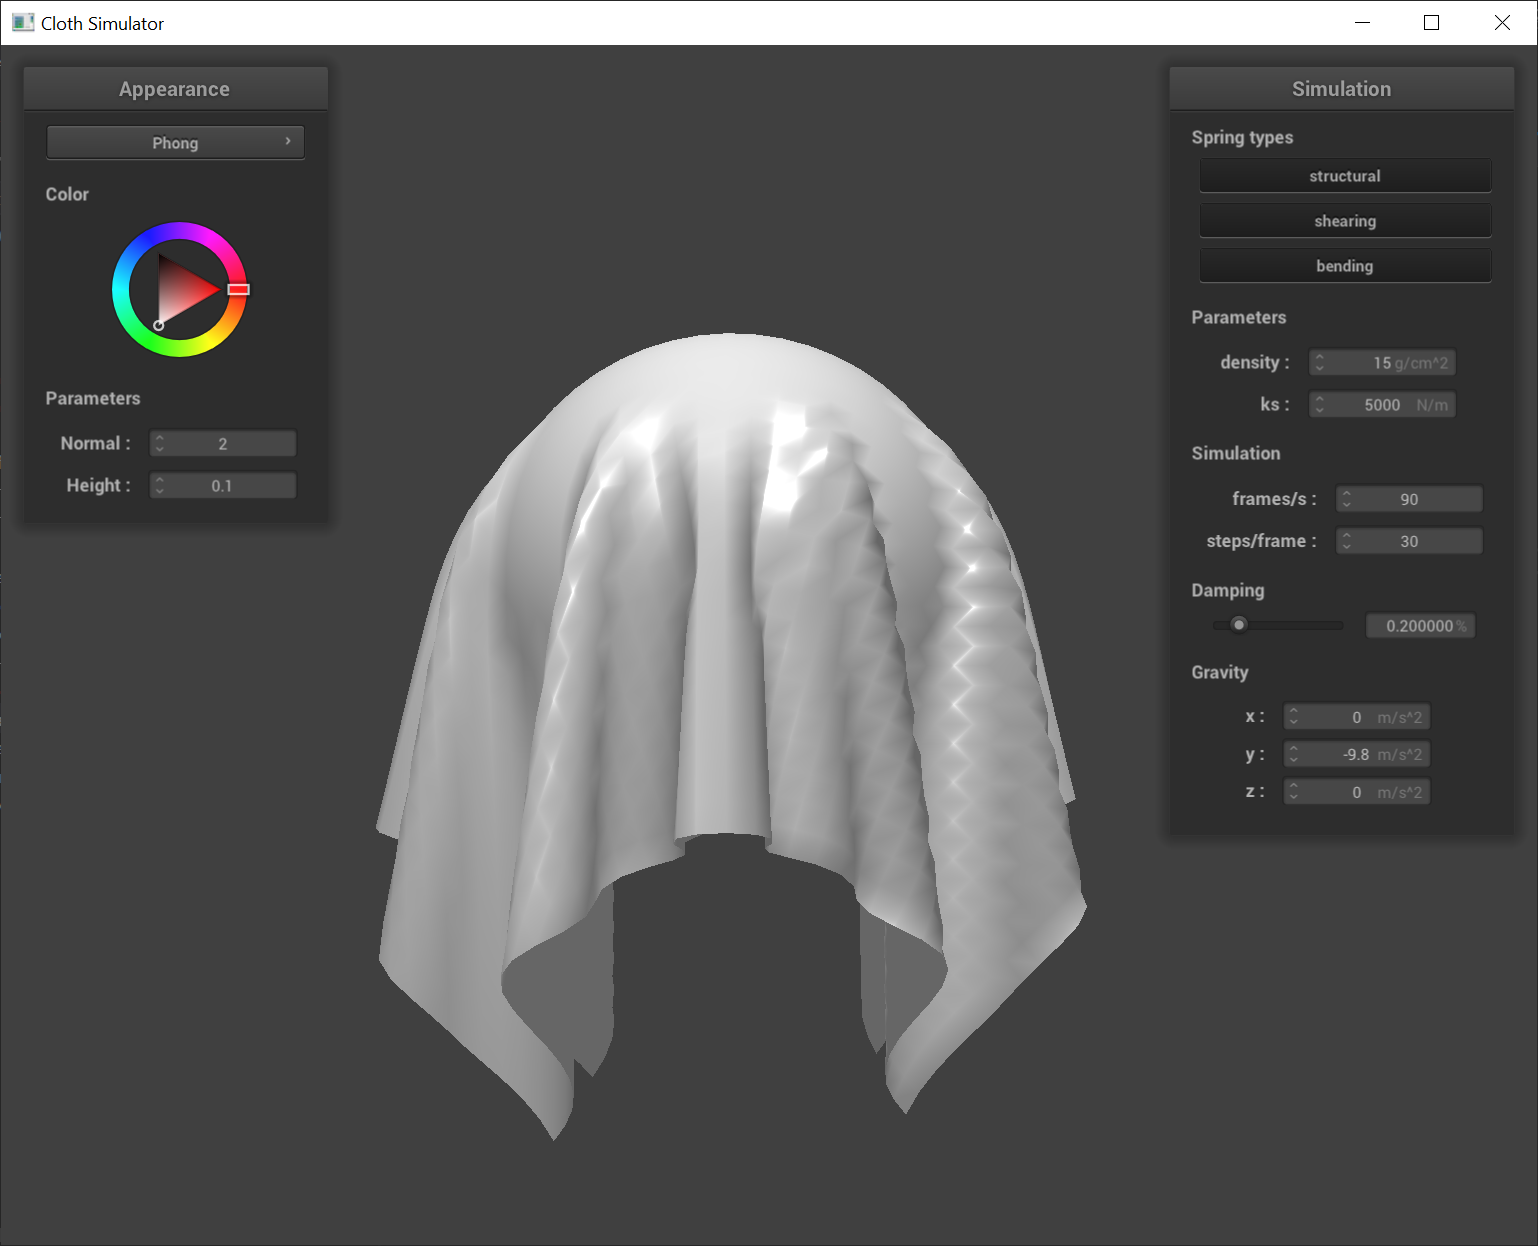
There are three main identifiable types of lighting that appear on different materials in a scene: ambient, diffuse, and specular lighting. The Blinn-Phong model calculates each of these components of light reflected off an object and then adds them together to get the full sense of how light leaves different parts of an object. Below are 3 pictures of the components isolated.

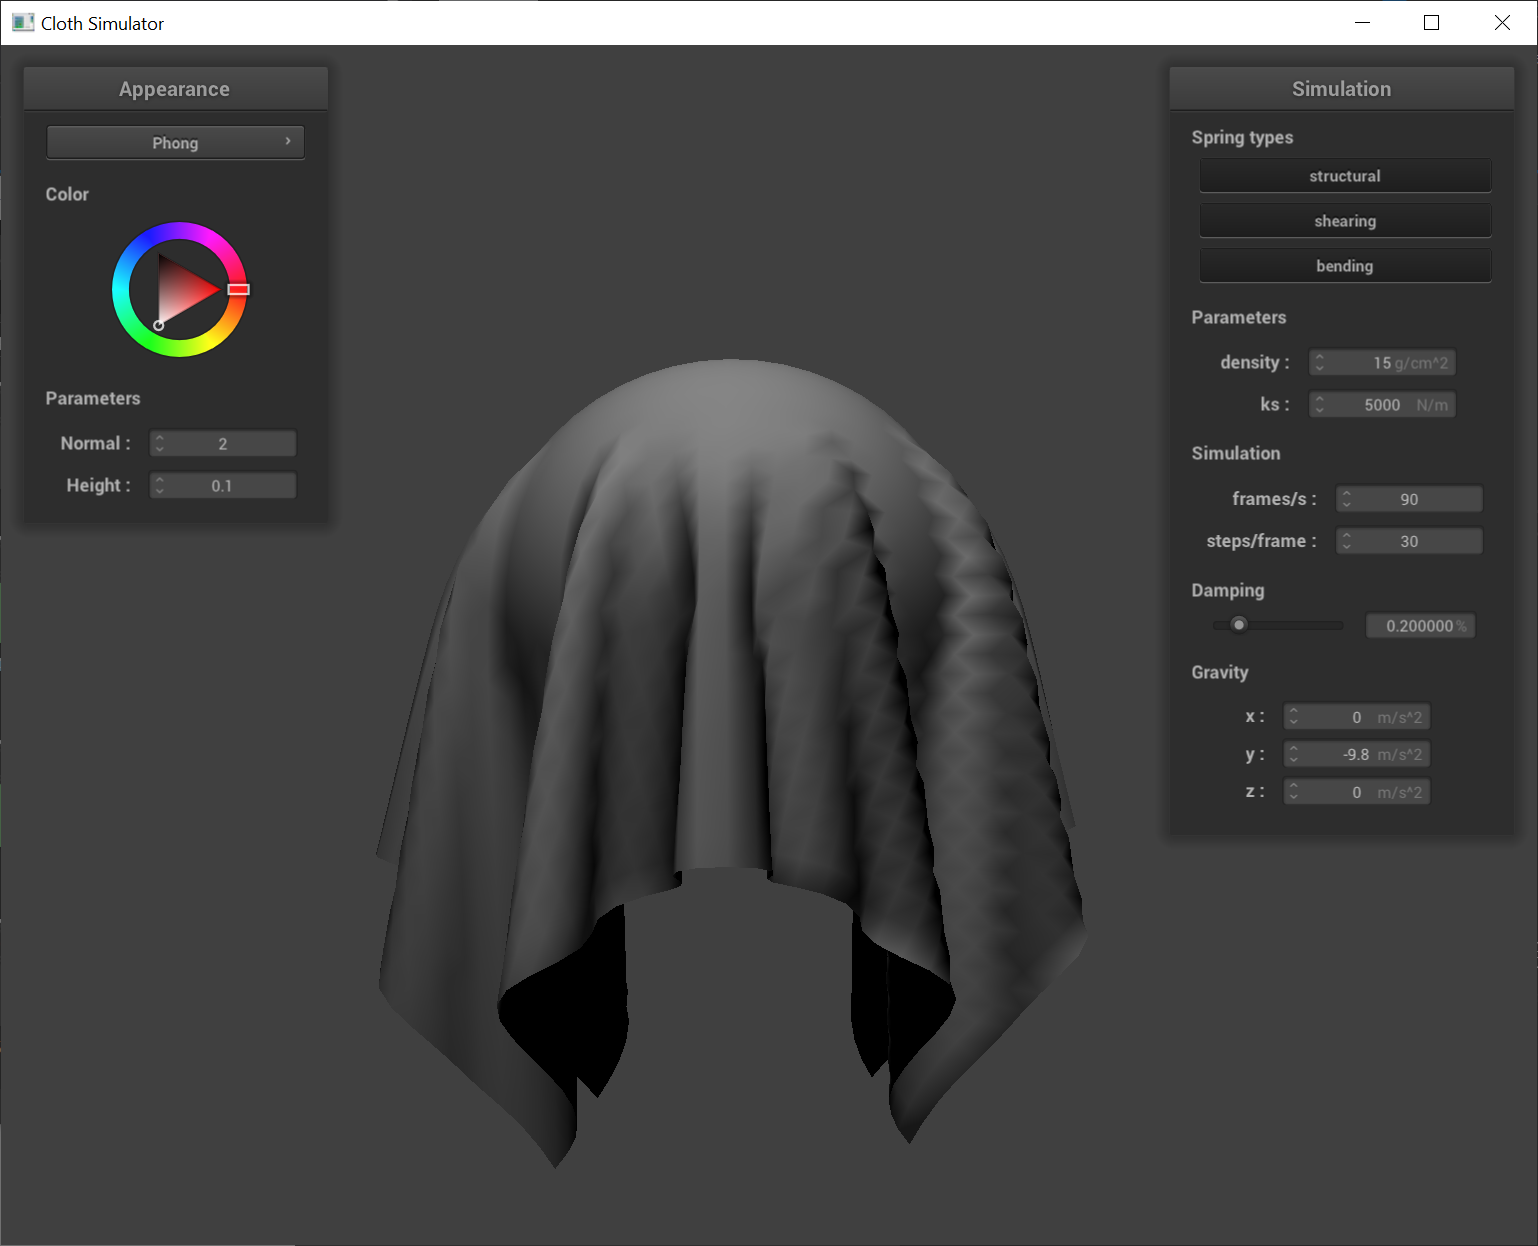
Combining these 3 components we get a more realistic calculation of lighting given the surface normals of the material. For the tunable parameters, I used ka = 0.4, Ia = 1, kd = 0.8, ks = 1.5, p = 50.
Using barycentric coordinates, we can interpolate from the texture map to a fragment in model space and then transform that point into screen space.
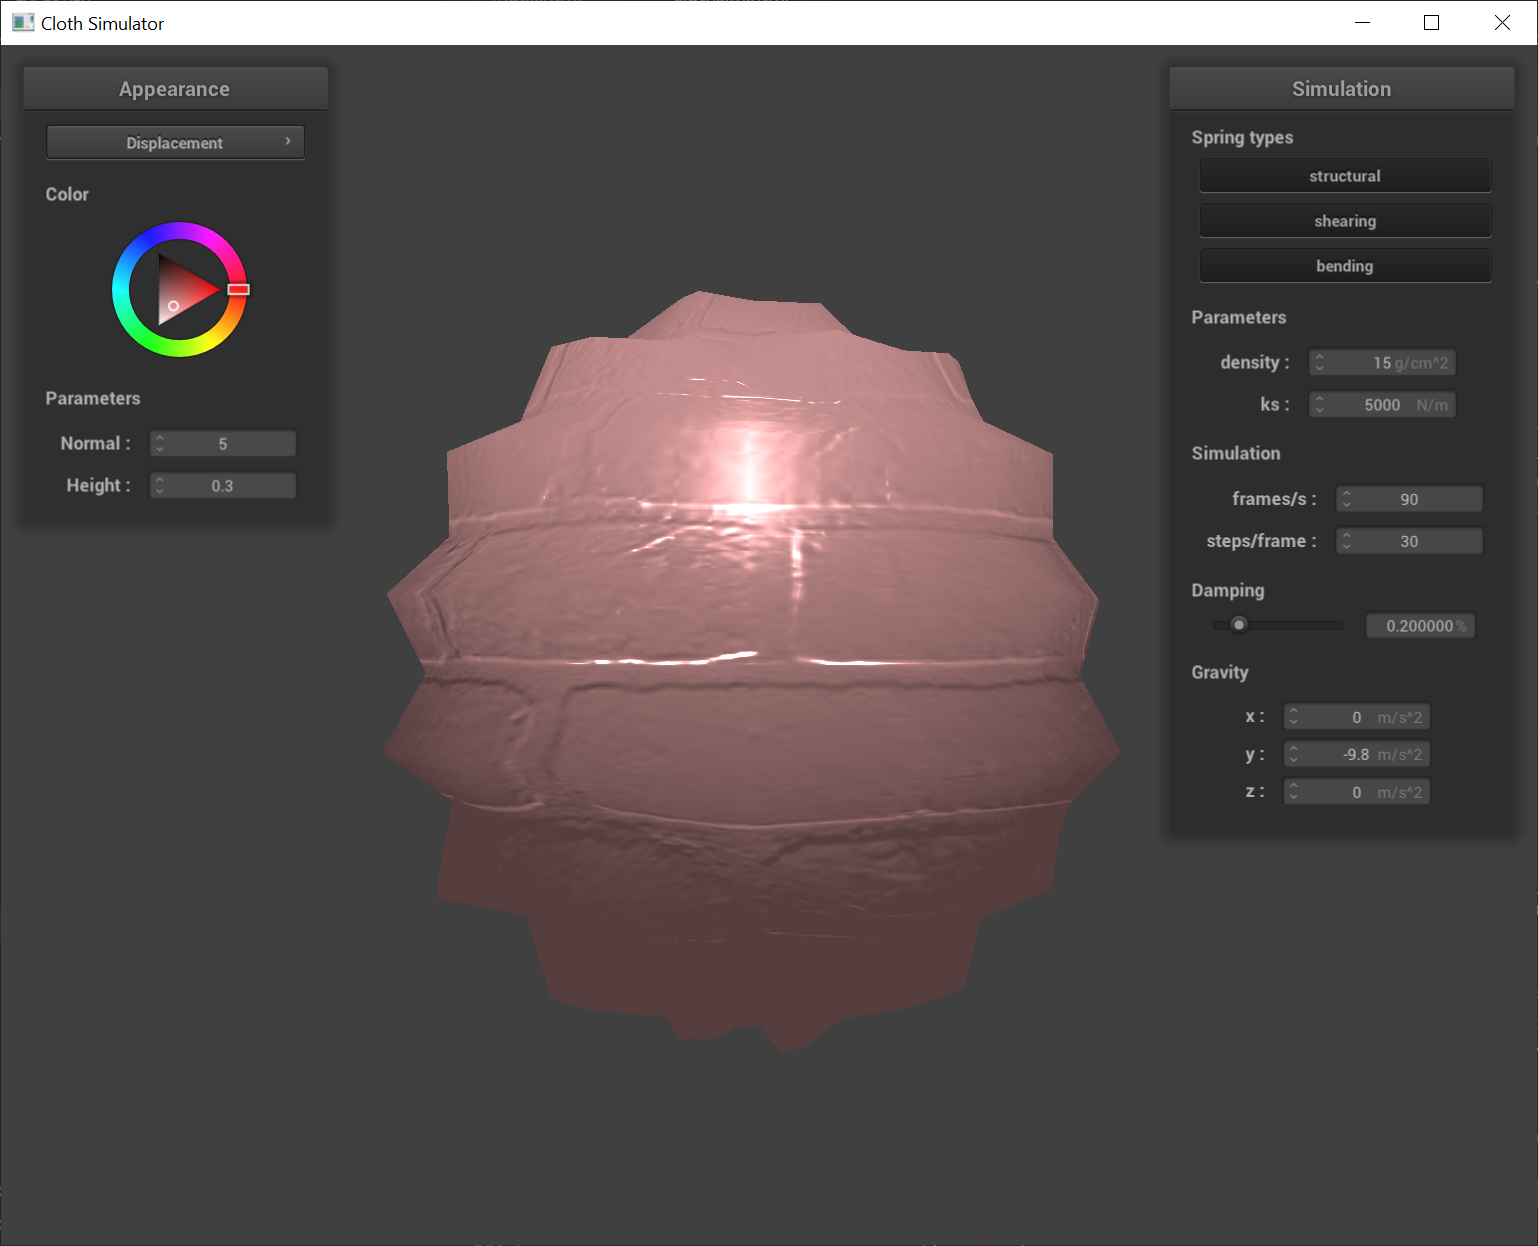
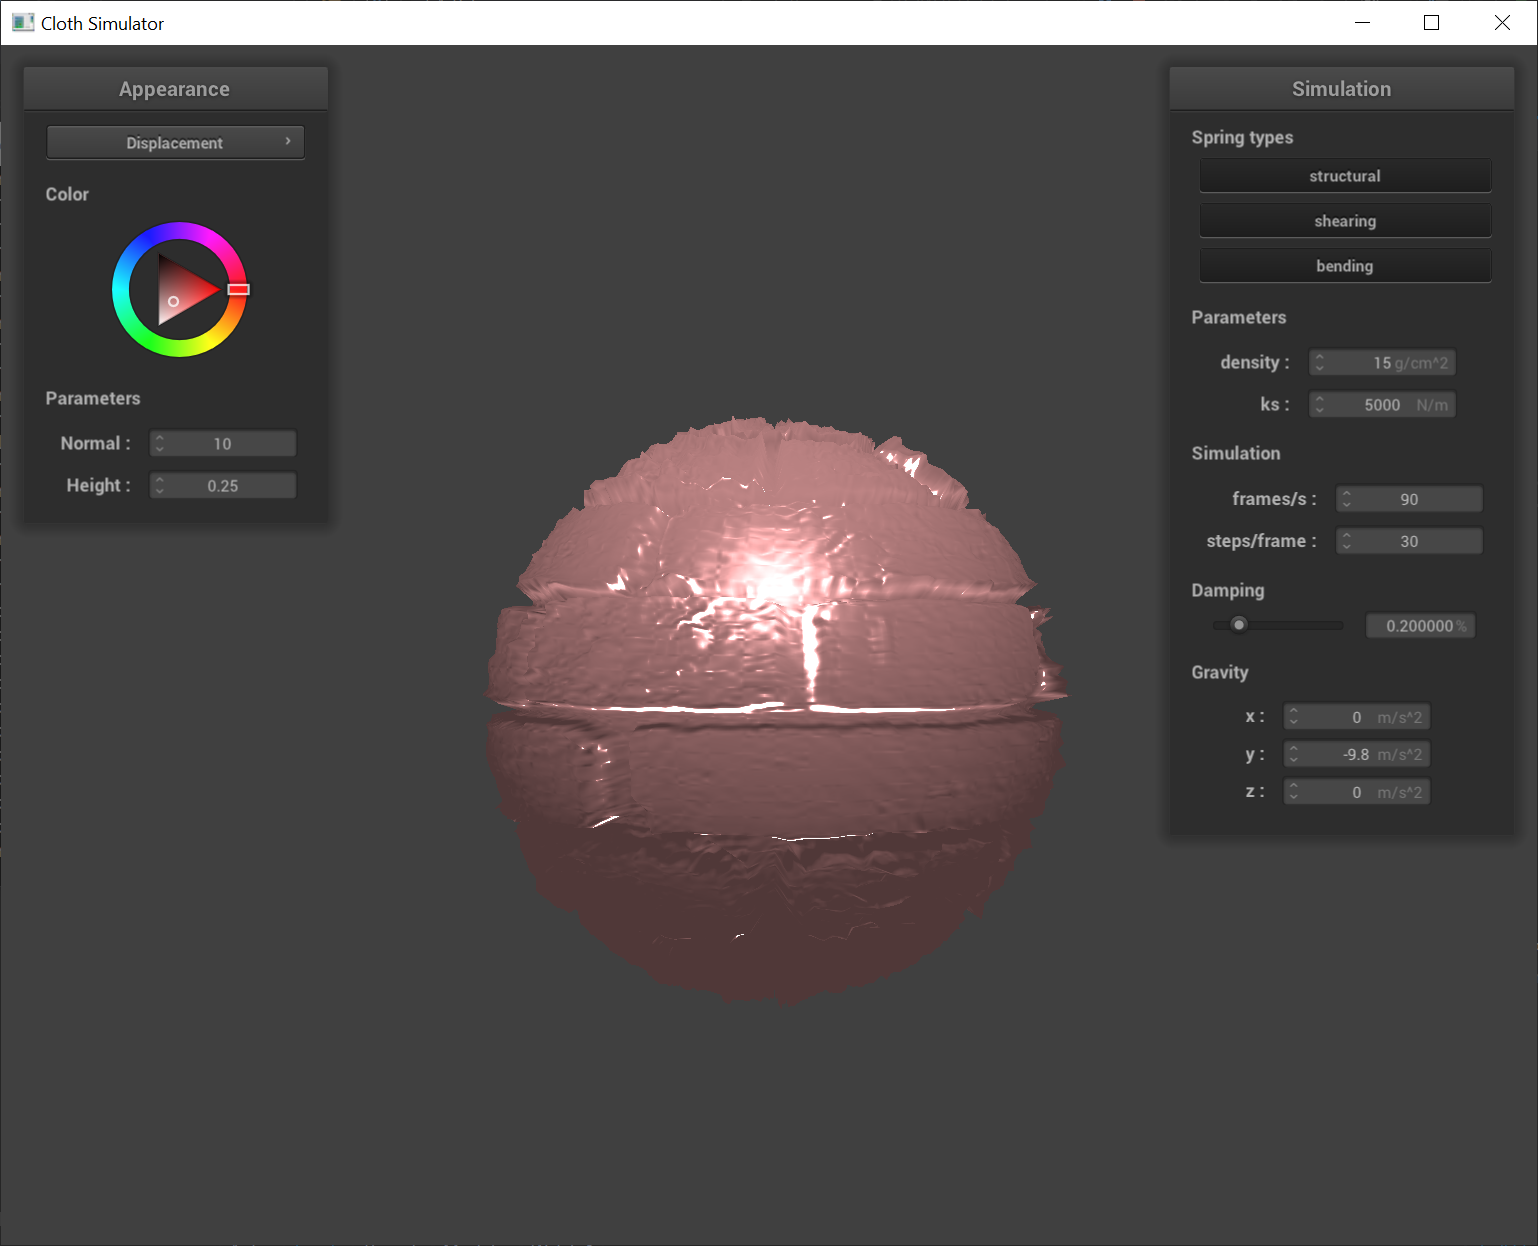
Bump mapping samples new normal vectors of a given texture map of the object to model by sampling variations in height of the texture map per change in fragment height or width. We then apply these normal vectors onto our lighting model to have our lighting provide a sense of depth in the creases of our texture. Similarly, displacement mapping samples the texture but instead applies a transformation onto the vertex positions themselves rather than modifying the way light strikes our object.
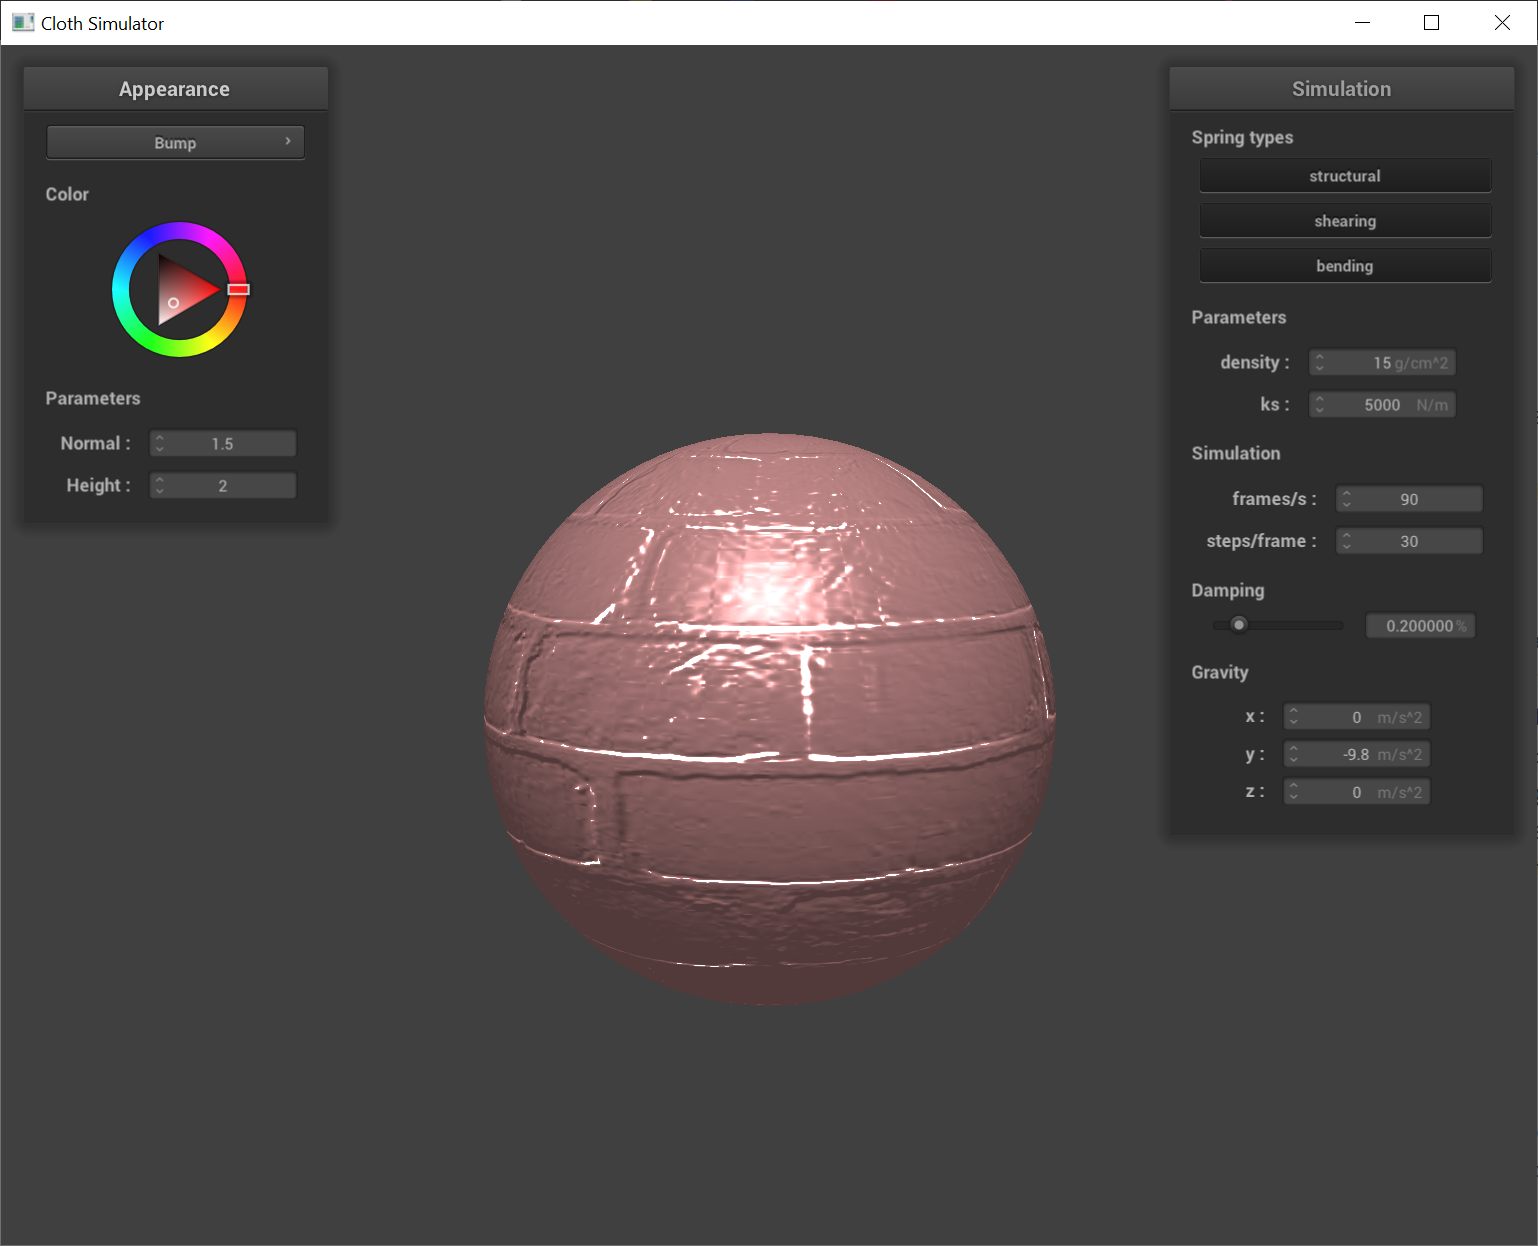
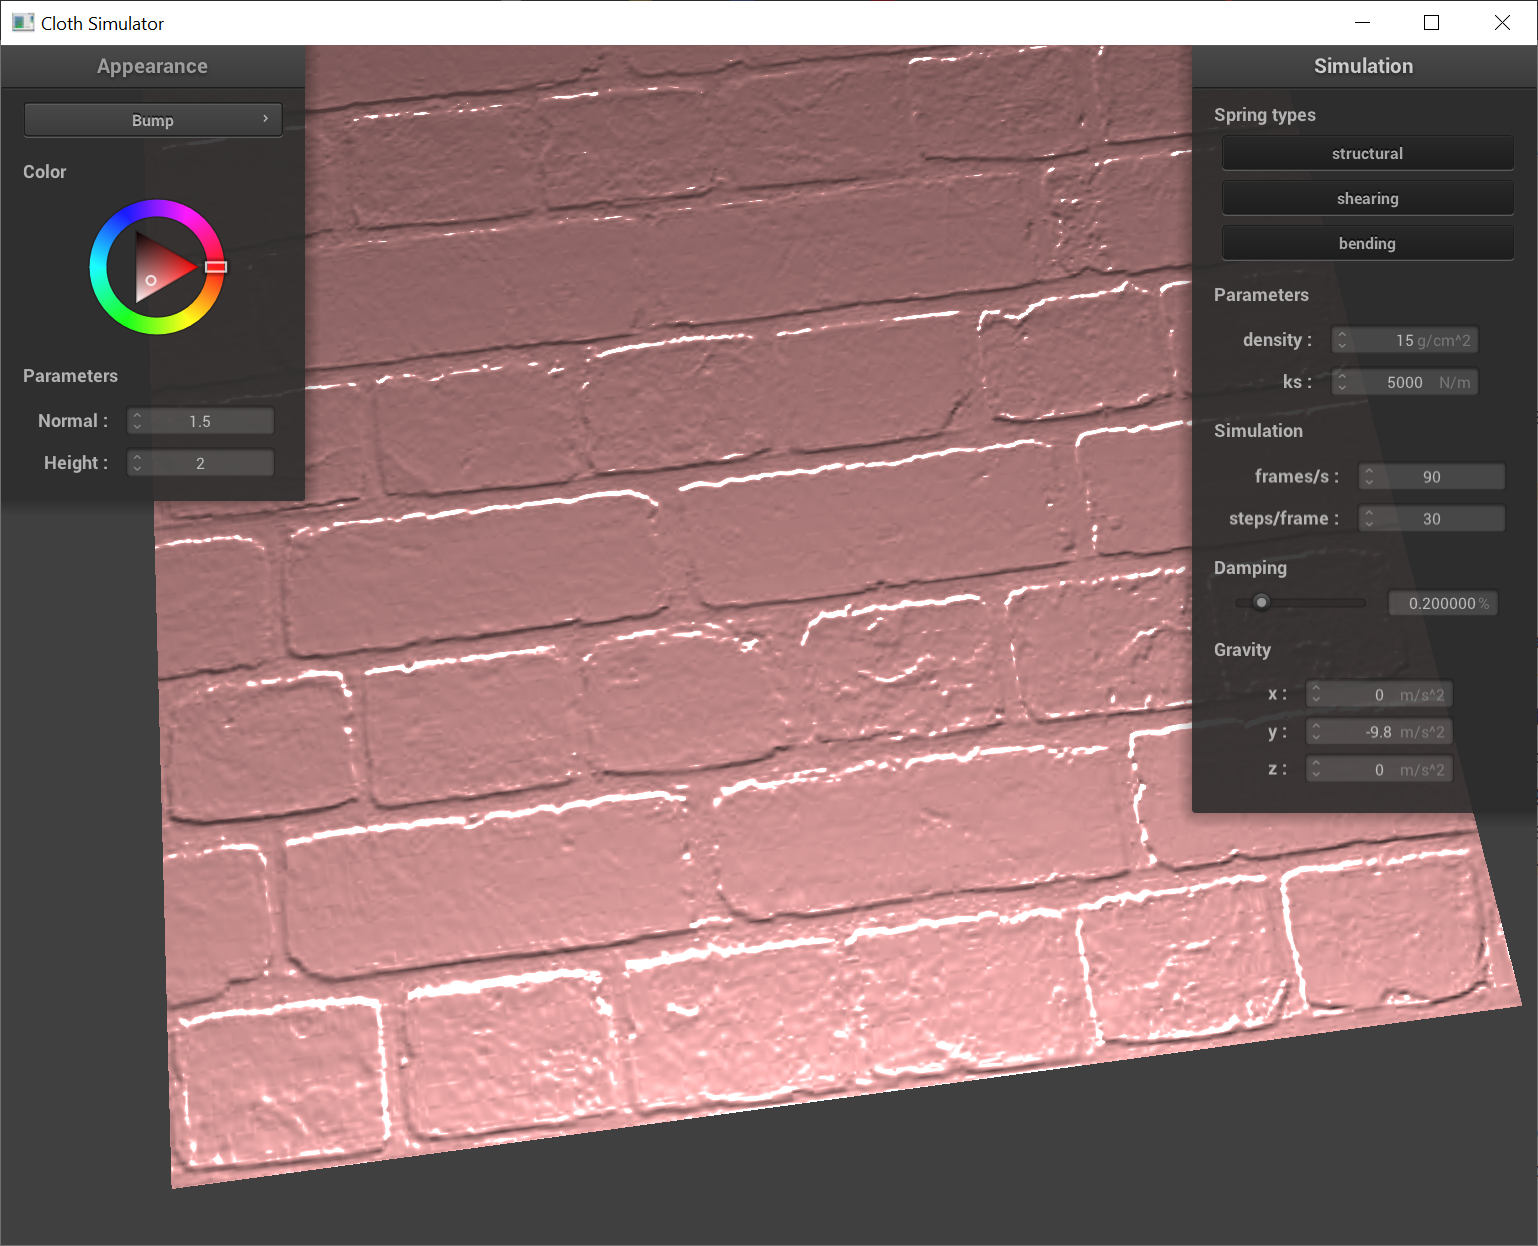
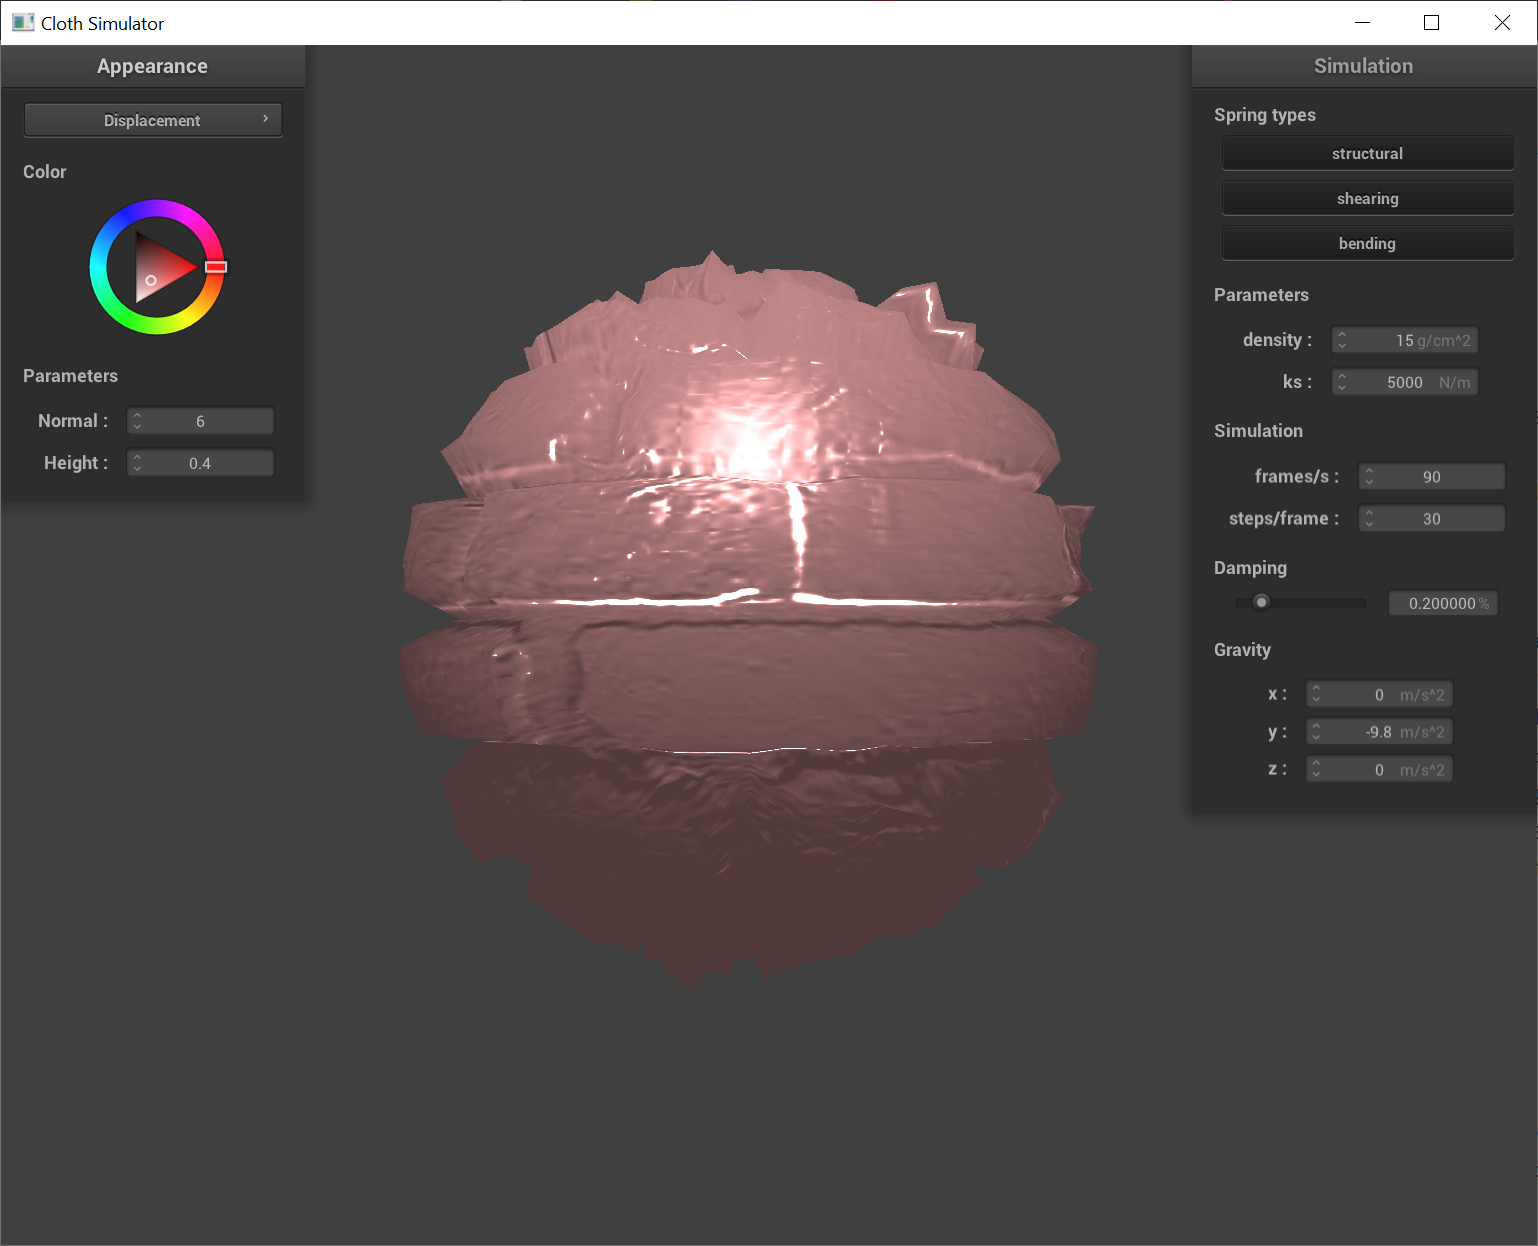
We can see that bump mapping doesn't actually change the shape of the object (it's still a perfect sphere), it just provides some cool lighting and shading effects to regions in the bricks that have creases in the texture map. In displacement mapping however, we can see the bricks actually extrude from the sphere in addition to the bump lighting.
How does mesh coarseness effect bump and displacement mapping?When the mesh is coarser (smaller number of triangles to represent an object), we can see that displacement mapping does a poorer job moving the vertices around to try to represent the brick's rectangular shape. When the mesh is finer, we can see that the bricks are more rectangular, but the greater number of points in an edge of a brick results in a greater variation in normals which in turn causes the edges of the bricks to appear jaggy.
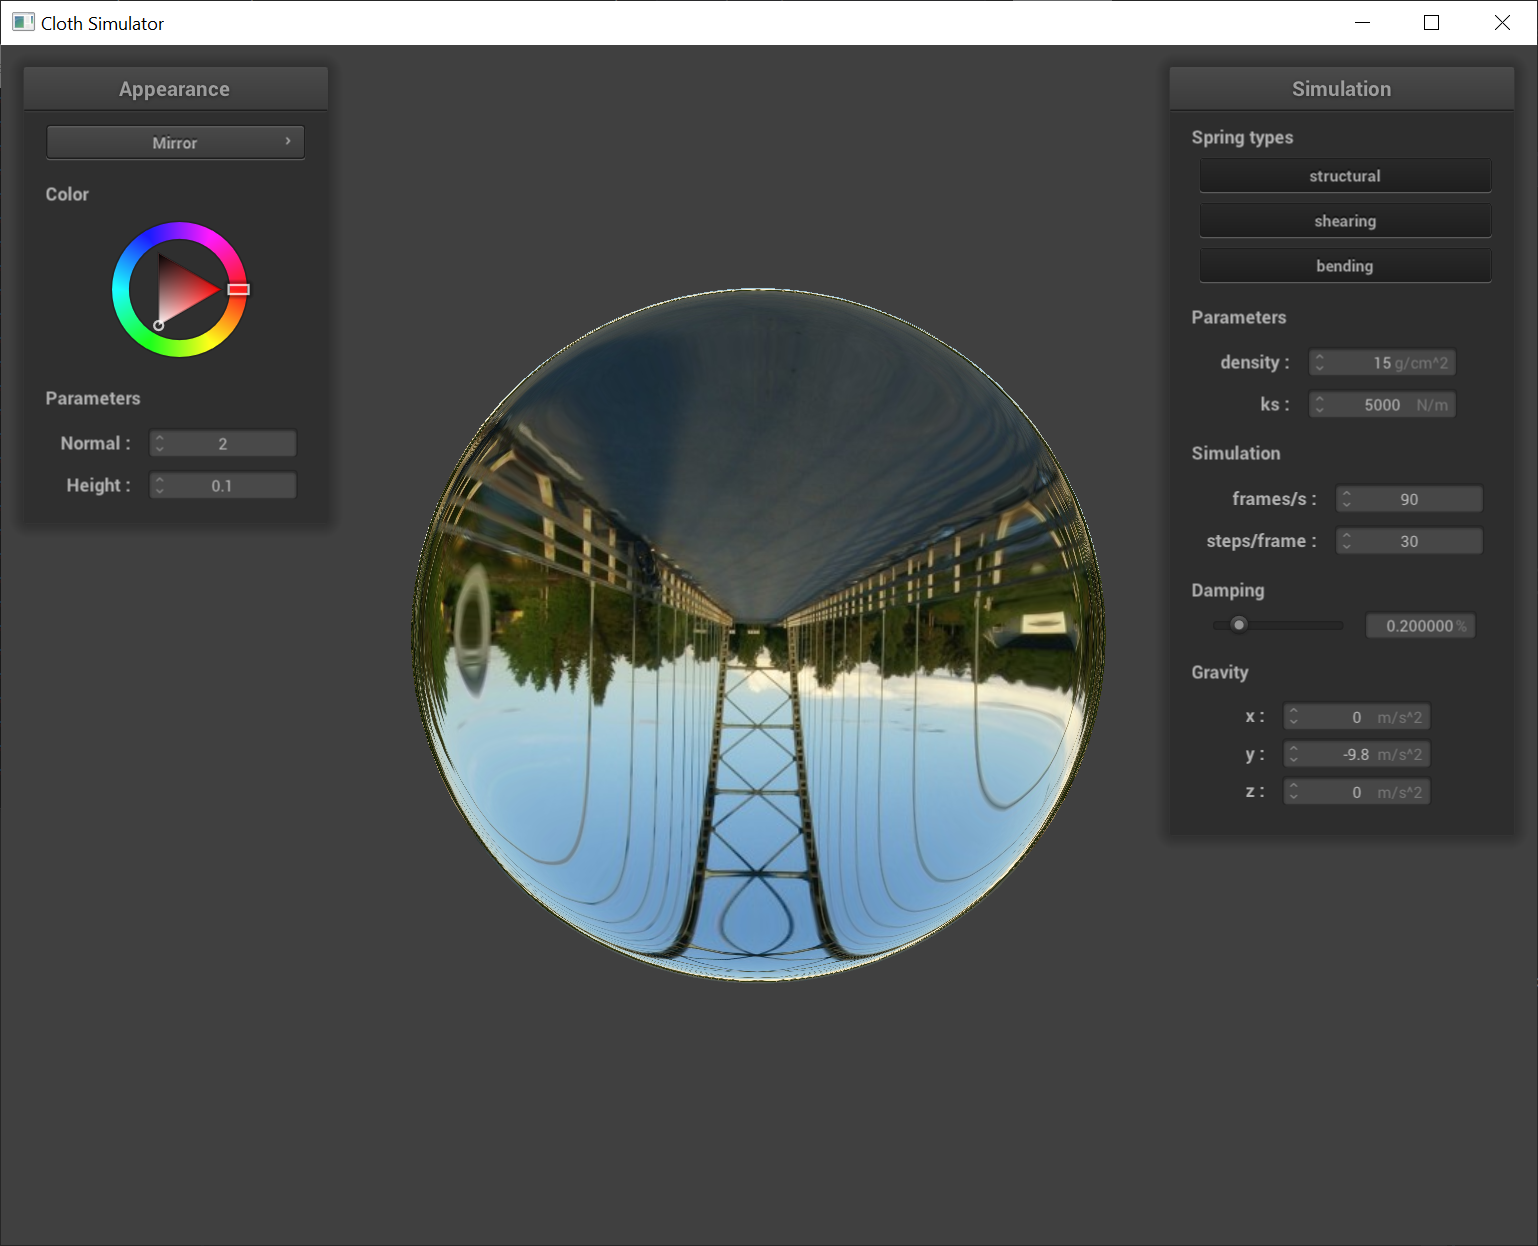
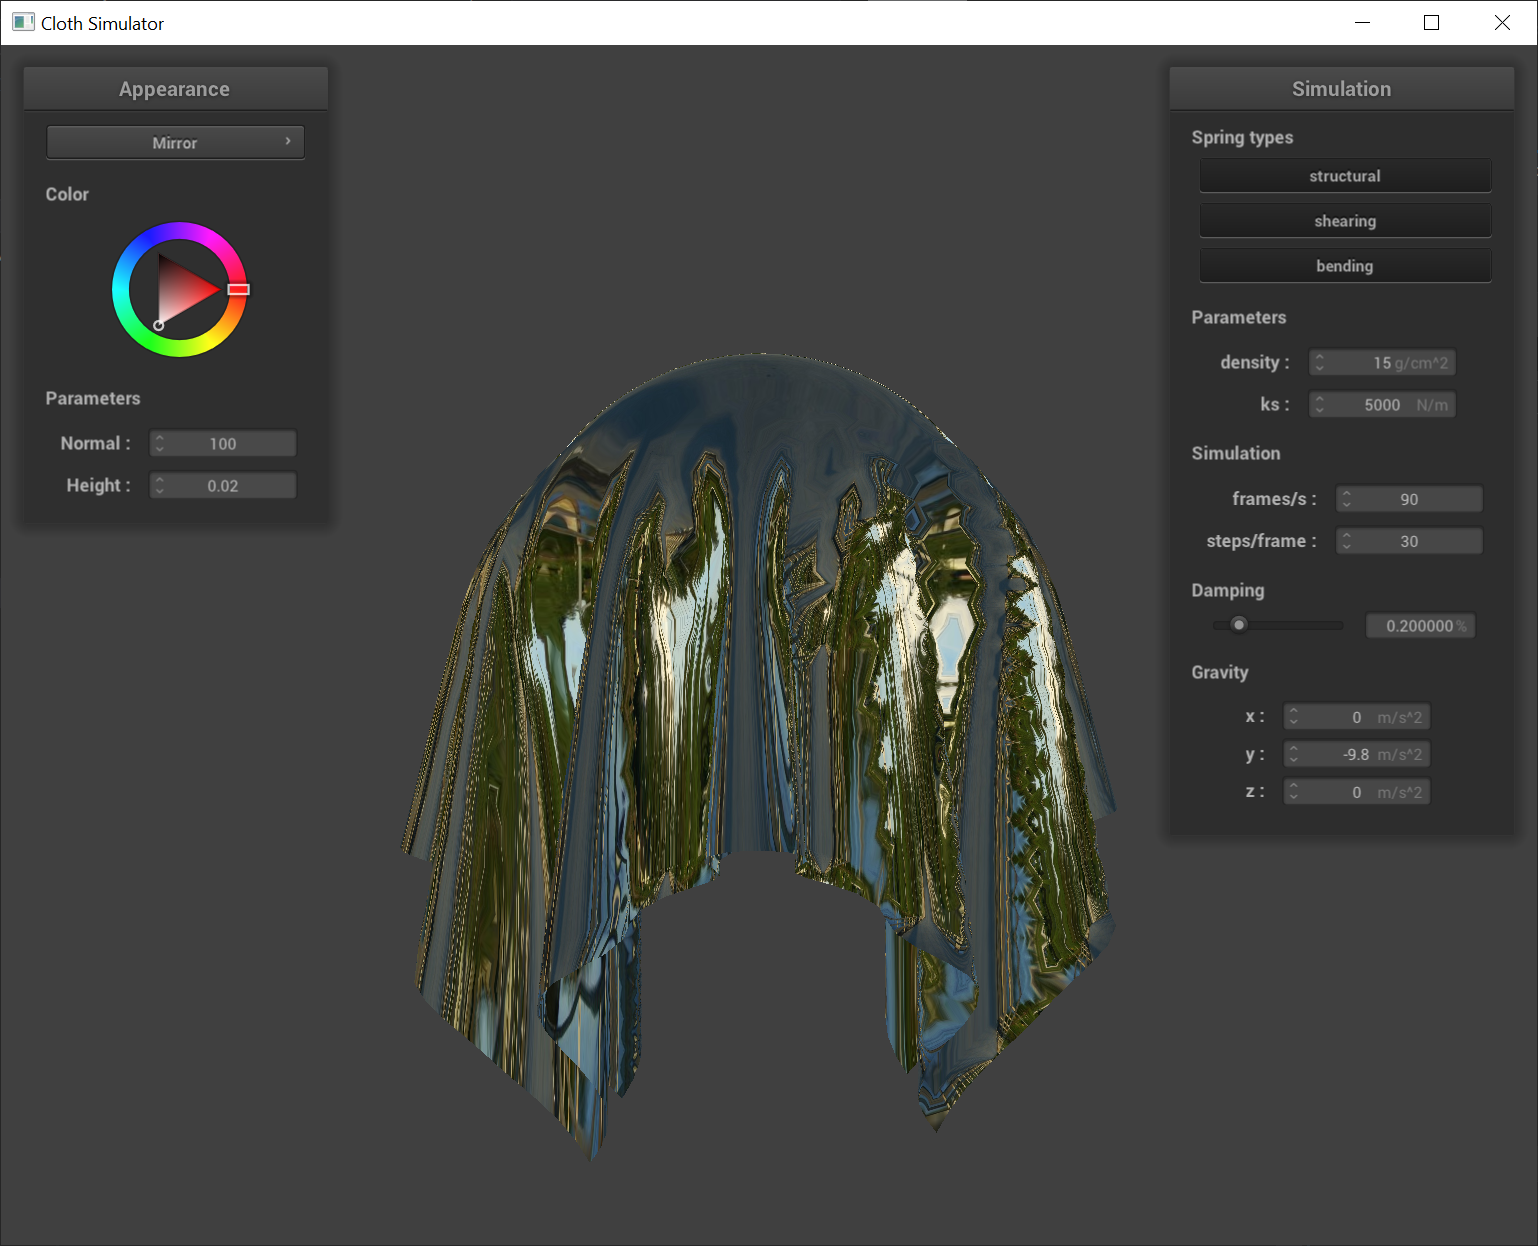
Going back to what we learned from ray tracing, we can easily shade an object to look like a perfect mirror given an environment map by tracing a ray from the user's view point onto the object and have it reflect perfectly off the object into the environment map. The color the environment has at this tangent point is the color we will paint the object!
Conclusion
Dang it's so cool how computers actually attempt to model physics by calculating the forces exerted on different point masses of an object every iteration. It's also super cool how a cloth can be represented by spring forces tying different points together. It seems like with only gravity and spring forces, we were able to find the principal components in cloth physics! I love how in depth this project went into modeling a cloth, even considering how it folds onto itself. If we can now model cloths like this, does this generalize to any object / material in the world now? It's so crazy how we're getting closer and closer to simulating our world digitally. Thanks so much for tuning in! ✌️